
1. حفاظت جي ڄاڻ
Before beginning any installation or maintenance, ensure the power supply to the fan is disconnected at the circuit breaker to prevent electrical shock. Always consult local electrical codes and regulations. If you are unsure about any part of the installation, consult a qualified electrician.
تجويز 65 خبردار: خريد ڪرڻ کان اڳ مھرباني ڪري پنھنجا مقامي قانون چيڪ ڪريوasing هي پراڊڪٽ.
Ensure all connections are secure and properly insulated. Do not operate the fan if any wires are exposed or damaged.
2. پراڊڪٽ ختمview
The Progress Lighting Spades P2570-09 is a 56-inch ceiling fan featuring a contemporary two-blade design with a Brushed Nickel finish and silver blades. It incorporates an energy-saving DC motor and ABS composite blades. The fan includes a dual mount system and a full-function remote control for convenient operation.

تصوير: مٿانview of the Spades P2570-09 ceiling fan highlighting its key features and design elements.
3. پيڪيج مواد
Verify that all components are present before beginning installation. Refer to the included installation sheet for a complete list of parts.
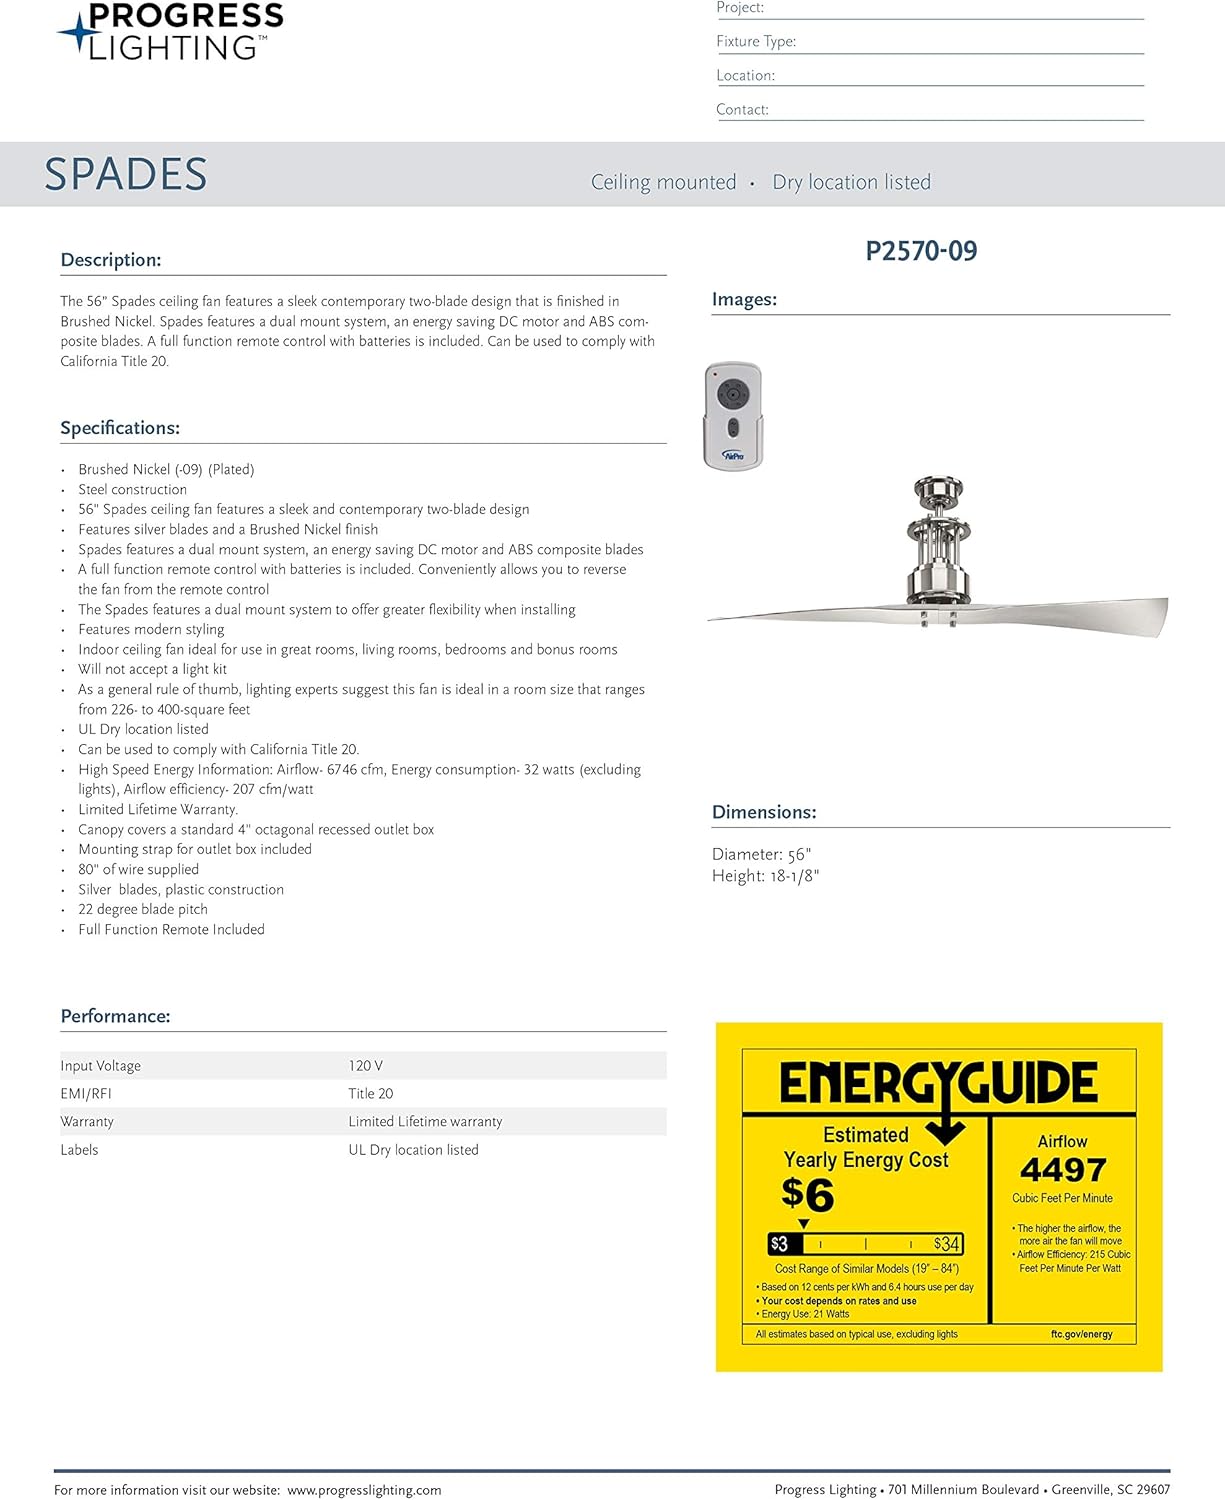
Image: The installation sheet, which typically includes a diagram and list of all parts and hardware required for assembly.
- فين موٽر هائوسنگ
- پنن جا ڦڙا (2)
- ٻروڊرو
- ڇت جو ڍڪ
- وڌندڙ خط
- بيٽرين سان ريموٽ ڪنٽرول
- هارڊويئر پيڪ (اسڪرو، تار نٽ، وغيره)
- انسٽاليشن شيٽ
4. سيٽ اپ ۽ تنصيب
Professional installation is recommended for this ceiling fan. Ensure the mounting location is secure and capable of supporting the fan's weight. Disconnect power at the circuit breaker before proceeding.
4.1. Downrod اسيمبلي
Carefully feed the electrical wires from the fan motor through the downrod. Secure the downrod to the fan motor housing using the provided clevis pin and cotter pin, ensuring all set screws are tightened to prevent wobbling.

تصوير: تفصيلي view of the fan motor housing, showing the connection point for the downrod and internal wiring.

Image: Step-by-step diagram illustrating how to assemble the downrod with the hanger pin and locking pin.
4.2. Mounting Bracket and Wiring
Attach the mounting bracket to the ceiling fan-rated outlet box. Pass the electrical wires from the ceiling through the center of the mounting bracket. Lift the fan assembly and hang the mounting ball from the downrod into the mounting bracket, ensuring it is seated correctly.
Connect the fan's electrical wires to the household wiring according to the wiring diagram in your installation manual. Typically, black wires connect to black, white to white, and bare copper/green wires serve as ground connections. Use the provided wire nuts and ensure all connections are secure. Carefully tuck all wires and the receiver (if applicable) into the outlet box.
4.3. Attaching Fan Blades and Light Kit
Attach the two fan blades to the motor housing using the provided screws. It is recommended to loosely attach all screws first, then go back and securely tighten them to prevent wobbling.
If your fan includes a light kit, install it to the bottom of the motor housing using the designated screws. Connect the light kit's wiring to the fan's internal wiring as per the instructions. Finally, attach the glass shade by aligning it and twisting it into place.
4.4. انسٽاليشن وڊيو گائيڊ
Video: A detailed guide on the installation process for Progress Lighting ceiling fans, covering mounting, wiring, and assembly.
5. آپريٽنگ هدايتون
Once installation is complete and power is restored, operate your fan using the included full-function remote control.
5.1. ريموٽ ڪنٽرول افعال
The remote control allows you to adjust fan speed (6 levels), turn the fan on/off, and control the light (if applicable). Refer to the remote control's specific instructions for detailed button functions.

Image: The AirPro remote control, showing buttons for fan speed, light control, and other functions.
5.2. Remote Pairing
If the remote control does not operate the fan after installation or if pairing is lost, follow these steps:
- Ensure the remote has a fresh 12V A23 battery installed correctly.
- Turn off the power to the fan at the circuit breaker for at least one minute.
- Restore power to the fan at the circuit breaker.
- Within one minute of restoring power, press and hold the 'SET' button on the back of your remote control for approximately 5 seconds.
- If the fan has a light kit, the lights will blink twice to confirm successful pairing. The light on the remote should also blink.
Video: Instructions on how to pair the remote control with your Progress Lighting ceiling fan.
5.3. Airflow Direction (Seasonal Use)
The fan features a reversible DC motor, allowing for seasonal adjustment of airflow:
- Counter-Clockwise / Forward: Used during warmer months to create a downward breeze, making the room feel cooler.
- Clockwise / Reverse: Used during cooler months to create an upward draft, pushing warm air from the ceiling down the walls to make the room feel warmer.

Image: Diagram showing the two airflow directions (counter-clockwise for cooling, clockwise for warming) and their effects.
6. سار سنڀال
باقاعده سار سنڀال توهان جي ڇت جي پنکڙي جي بهترين ڪارڪردگي ۽ ڊگهي عمر کي يقيني بڻائي ٿي.
6.1. صفائي
Clean the fan periodically with a soft, damp cloth. Do not use abrasive cleaners or solvents, as these can damage the finish and motor. Ensure the fan is turned off and power is disconnected before cleaning.
6.2. Blade Balancing
If the fan wobbles during operation, check that all blade screws and downrod set screws are securely tightened. If wobbling persists, you may need to rebalance the blades. This can sometimes be achieved by randomly switching the position of two blades on the fan.
7. مسئلا حل ڪرڻ
جيڪڏهن توهان کي پنهنجي فين سان مسئلا درپيش اچن ٿا، ته هيٺ ڏنل عام مسئلا حل ڪرڻ واري قدمن جو حوالو ڏيو:
- فين چالو نه ٿيو: Check the circuit breaker to ensure power is supplied. Verify remote control battery and pairing (refer to Section 5.2).
- پنکھ جا ڦڙا: Ensure all blade screws and downrod set screws are tightened. Check for any bent or damaged blades.
- ريموٽ ڪنٽرول ڪم نه ڪري رهيو آهي: Replace the remote battery. Re-pair the remote with the fan (refer to Section 5.2).
- روشني ناهي: Check the light kit wiring connections. Ensure the light kit is properly installed.
8. وضاحتون
| خاصيت | تفصيل |
|---|---|
| برانڊ | پيش رفت روشني |
| ماڊل نالو | Spades |
| ماڊل نمبر | P2570-09 |
| رنگ | برش ڪيل نڪ |
| پيداوار جي ماپ | 56"ڊي x 18.13"ڊي x 10.43"ايڇ |
| شيءِ جو وزن | 20.6 پائونڊ |
| اليڪٽرڪ فين ڊيزائن | ڇت وارو پکو |
| طاقت جو ذريعو | DC |
| بلڊ جو تعداد | 2 |
| ڪنٽرول جو طريقو | ريموٽ |
| طاقت جي سطحن جو تعداد | 6 |
| اندروني / ٻاهران استعمال | اندريون |
| جلدtage | 120 وولٽ |
| واتtage | 32.48 واٽ |
| بيٽري سيل جو قسم | Alkaline (1 x 12V included) |
| سرٽيفڪيشن | UL لسٽ |

Image: Energy Guide label providing estimated yearly energy cost and airflow efficiency for the fan.
9. وارنٽي ۽ سپورٽ
The Progress Lighting P2570-09 Spades Ceiling Fan comes with a Limited Lifetime Warranty. This warranty guarantees your complete satisfaction with your purchase and includes professional after-sales customer service support.
For further assistance or to make a warranty claim, please contact Progress Lighting customer service. Refer to the contact information provided in your product packaging or on the official Progress Lighting webسائيٽ.