
1. تعارف
This manual provides essential information for the proper use and maintenance of your Hikvision T200N Portable Solid State Drive (SSD). The T200N is designed to expand storage capacity for various devices, including Android phones, Android tablets, PCs, and laptops, utilizing a USB 3.1 Type-C interface. It offers high-speed data transfer and a durable design.

تصوير 1.1: سامهون view of the Hikvision T200N Portable SSD.
اهم خاصيتون:
- تيز رفتار ٽرانسميشن: Achieves read speeds up to 540 MB/s, significantly faster than traditional mechanical hard drives.
- Type-C Adapter Included: Facilitates connectivity with Android phones, tablets, and other devices via OTG cables.
- Shock-Resistant and Heat Dissipation: هڪ ڌاتو سي جي خاصيت آهيasing for enhanced durability and efficient heat management.
- جامع مطابقت: Supports Windows, Linux, and macOS operating systems.
- Ultra Slim & Large Capability: Compact design combined with substantial storage capacity.
2. سيٽ اپ
2.1 پيڪيج مواد
اڳتي وڌڻ کان اڳ، پڪ ڪريو ته سڀئي جزا موجود آهن:
- Hikvision T200N Portable SSD
- USB Type-C کان Type-A ڪيبل
- USB قسم-A کان ٽائپ-سي اڊاپٽر

Image 2.1: Retail packaging of the Hikvision T200N Portable SSD.
2.2 ايس ايس ڊي کي ڳنڍڻ
- پي سي/ليپ ٽاپ لاءِ: Connect the USB Type-C end of the cable to the SSD and the USB Type-A end to an available USB port on your computer. For optimal performance, use a USB 3.1 compatible port.
- For Android Phone/Tablet: Connect the USB Type-C end of the cable to the SSD. Attach the USB Type-A to Type-C adapter to the other end of the cable, then plug the adapter into your Android device's Type-C port. Ensure your device supports OTG (On-The-Go) functionality.

Image 2.2: The T200N SSD connected to a mobile phone.
2.3 Initial Recognition
Upon connection, your operating system (Windows, macOS, Linux, or Android) should automatically detect the T200N SSD. It may appear as a new drive letter or an external storage device. If prompted, follow any on-screen instructions for initial setup or formatting. For most uses, the drive comes pre-formatted and ready for use.
3. آپريٽنگ هدايتون
3.1 ڊيٽا جي منتقلي
منتقل ڪرڻ files to or from the T200N SSD, simply drag and drop files or use the copy/paste functions within your operating system's file explorer. The high-speed USB 3.1 interface allows for rapid data movement, with speeds up to 540 MB/s.
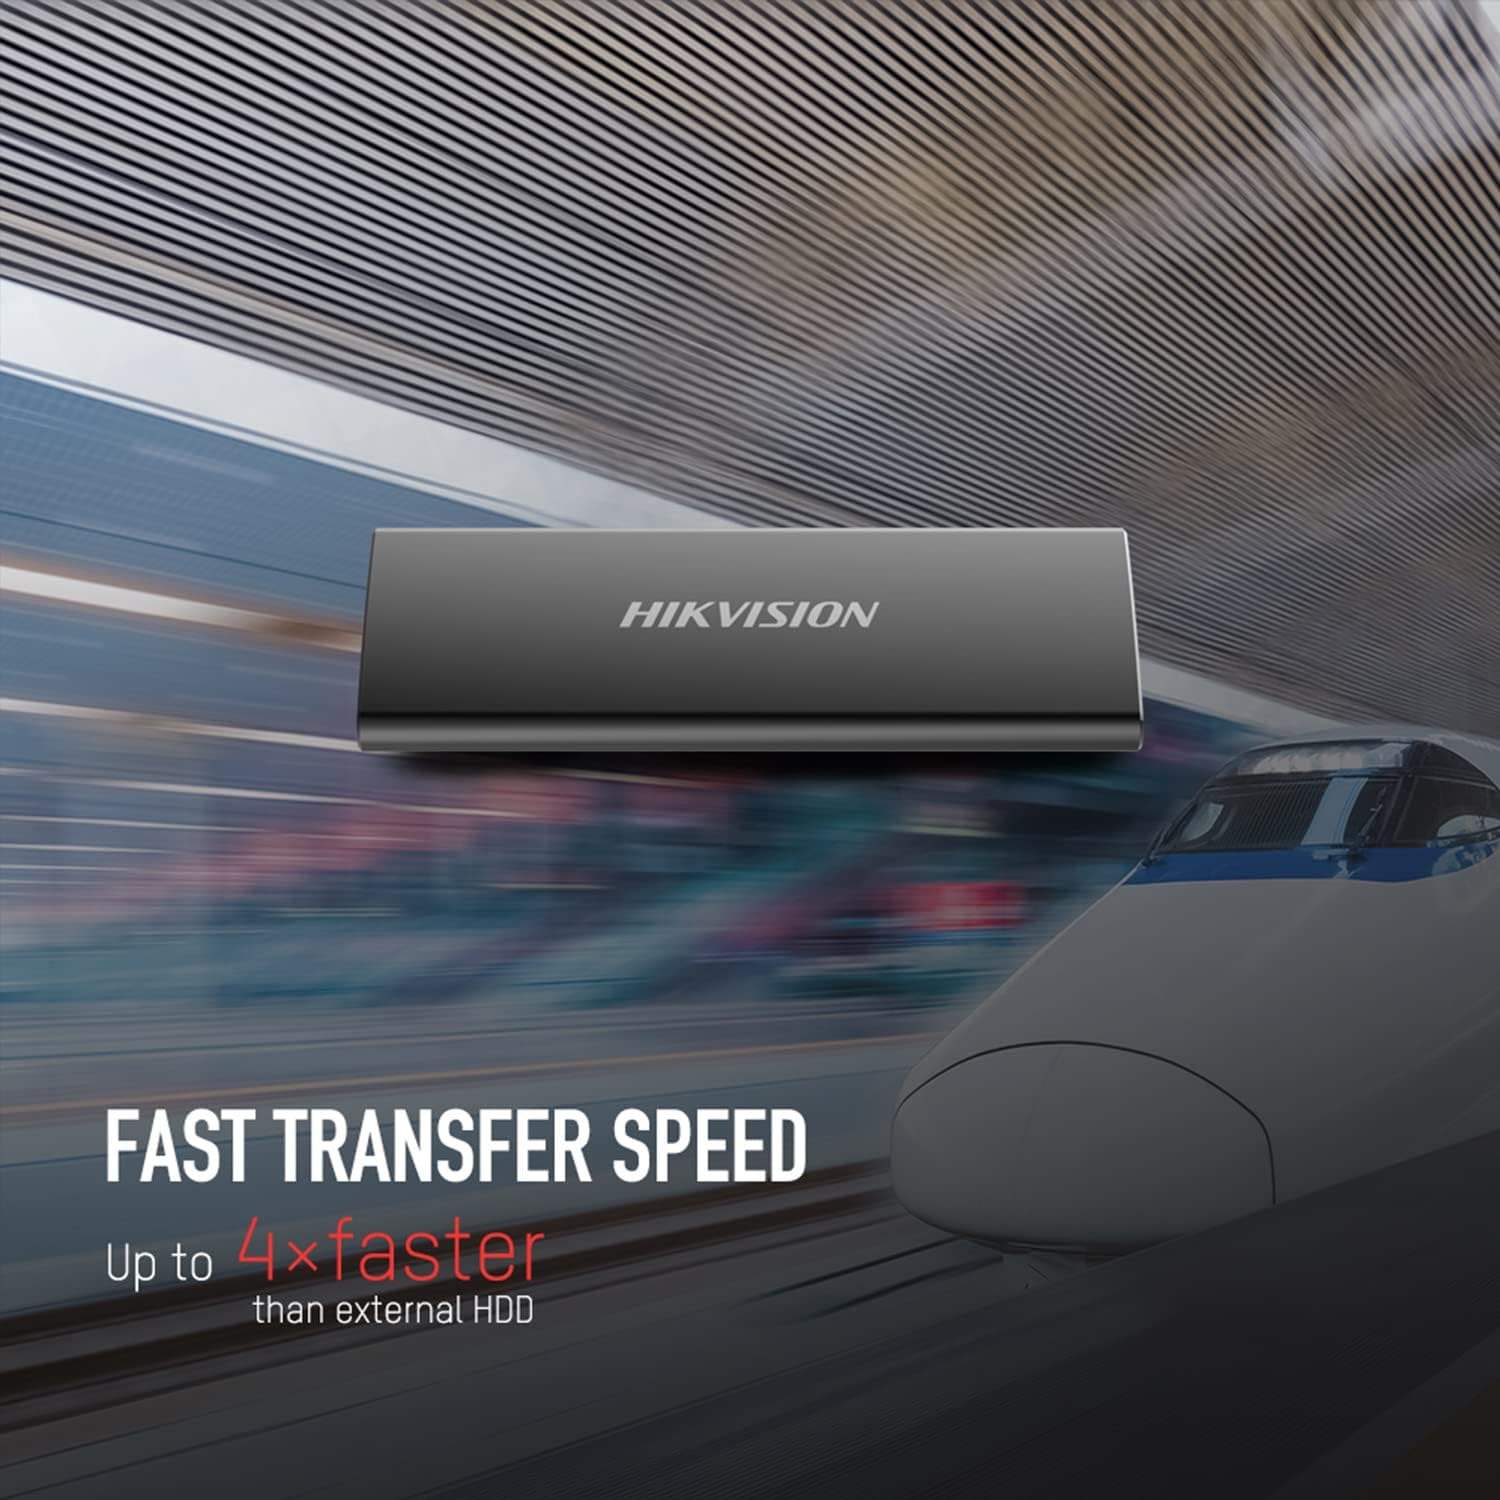
Image 3.1: Visual representation of the T200N's fast transfer speed.
3.2 محفوظ هٽائڻ
Always safely eject the T200N SSD before disconnecting it from your device to prevent data corruption. This can typically be done by right-clicking the drive icon in your operating system's file explorer and selecting "Eject" or "Safely Remove Hardware."
4. سار سنڀال
4.1 جسماني سنڀال
The T200N features a robust metal casing designed for durability and shock resistance. While it can withstand minor impacts, avoid dropping the device from significant heights or subjecting it to extreme physical force. Keep the SSD clean and free from dust and moisture.

Image 4.1: The T200N's solid metal design for durability.
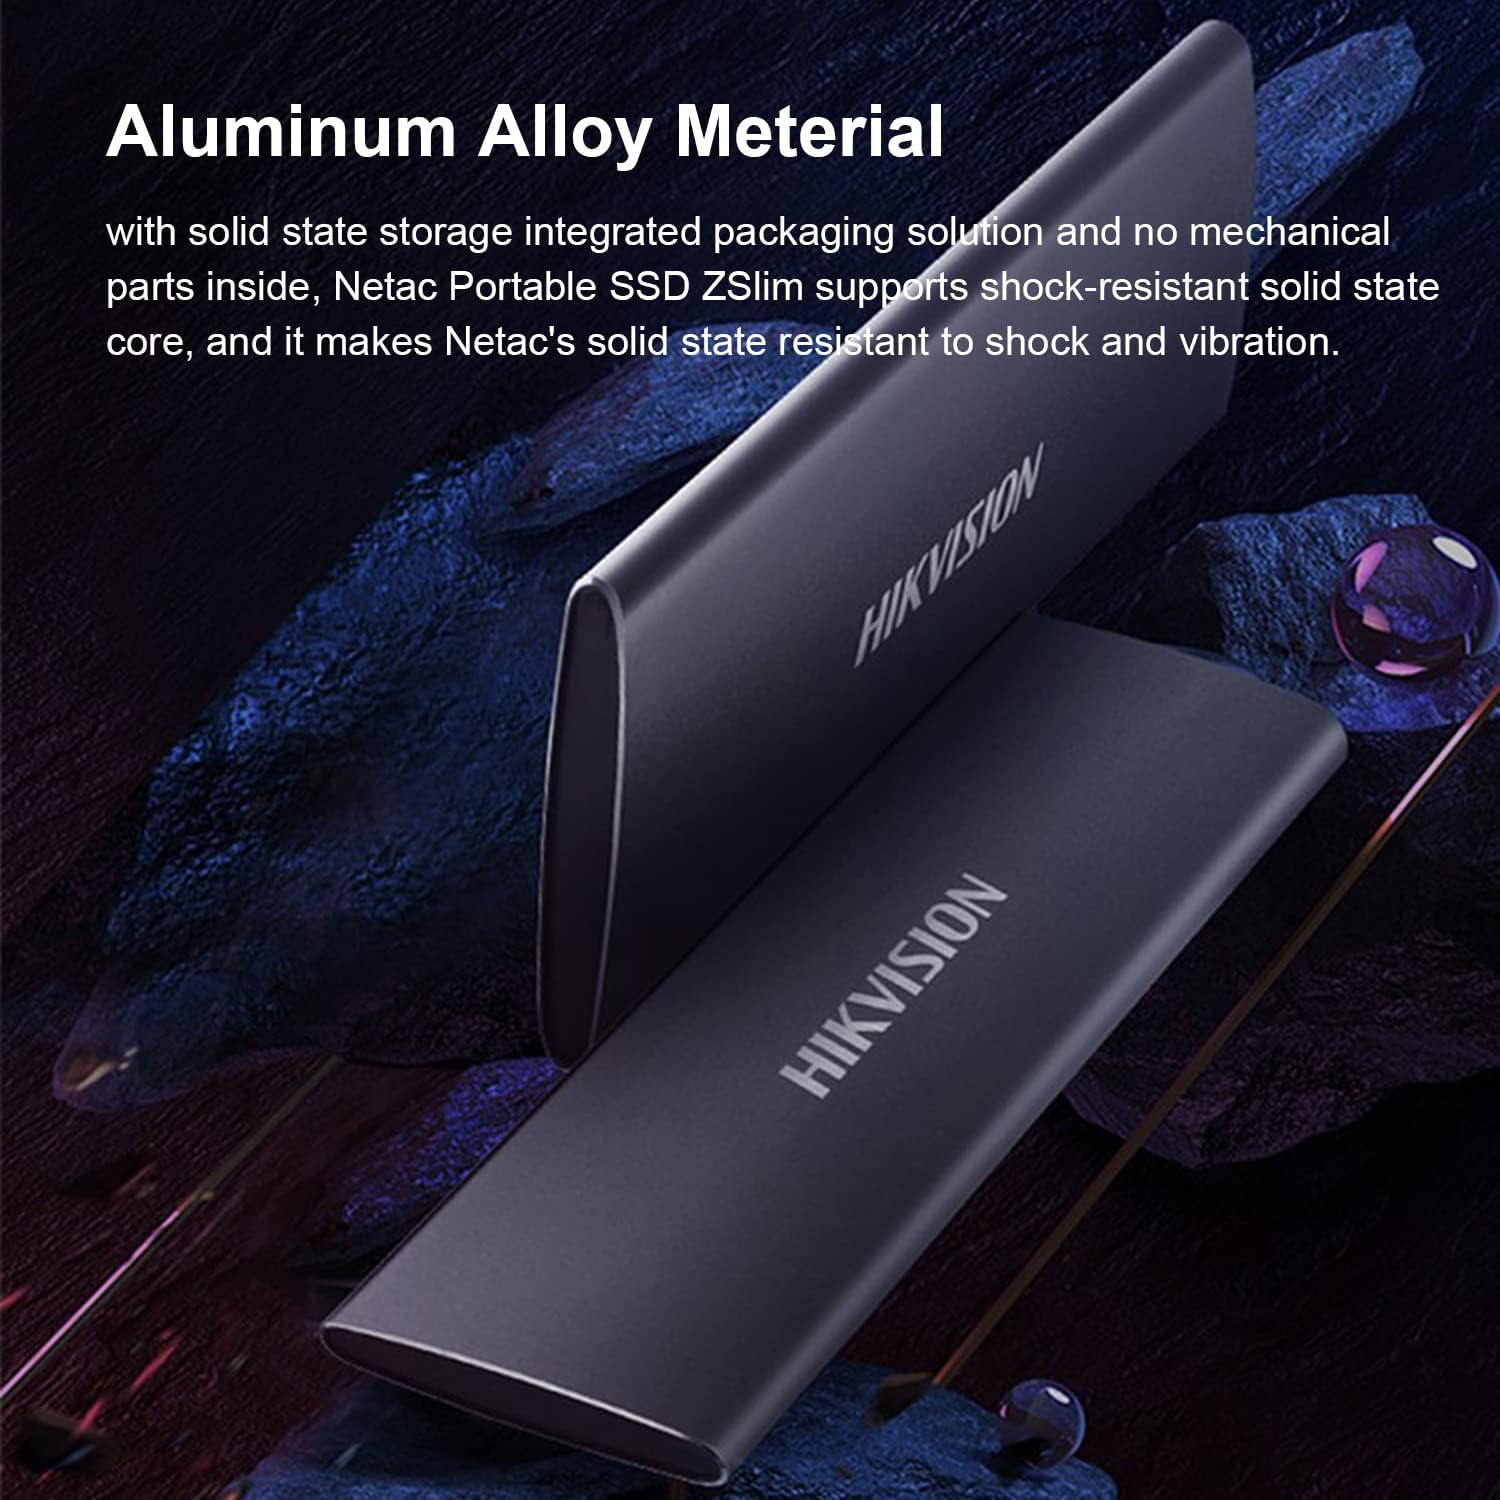
Image 4.2: The aluminum alloy material contributes to shock resistance and heat dissipation.
4.2 گرمي جو خاتمو
The metal case of the T200N aids in dissipating heat generated during operation. Ensure the device is used in a well-ventilated area and not covered, to maintain optimal operating temperatures.
4.3 ڊيٽا بيڪ اپ
Regularly back up important data stored on the T200N SSD to another storage device. While SSDs are reliable, no storage medium is infallible, and data loss can occur due to various unforeseen circumstances.
5. مسئلا حل ڪرڻ
5.1 ڊوائيس جي سڃاڻپ نه ٿي
- ڪنيڪشن چيڪ ڪريو: پڪ ڪريو ته USB ڪيبل محفوظ طور تي SSD ۽ توهان جي ڊوائيس ٻنهي سان ڳنڍيل آهي. هڪ مختلف USB پورٽ يا ڪيبل آزمايو.
- بجلي جي فراهمي: For some devices, ensure sufficient power is supplied to the USB port.
- ڊرائيور لڳائڻ: On Windows, check Device Manager for any unrecognized devices and update drivers if necessary. On macOS or Linux, the drive should be recognized automatically.
- ڊسڪ مينيجمينٽ (ونڊوز) / ڊسڪ يوٽيلٽي (macOS): Check if the drive appears in disk management tools. It might need to be initialized or assigned a drive letter.
- او ٽي جي مطابقت: If connecting to an Android device, confirm that the device supports USB OTG.
5.2 سست منتقلي جي رفتار
- USB پورٽ جو قسم: Ensure you are connected to a USB 3.1 (or higher) port on your computer. Connecting to a USB 2.0 port will result in significantly lower speeds.
- ڪيبل معيار: Use the provided high-quality USB cable. Damaged or low-quality cables can affect performance.
- سسٽم لوڊ: High CPU usage or other background processes on your computer can impact transfer speeds.
- File سائيز/قسم: ڪيترائي ننڍا منتقل ڪرڻ files is generally slower than transferring a few large fileساڳئي ڪل سائيز جا.
5.3 مطابقت جا مسئلا
The T200N is compatible with Windows, Linux, and macOS. If you encounter issues on a supported operating system, ensure your system is up-to-date and try the troubleshooting steps above.
6. وضاحتون
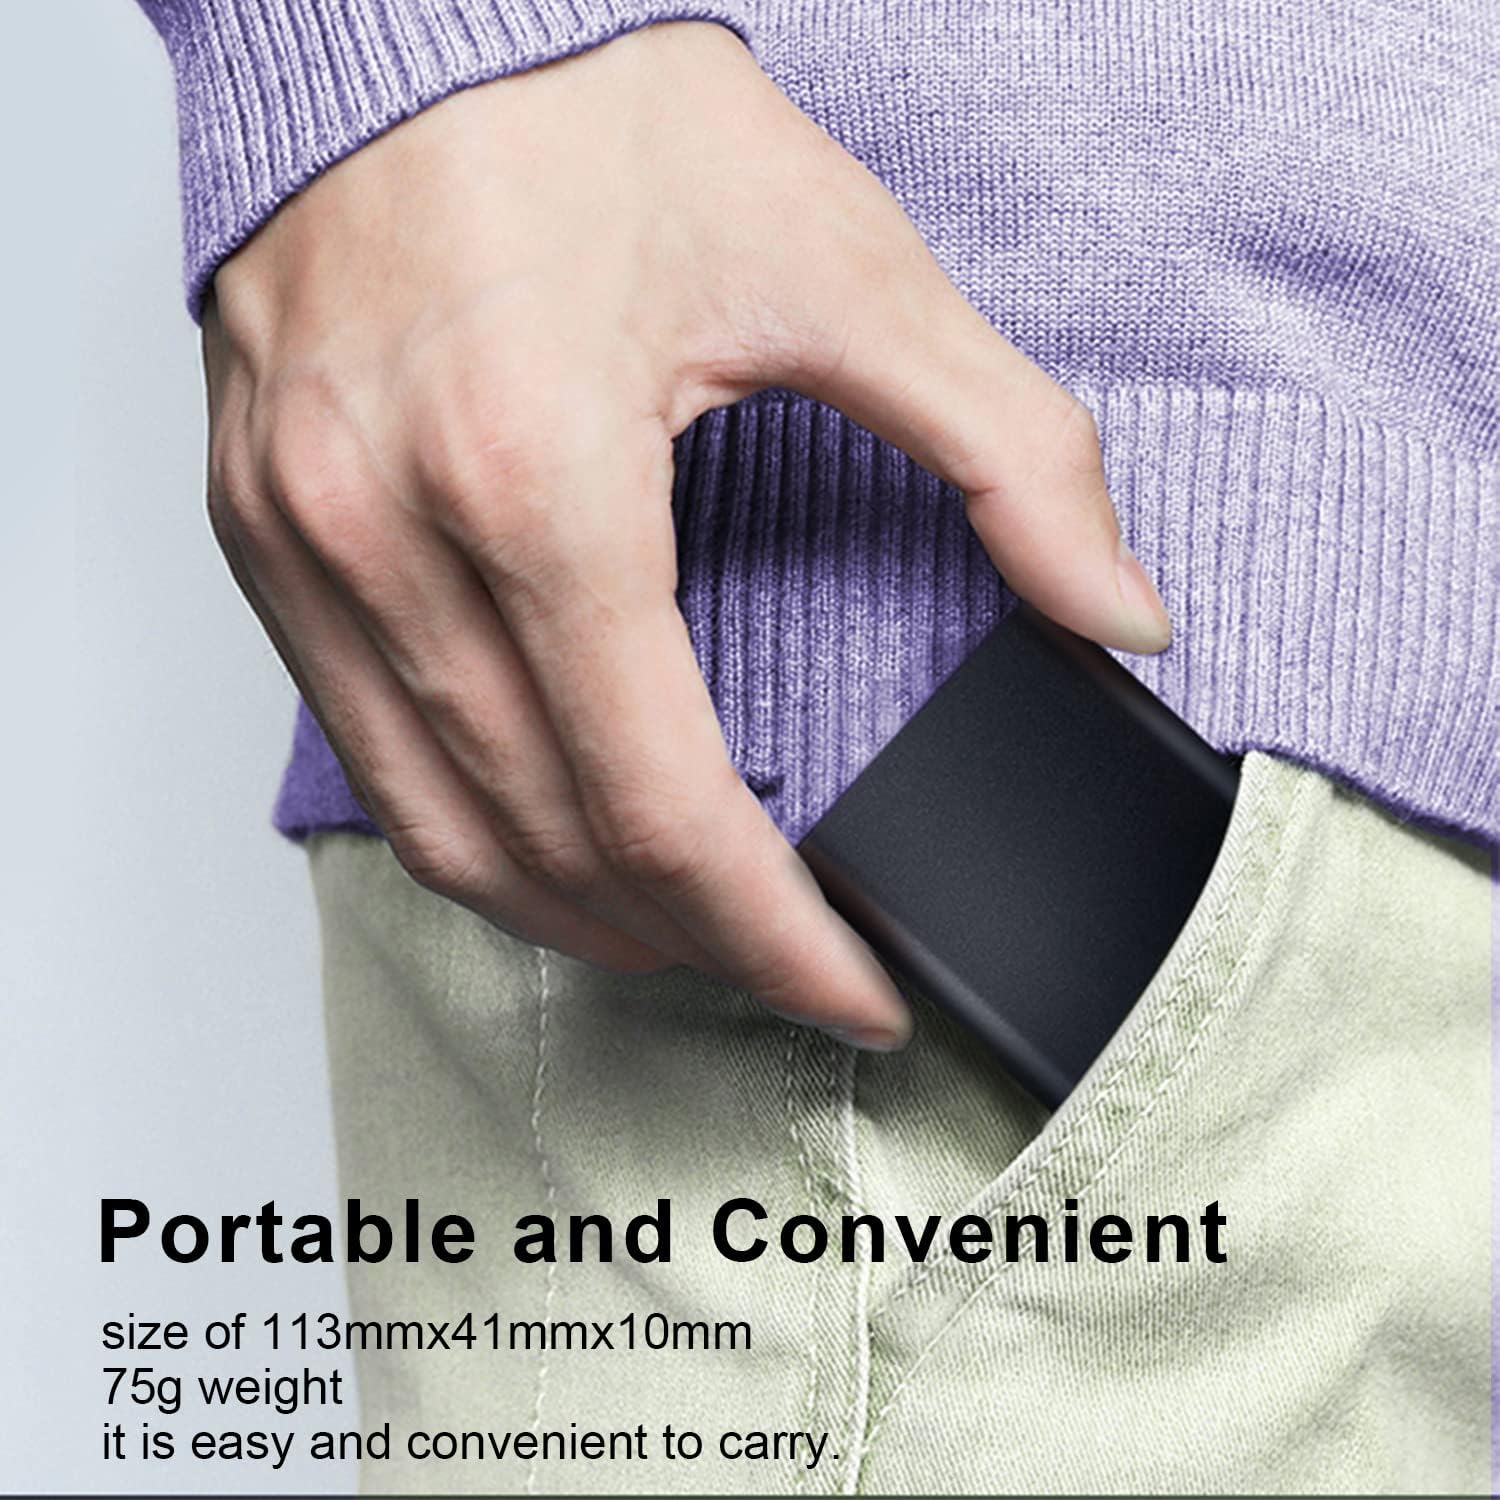
Image 6.1: The compact size of the T200N Portable SSD, fitting easily into a pocket.
| خاصيت | تفصيل |
|---|---|
| ماڊل نالو | T200N |
| ڊجيٽل اسٽوريج جي صلاحيت | 512 جي بي |
| هارڊ ڊسڪ انٽرفيس | مضبوط رياست |
| رابطي ٽيڪنالاجي | USB 3.1 قسم-سي |
| برانڊ | ھائڪ ويزن |
| خاص خاصيتون | Compact, Shock-resistant, Heat Dissipation |
| مطابقت رکندڙ ڊوائيسز | PC, Mac, Linux, Android Phone, Android Tablet |
| انسٽاليشن جو قسم | خارجي هارڊ ڊرائيو |
| رنگ | ڪارو |
| ميڊيا جي رفتار | Up to 540 MB/s (Read) |
| فارم فيڪٽر | پورٽبل |
| شيءِ جو وزن | 75 گرام |
| ٺاهيندڙ | ھائڪ ويزن |
| يو پي سي / جي ٽي آءِ اين | 842571141894 |
| ASIN | B09NBP8HRL |
7. وارنٽي ۽ سپورٽ
7.1 وارنٽي ڄاڻ
The Hikvision T200N Portable SSD typically comes with a 3-year limited warranty from the date of purchase. This warranty covers defects in materials and workmanship under normal use. Please retain your proof of purchase for warranty claims.
7.2 ٽيڪنيڪل سپورٽ
For technical assistance, troubleshooting beyond this manual, or warranty inquiries, please contact Hikvision customer support. Refer to the official Hikvision webتازي رابطي جي معلومات لاءِ سائيٽ يا پراڊڪٽ پيڪنگنگ.


