Prechen 19.5-inch 1600x900 LED Monitor
Prechen 19.5-inch 1600x900 LED Monitor User Manual
Model: 19.5-inch 1600x900 LED Monitor (ASIN: B09WTNZJP2)
1. تعارف
Thank you for choosing the Prechen 19.5-inch 1600x900 LED Monitor. This monitor is designed to provide a high-quality visual experience for various applications, including office work, multimedia, and gaming. Featuring a 1600x900 resolution TN panel, 60Hz refresh rate, and built-in speakers, it offers a versatile display solution. This manual provides detailed instructions for setup, operation, maintenance, and troubleshooting to ensure optimal performance and longevity of your device.

شڪل 1: سامهون view of the Prechen 19.5-inch LED Monitor.
2. اهم حفاظتي ڄاڻ
Please read all safety warnings and instructions carefully before using this monitor to prevent damage or injury.
- باهه يا بجليءَ جي جھٽڪي کان بچڻ لاءِ مانيٽر کي مينهن يا نمي جي سامهون نه رکو.
- مانيٽر نه کوليو casing. اندر ڪو به استعمال ڪندڙ جي خدمت لائق پرزا نه آهن. سڀني سروسنگ کي قابل سروس اهلڪارن جي حوالي ڪريو.
- مانيٽر کي هڪ مستحڪم، فليٽ مٿاڇري تي رکو ته جيئن ان کي ڪري نه پوي.
- مانيٽر جي چوڌاري مناسب وينٽيليشن کي يقيني بڻايو. وينٽيليشن جي سوراخن کي بند نه ڪريو.
- صرف مانيٽر سان فراهم ڪيل پاور اڊاپٽر استعمال ڪريو.
- جيڪڏهن مانيٽر ڊگهي عرصي تائين استعمال نه ٿيندو ته پاور پلگ کي آئوٽ ليٽ کان ڌار ڪريو.
- Avoid placing the monitor near heat sources such as radiators, heat registers, stoves, or other products (including ampلائفائرز) جيڪي گرمي پيدا ڪن ٿا.
3. پيڪيج مواد
مھرباني ڪري پيڪيج جي مواد کي چيڪ ڪريو ته پڪ ڪريو ته سڀئي شيون موجود آھن ۽ محفوظ آھن:
- Prechen 19.5-inch LED Monitor
- پاور اڊاپٽر
- HDMI ڪيبل
- استعمال ڪندڙ دستي

Figure 2: Included accessories: Monitor, Power Adapter, HDMI Cable, and User Manual.
4. سيٽ اپ گائيڊ
4.1 اسٽينڊ کي گڏ ڪرڻ
- پيڪنگ مان مانيٽر ۽ اسٽينڊ جي حصن کي احتياط سان هٽايو.
- اسٽينڊ بيس کي اسٽينڊ گردن سان ڳنڍيو، ان کي مهيا ڪيل اسڪرو سان محفوظ ڪريو (جيڪڏهن لاڳو هجي).
- Align the assembled stand with the mounting slot on the back of the monitor and gently push until it clicks into place or secure with screws as per the stand design.
4.2 مانيٽر کي ڳنڍڻ
The monitor supports both HDMI and VGA connections.
- پاور ڪنيڪشن: Connect the power adapter to the monitor's DC IN port, then plug the adapter into a power outlet.
- وڊيو ڪنيڪشن (HDMI): Connect one end of the HDMI cable to the HDMI port on your computer or device, and the other end to the HDMI port on the monitor.
- وڊيو ڪنيڪشن (VGA): Connect one end of the VGA cable to the VGA port on your computer or device, and the other end to the VGA port on the monitor.
- آڊيو ڪنيڪشن: If using a VGA connection and external speakers, connect an audio cable from your computer's audio output to the monitor's audio input port. The built-in speakers will function automatically with HDMI.

Figure 3: Monitor back panel with input ports and control buttons.

Figure 4: Multiple connection options for the monitor.
5. آپريٽنگ هدايتون
5.1 پاور آن/آف
Press the power button located on the back of the monitor to turn it on or off. The power indicator light will illuminate when the monitor is on.
5.2 او ايس ڊي مينيو استعمال ڪندي
The On-Screen Display (OSD) menu allows you to adjust various monitor settings. The control buttons are located on the back of the monitor (refer to Figure 3).
- مينيو او ايس ڊي مينيو کولڻ لاءِ دٻايو.
- UP/DOWN (Volume Up/Down): Use to navigate through menu options or adjust values.
- ENTER (Switch): چونڊ جي تصديق ڪرڻ لاءِ دٻايو يا ذيلي مينيو داخل ڪريو.
- EXIT (Return): موجوده مينيو مان نڪرڻ يا پوئين سطح تي واپس وڃڻ لاءِ دٻايو.
5.3 ڊسپلي سيٽنگز کي ترتيب ڏيڻ
Navigate the OSD menu to adjust settings such as:
- چمڪ/ برعڪس: ڊسپلي جي مجموعي روشني ۽ برعڪس کي ترتيب ڏيو.
- رنگ سيٽنگون: رنگ جي گرمي پد، آر جي بي جي سطحن کي تبديل ڪريو، يا اڳواٽ رنگ موڊ چونڊيو.
- ان پٽ چونڊيو: دستي طور تي HDMI ۽ VGA ان پٽ ذريعن جي وچ ۾ سوئچ ڪريو.
- تناسب تناسب: Choose between 16:9 (widescreen) or 4:3 (standard) display modes.
- تيز رفتاري: Adjust the clarity of the image.
5.4 آڊيو سيٽنگون
The monitor features two built-in speakers. You can adjust the volume using the OSD menu or the dedicated volume buttons on the back of the monitor.
6. سار سنڀال ۽ سنڀال
مناسب سار سنڀال ۽ سار سنڀال توهان جي مانيٽر جي زندگي کي وڌائيندو.
- اسڪرين جي صفائي: نرم، لِنٽ فري ڪپڙي سان اسڪرين کي نرميءَ سان صاف ڪريو. ضدي نشانن لاءِ، ڊيampen the cloth slightly with water or a non-ammonia, non-alcohol based screen cleaner. Never spray cleaner directly onto the screen.
- سي جي صفائيasing: مانيٽر کي صاف ڪرڻ لاءِ نرم، سڪل ڪپڙو استعمال ڪريو casing. گھڙڻ وارا صاف ڪندڙ يا محلول استعمال ڪرڻ کان پاسو ڪريو.
- اسٽوريج: If storing the monitor for an extended period, disconnect it from power and store it in a cool, dry place, preferably in its original packaging.
7. مسئلا حل ڪرڻ
If you encounter problems with your monitor, please refer to the following table for common issues and solutions.
| مسئلو | ممڪن سبب | حل |
|---|---|---|
| طاقت نه آهي | پاور ڪيبل ڳنڍيل نه آهي؛ پاور آئوٽليٽ خراب آهي؛ مانيٽر بند آهي. | Ensure power cable is securely connected. Try a different power outlet. Press the power button on the monitor. |
| ڪوبه سگنل | Video cable not connected; Incorrect input source selected; Computer not outputting signal. | Check HDMI/VGA cable connection. Select the correct input source via the OSD menu. Ensure your computer is on and outputting video. |
| بلٽ ان اسپيڪر مان ڪوبه آواز ناهي | Volume too low/muted; Incorrect audio output selected on PC; Audio cable not connected (for VGA). | Increase monitor volume. Check PC audio settings to ensure monitor is selected as output. For VGA, ensure audio cable is connected. |
| تصوير ڌنڌلي يا بگڙيل آهي. | غلط ريزوليوشن؛ ڪيبل جو مسئلو. | Set your computer's display resolution to 1600x900. Try a different video cable. |
8. مصنوعات جي وضاحت
| خاصيت | تفصيل |
|---|---|
| برانڊ | پريان |
| اسڪرين جي ماپ | 19.5 انچ |
| ڊسپلي جو قسم | ايل اي ڊي |
| وڌ ۾ وڌ ڊسپلي ريزوليوشن | 1600 x 900 |
| ريفريش جي شرح | 60 هز |
| جوابي وقت | 5 ملي سيڪنڊ |
| اسپيڪٽ ريشو | 16:9 |
| رابطي ٽيڪنالاجي | ايم ڊي ايم، ويگا |
| خاص خاصيتون | بلٽ ان اسپيڪرز |
| VESA جبل مطابقت | 100 x 100 ملي ميٽر |
9. ويسا ماؤنٽنگ
The Prechen monitor supports VESA standard mounting (100 x 100 mm), allowing you to mount it on a wall or an articulating arm for flexible viewing options. This feature makes the monitor lightweight and easy to install in various setups.
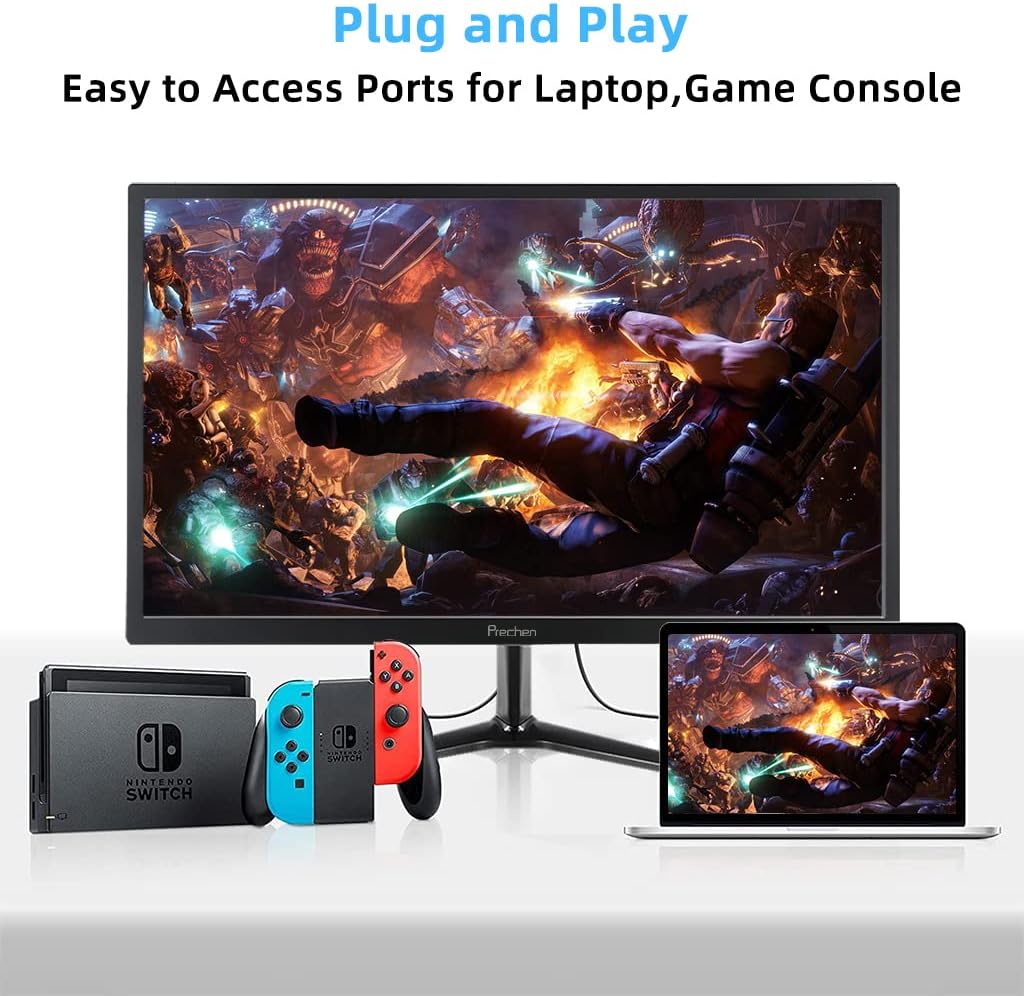
Figure 5: VESA mount dimensions on the monitor back.

شڪل 6: مثالample of VESA mounting with an articulating arm.
10. وارنٽي ۽ سپورٽ
Each Prechen product is covered by a one-year warranty from the date of purchase, which includes a one-month refund and exchange policy. This warranty covers manufacturing defects and issues arising from normal use.
For any questions, technical support, or warranty claims, please contact Prechen customer service. Please have your product model and purchase information ready when contacting support.
Contact information for customer service can typically be found on the product packaging or the official Prechen webسائيٽ.
Ask a question about this manual
Ask about setup, troubleshooting, compatibility, parts, safety, or missing instructions. Manuals+ will review the question and use this page’s manual context to help answer it.