JEYI I9-Seal
JEYI I9-Seal M.2 NVMe SSD Enclosure User Manual
Model: I9-Seal
تعارف
This manual provides comprehensive instructions for the installation, operation, and maintenance of your JEYI I9-Seal M.2 NVMe SSD Enclosure. This device converts an NVMe M.2 solid-state drive into a portable external storage solution with high-speed USB 3.2 Gen 2 connectivity.
پيڪيج مواد
مھرباني ڪري تصديق ڪريو ته ھيٺ ڏنل سڀ شيون توھان جي پيڪيج ۾ شامل آھن:
- JEYI M.2 NVMe SSD Enclosure
- گرمي پد
- اسڪوائر
- USB-A to USB-C Cable (10Gbps)
- USB-C to USB-C Cable (10Gbps)
- لانڍي

سيٽ اپ جون هدايتون
Follow these steps to install your NVMe M.2 SSD into the JEYI I9-Seal enclosure:
- انڪلوزر تيار ڪريو: Gently slide open the enclosure to reveal the internal PCB.
- ٿرمل پيڊ لاڳو ڪريو: Peel off the protective films from both sides of a thermal pad and carefully place it onto the NVMe SSD chip area. This aids in heat dissipation.
- Insert NVMe SSD: Align your NVMe M.2 SSD (2280 form factor only) with the M-Key slot on the PCB. Insert the SSD firmly but gently into the slot at an angle.
- ايس ايس ڊي کي محفوظ ڪريو: Once inserted, gently push down the SSD and secure it with the provided screw using the included screwdriver. Ensure the SSD is flat and securely fastened.
- انڪلوزر بند ڪريو: Carefully slide the enclosure cover back into place until it clicks securely.


آپريٽنگ هدايتون
Once your NVMe SSD is securely installed, connect the enclosure to your device:
- ڊوائيس سان ڳنڍيو: Use either the provided USB-C to USB-C cable or the USB-A to USB-C cable to connect the enclosure to a compatible USB port on your computer, smartphone, tablet, or game console.
- پاور اشارو: A small LED indicator on the enclosure will illuminate, signifying that the device is powered on and connected.
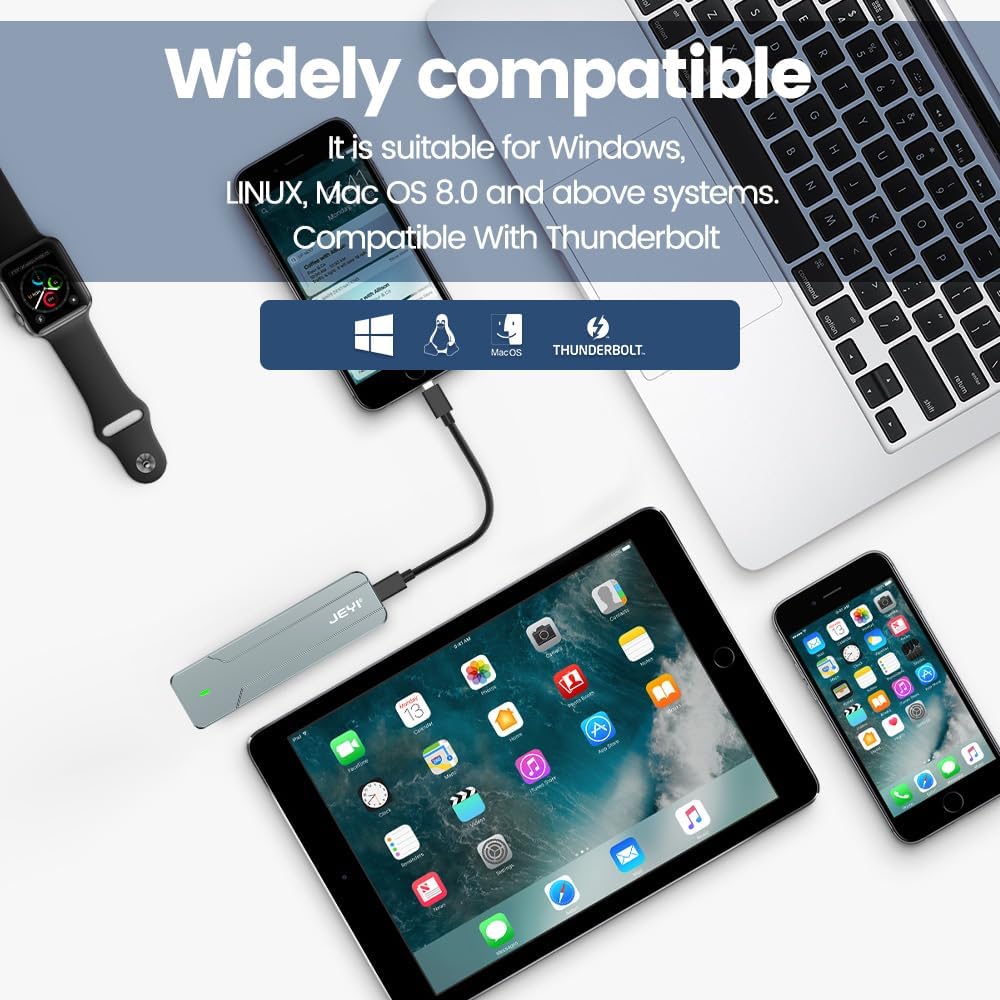
- Disk Recognition: Your operating system (Windows, macOS, Linux, Android, iOS) should automatically detect the new storage device. If it's a new SSD, you may need to initialize and format it through Disk Management (Windows) or Disk Utility (macOS) before use.
- ڊيٽا جي منتقلي: You can now perform data backup, file transfers, disk upgrades, data recovery, or use it for storage expansion. The enclosure supports USB 3.2 Gen 2 speeds up to 10Gbps.

سار سنڀال
To ensure optimal performance and longevity of your JEYI I9-Seal enclosure:
- گرمي جو انتظام: ايلومينيم جasing and thermal pads are designed for efficient heat dissipation. During prolonged high-speed data transfers, the enclosure may become warm to the touch. This is normal and indicates effective heat transfer from the SSD.
- صفائي: انڪلوزر جي ٻاهرين حصي کي صاف ڪرڻ لاءِ نرم، سڪل ڪپڙو استعمال ڪريو. مائع صاف ڪندڙ يا محلول استعمال ڪرڻ کان پاسو ڪريو.
- اسٽوريج: جڏهن استعمال ۾ نه هجي، ته انڪوزر کي سڌي سج جي روشني ۽ انتهائي گرمي پد کان پري ٿڌي، سڪل جاءِ تي رکو.
- ڪيبل جي سنڀال: Handle the USB cables carefully. Avoid sharp bends or excessive pulling to prevent damage.
مشڪلاتون
| مسئلو | ممڪن سبب | حل |
|---|---|---|
| ڪمپيوٽر پاران انڪلوزر نه مليو. |
|
|
| سست ڊيٽا منتقلي جي رفتار. |
|
|
| Enclosure gets very hot. |
|
|
وضاحتون
| خاصيت | تفصيل |
|---|---|
| ماڊل | I9-Seal |
| برانڊ | جيئي |
| ھارڊويئر انٽرفيس | USB 3.2 Gen 2 (USB-C) |
| ڊيٽا جي منتقلي جي شرح | 10 Gbps تائين |
| مطابقت رکندڙ SSD قسم | NVMe M.2 (PCI-E M-Key) |
| Supported SSD Form Factor | 2280 (80mm) only |
| وڌ ۾ وڌ اسٽوريج جي گنجائش | 4 ٽي بي |
| چپ سيٽ | JMS583 A3 |
| خاصيتون | UASP Support, TRIM Support, Win to Go (WTG) Support |
| مواد | المونيم مصر |
| رنگ | چاندي |
| پيداوار جي ماپ | 4.06 x 1.02 x 0.39 انچ (103 x 26 x 10 ملي ميٽر) |
| شيءِ جو وزن | 0.317 آونس (9 گرام) |
| مطابقت رکندڙ آپريٽنگ سسٽم | ونڊوز، MacOS، لينڪس، iOS، Android |

وارنٽي ۽ سپورٽ
For warranty information or technical support, please refer to the official JEYI website or contact their customer service directly. Details regarding specific warranty periods and support channels are typically provided with your purchase documentation or on the manufacturer's webسائيٽ.
ٺاهيندڙ: جيئي
Webسائيٽ: Visit the JEYI Store on Amazon
Ask a question about this manual
Ask about setup, troubleshooting, compatibility, parts, safety, or missing instructions. Manuals+ will review the question and use this page’s manual context to help answer it.