
1. تعارف ۽ اوورview
This manual provides detailed instructions for the installation, operation, and maintenance of your HiLook NVR-208MH-C/8P 8-Channel 4K NVR. This Network Video Recorder is designed for advanced surveillance systems, supporting up to 8 channels of 4K resolution video recording with H.265+ compression for efficient storage. It features two SATA interfaces, allowing for up to 8 TB capacity per HDD, ensuring ample storage for your security footage. Please read this manual thoroughly before operating the device to ensure proper usage and optimal performance.
2. سيٽ اپ گائيڊ
Follow these steps to set up your HiLook NVR-208MH-C/8P NVR system.
2.1 NVR Connections
Before powering on, ensure all necessary cables are connected. This includes video output to a monitor, network connection, and power supply.
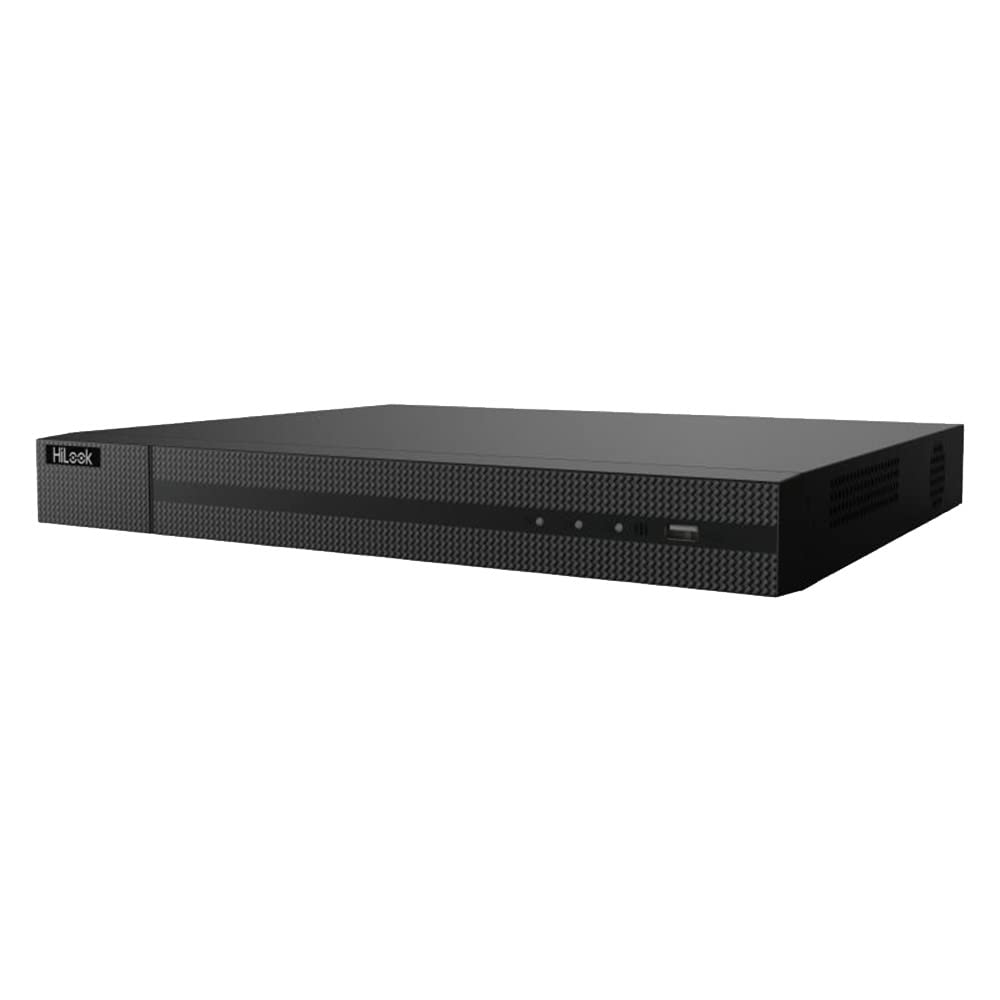
- مانيٽر سان ڳنڍيو: Plug an HDMI or VGA cable from the NVR's corresponding port to your monitor.
- USB ماؤس ڳنڍيو: Insert the USB mouse into one of the NVR's USB ports.
- نيٽ ورڪ ڪيبل ڳنڍيو: Insert an Ethernet cable into the NVR's LAN port and connect the other end to your router or network switch.
- پاور سپلائي ڳنڍيو: Plug the provided power adapter into the NVR's power input and then into a power outlet.
2.2 Camera Connection (Analog)
To connect analog cameras to your DVR system, use BNC cables for video and DC power cables for power. Ensure the BNC video output from the camera connects to the DVR's video input, and the camera's DC power input is connected to a suitable power supply.
2.3 Internet and Mobile App Connection
Connecting your NVR to the internet allows for remote viewing and management via a mobile application. Ensure your NVR is connected to your router via an Ethernet cable as described above. Then, use the mobile app to scan the QR code displayed on the NVR's monitor to add the device and access live feeds and playback.
3. آپريٽنگ هدايتون
This section covers essential operating procedures for your NVR.
3.1 Setting Recording Plan
To customize your recording schedule, access the NVR's menu, navigate to 'Configuration' > 'Record' > 'Schedule'. Here, you can define continuous recording (blue), event-triggered recording (red), or no recording (black) for specific time periods and days of the week. Remember to apply changes to save your settings.
3.2 Switching Analog Channels to IP Channels
Your NVR supports both analog and IP cameras. To switch an analog channel to an IP channel, access the NVR's menu, go to 'Configuration' > 'Camera' > 'Analog'. Select the analog channel you wish to convert and choose the 'IP' option. Confirm the change, and the NVR will reboot to apply the new settings. Note that after conversion, the BNC interface for that channel will no longer output images.
4. سار سنڀال
Regular maintenance ensures the longevity and optimal performance of your NVR system.
- صفائي: Periodically clean the NVR's exterior with a soft, dry cloth. Ensure ventilation openings are free from dust and debris to prevent overheating.
- فرم ويئر اپڊيٽس: ٺاهيندڙ جي چيڪ ڪريو website for firmware updates. Keeping your NVR's firmware up-to-date can improve performance, add new features, and enhance security.
- هارڊ ڊرائيو جي صحت: Monitor the health of your hard drives through the NVR's system settings. Replace drives if errors are detected to prevent data loss.
- Backup Critical Footage: Regularly back up critical surveillance footage to external storage devices to ensure data redundancy.
5. مسئلا حل ڪرڻ
This section addresses common issues you might encounter with your NVR.
- ڪابه وڊيو آئوٽ:
- Check HDMI/VGA cable connections to the monitor and NVR.
- پڪ ڪريو ته مانيٽر آن آهي ۽ صحيح ان پٽ سورس تي سيٽ ڪيو ويو آهي.
- Verify the NVR's power supply is connected and the unit is powered on.
- ڪئميرا تصوير ناهي:
- Check BNC video cable connections from the camera to the NVR.
- Ensure cameras are receiving power.
- If using IP cameras, verify network connectivity and IP address configuration.
- ريموٽ رسائي جا مسئلا:
- Confirm the NVR is connected to the internet (check LAN port lights).
- Ensure the mobile app is updated to the latest version.
- Verify NVR network settings and port forwarding (if applicable) on your router.
- رڪارڊنگ ڪم نه ڪري رهي آهي:
- Check the recording schedule in the NVR settings to ensure it's configured correctly.
- Verify hard drive status; ensure it's installed, initialized, and healthy.
- Check for sufficient storage space on the hard drive.
6. وضاحتون
| خاصيت | تفصيل |
|---|---|
| ماڊل | NVR-208MH-C/8P |
| برانڊ | Hikvision (HiLook) |
| چينلن جو تعداد | 8 |
| وڊيو ان پٽ | IP |
| رابطي ٽيڪنالاجي | HDMI |
| مطابقت رکندڙ ڊوائيسز | ڪئميرا |
| ميموري رکڻ جي صلاحيت | 2 TB (Supports up to 8 TB per HDD, 2 SATA interfaces) |
| هارڊ ڊسڪ جي ماپ | 2 ٽي بي |
| ميڊيا فارميٽ ڊجيٽل وڊيو | ايڇ ڊي ڊي |
| آڊيو ان پٽ | آر سي اي |
| ڪل USB بندرگاهن | 2 |
| جي ٽي آءِ اين / يو پي سي | 842571144093 |
7. وارنٽي ۽ سپورٽ
For warranty information, technical support, or service inquiries, please refer to the documentation included with your product packaging or visit the official Hikvision/HiLook website. Specific warranty terms and support contacts may vary by region.