تعارف
This manual provides instructions for the setup, operation, maintenance, and troubleshooting of your Pisichen 17.3 inch Portable Monitor. This monitor features a 1600x900 HD resolution, 800:1 contrast ratio, 250 cd/m² brightness, 16:9 aspect ratio, and a 60Hz refresh rate, designed to provide an extended display for various devices.
The monitor includes multiple interfaces for broad compatibility and a built-in kickstand for convenience. It supports various display modes for enhanced productivity and entertainment.
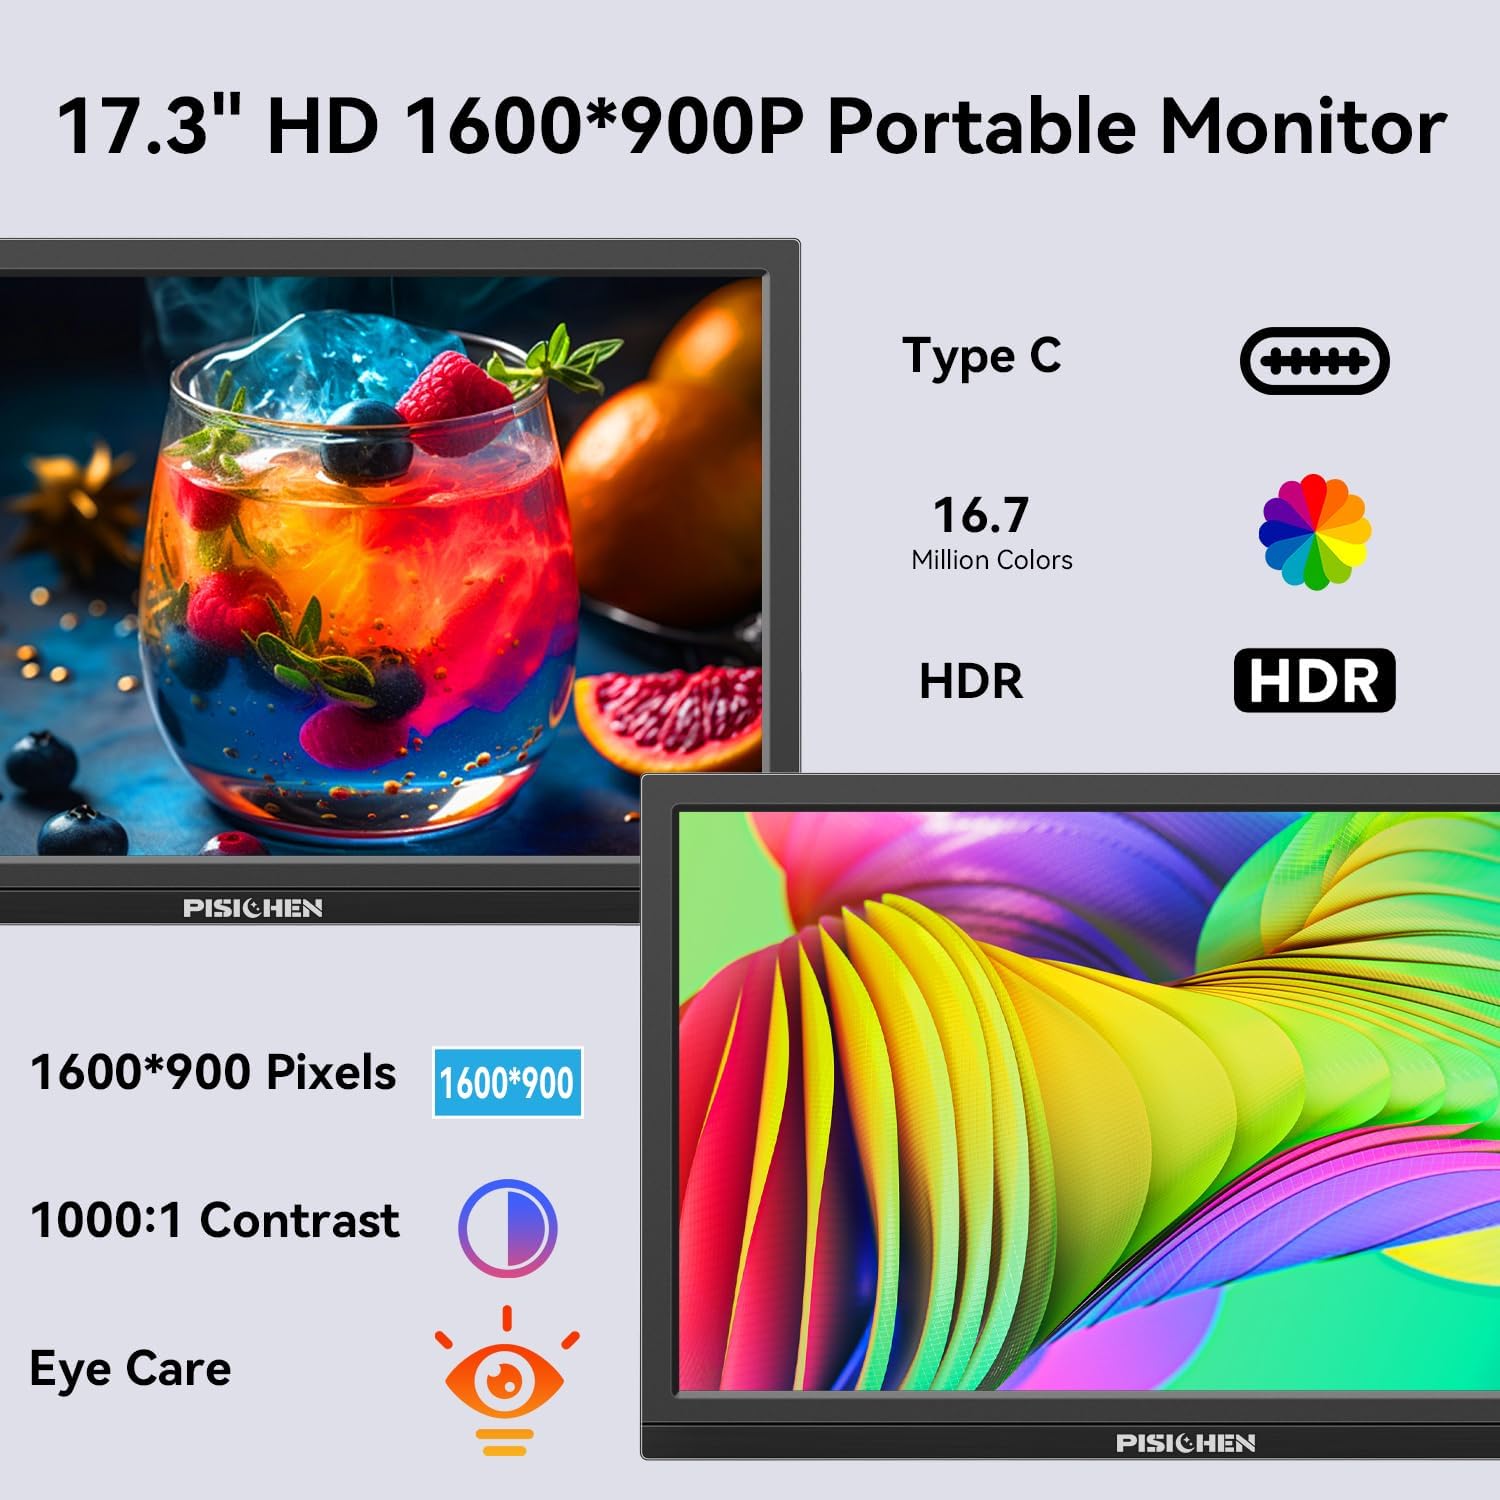
Image: The Pisichen 17.3 inch Portable Monitor highlighting its HD 1600x900 resolution, 1000:1 contrast, and eye care features.
پيڪيج مواد
پڪ ڪريو ته سڀئي شيون پيڪيج ۾ موجود آهن:
- 17.3 انچ پورٽبل مانيٽر
- ڊي سي پاور اڊاپٽر
- HDMI کان HDMI ڪيبل
- USB-C کان USB-C ڪيبل
- استعمال ڪندڙ جو دستياب (ھي دستاويز)

Image: The portable monitor and its accompanying accessories, including cables and power adapter.
سيٽ اپ جون هدايتون
1. ڳنڍڻ واري طاقت
Connect the provided DC Power Adapter to the DC Power Port on the monitor and then to a power outlet. Ensure the monitor receives sufficient power for stable operation.
2. هڪ ڊوائيس سان ڳنڍڻ
The monitor supports two primary connection methods:
- USB-C ڪنيڪشن: Use the provided USB-C to USB-C cable. Connect one end to the monitor's USB-C 3.1 port (for signal input) and the other end to a compatible USB-C 3.1 (or higher) port on your laptop, PC, or smartphone. This connection can transmit both video and power.
- HDMI ڪنيڪشن: Use the provided HDMI to HDMI cable. Connect one end to the monitor's HDMI port and the other end to the HDMI output of your device (laptop, PC, game console). When using HDMI, ensure the monitor is also connected to power via the DC power adapter.

Image: Visual guide for USB-C and HDMI connection methods, showing cable connections and power requirements.
3. جسماني سيٽ اپ
- بلٽ ان ڪيڪ اسٽينڊ: The monitor features an integrated, foldable kickstand. Gently unfold it from the back of the monitor to position the screen at a desired viewing angle on a flat surface.
- VESA چڙهڻ: For alternative mounting options, the monitor is equipped with standard 75x75mm VESA holes on the back. This allows for mounting to compatible desktop stands or wall mounts (mounting hardware not included).
آپريٽنگ هدايتون
1. Monitor Interfaces and Controls
Familiarize yourself with the ports and control buttons located on the side of the monitor:
- ڊي سي پاور پورٽ: پاور اڊاپٽر کي ڳنڍڻ لاءِ.
- 3.5mm آڊيو پورٽ: ٻاهرين هيڊفون يا اسپيڪر کي ڳنڍڻ لاءِ.
- USB C 3.1 پورٽ: For video signal input and power delivery from compatible devices.
- USB C 2.0 پورٽ: Primarily for charging phones or connecting OTG devices.
- HDMI پورٽ: For video signal input from HDMI-enabled devices.
- Brightness/Up Button: Adjusts screen brightness or navigates up in the OSD menu.
- مينيو/ٺيڪ بٽڻ: آن-اسڪرين ڊسپلي (OSD) مينيو کوليندو آهي يا چونڊن جي تصديق ڪندو آهي.
- Volume/Down Button: Adjusts audio volume or navigates down in the OSD menu.
- OTG پورٽ: For connecting a keyboard or mouse.

تصوير: تفصيلي view مانيٽر جي بندرگاهن ۽ ڪنٽرول بٽڻن جو.
2. ڊسپلي موڊس
مانيٽر مختلف ڊسپلي موڊس کي سپورٽ ڪري ٿو جڏهن هڪ مطابقت رکندڙ ڊوائيس سان ڳنڍيل هجي:
- نقل موڊ: توهان جي پرائمري اسڪرين جي مواد کي آئيني ۾ ڏيکاري ٿو.
- توسيع موڊ: Extends your desktop, providing additional screen space.
- ٻيو اسڪرين موڊ: ڊسپلي طور صرف پورٽيبل مانيٽر استعمال ڪري ٿو.
These modes can typically be configured through your device's display settings (e.g., Windows Display Settings, macOS System Preferences).

تصوير: Example of extending a smartphone's display to the portable monitor via USB-C.
3. آن-اسڪرين ڊسپلي (OSD) مينيو
کي دٻايو نامو / ٺيڪ او ايس ڊي مينيو تائين رسائي حاصل ڪرڻ لاءِ بٽڻ. استعمال ڪريو روشني/مٿي ۽ حجم/ھي buttons to navigate through options and adjust settings such as brightness, contrast, color temperature, and input source. Press نامو / ٺيڪ again to confirm selections or exit sub-menus.
4. HDR Mode
The monitor supports HDR (High Dynamic Range) technology for improved color and contrast. This mode can be enabled or disabled through the OSD menu, if supported by your connected device and content.

Image: Visual comparison of SDR and HDR display quality.
5. Low Blue Light Feature
The monitor includes a Low Blue Light feature designed to filter harmful blue light, reducing eye strain during prolonged use. This setting can be adjusted via the OSD menu.

Image: Illustration of the Low Blue Light feature for eye protection.
سار سنڀال
1. مانيٽر جي صفائي
- صاف ڪرڻ کان اڳ هميشه پاور بند ڪريو ۽ مانيٽر کي ان پلگ ڪريو.
- استعمال ڪريو نرم، lint-آزاد ڪپڙو روشنيءَ سان ڊيampپاڻي يا غير رگڙيندڙ اسڪرين ڪلينر سان صاف ڪيو وڃي.
- صاف ڪندڙ کي سڌو سنئون اسڪرين تي نه اسپري ڪريو. پهرين ان کي ڪپڙي تي لڳايو.
- Avoid using harsh chemicals, alcohol, or ammonia-based cleaners, as these can damage the screen surface.
2. اسٽوريج
When not in use, store the monitor in a cool, dry place, away from direct sunlight and extreme temperatures. If transporting, use a protective sleeve or case to prevent scratches and damage.
مشڪلاتون
جيڪڏهن توهان کي پنهنجي مانيٽر سان مسئلا درپيش اچن ٿا، ته هيٺ ڏنل عام مسئلن ۽ حلن جو حوالو ڏيو:
- ڪوبه سگنل / ڪاري اسڪرين ناهي:
- Ensure all cables (power and video) are securely connected to both the monitor and the source device.
- تصديق ڪريو ته سورس ڊيوائس آن آهي ۽ سگنل آئوٽ پُٽ ڪري رهي آهي.
- Check the input source setting on the monitor via the OSD menu to ensure it matches your connection (e.g., HDMI, USB-C).
- جيڪڏهن USB-C استعمال ڪري رهيا آهيو، ته پڪ ڪريو ته توهان جي ڊوائيس جو USB-C پورٽ وڊيو آئوٽ پُٽ (ڊسپلي پورٽ متبادل موڊ) کي سپورٽ ڪري ٿو.
- Screen is Too Dim / Cannot Adjust Brightness:
- Access the OSD menu and navigate to the brightness settings. Ensure the brightness level is increased.
- Some devices may have their own display settings that override or limit monitor brightness. Check your connected device's display settings.
- Ensure the monitor is receiving adequate power. A weak power source can sometimes affect brightness.
- No Audio / Headphone Jack Not Working:
- مانيٽر (او ايس ڊي مينيو ذريعي) ۽ پنهنجي ڳنڍيل ڊوائيس تي حجم سيٽنگون چيڪ ڪريو.
- Ensure headphones or speakers are fully plugged into the 3.5mm audio port.
- Verify that the audio output on your source device is set to the portable monitor.
- Test with different headphones or speakers to rule out a faulty audio device.
- Image Distortion / Poor Picture Quality:
- Ensure the display resolution on your source device is set to the monitor's native resolution (1600x900).
- Check for damaged or loose video cables. Try a different cable if available.
- Adjust contrast and color settings in the OSD menu.
وضاحتون
| ماڊل نمبر | SLZJ173 |
| اسڪرين جي ماپ | 17.3 انچ |
| قرارداد | 1600x900 HD |
| اسپيڪٽ ريشو | 16:9 |
| مقابلي جي نسبت | 800:1 |
| روشني | 250 cd/m² |
| ريفريش جي شرح | 60Hz |
| پينل جو قسم | TN |
| Viewزاويه | 170° |
| رنگ گامٽ | 99% sRGB, 16.7 million colors (8-bit) |
| رابطي | 1x HDMI, 1x USB-C 3.1 (signal input), 1x USB-C 2.0 (phone charging/OTG), 1x 3.5mm Audio Jack, 1x DC Power Port |
| بلٽ ان اسپيڪرز | ها |
| وي سي اي جبل | 75x75mm |
| پيداوار جي ماپ | 0.3 x 12 x 8 انچ (تقريبن) |
| شيءِ جو وزن | 3.54 پائونڊ |
وارنٽي ۽ سپورٽ
For warranty information or technical support, please contact the manufacturer, Pisichen, or the retailer from whom you purchased the product. Please have your model number (SLZJ173) and purchase details ready when contacting support.