
1. تعارف
This manual provides essential information for the installation, operation, and maintenance of your Hikvision IDS-7208HQHI-M1/XT 8-Channel 5MP Turbo HD DVR. Please read this manual thoroughly before using the product to ensure correct and safe operation. Keep this manual for future reference.
The Hikvision IDS-7208HQHI-M1/XT is an advanced 8-channel Digital Video Recorder designed for high-definition surveillance systems. It supports various video input formats, including Turbo HD, AHD, CVI, CVBS, and IP cameras, offering versatile compatibility. Key features include 5MP recording capability, H.265+ video compression for efficient storage, AcuSense technology for intelligent motion detection, and remote access via the Hik-Connect app.
2. پيڪيج مواد
Verify that all items are present and in good condition upon unpacking. If any items are missing or damaged, contact your supplier immediately.
- DVR main unit
- پاور اڊاپٽر
- USB ماؤس
3. مصنوعات جون خاصيتون
The Hikvision IDS-7208HQHI-M1/XT DVR offers a range of features designed for effective surveillance:
- 8-Channel DVR with 5MP HD Support: Supports multiple analog HD camera formats and up to 8 channels of real-time video monitoring and recording.
- Two-Way Audio Support: Enables audio communication through compatible cameras.
- Built-In AcuSense Technology: Smart analysis minimizes false alarms by focusing on human and vehicle-based motion detection.
- Remote Access via Hik-Connect App: View live video, playback recordings, and receive alerts anytime on your smartphone.
- Efficient Storage with H.265+ Compression: Saves bandwidth and hard disk space while maintaining clear video quality.
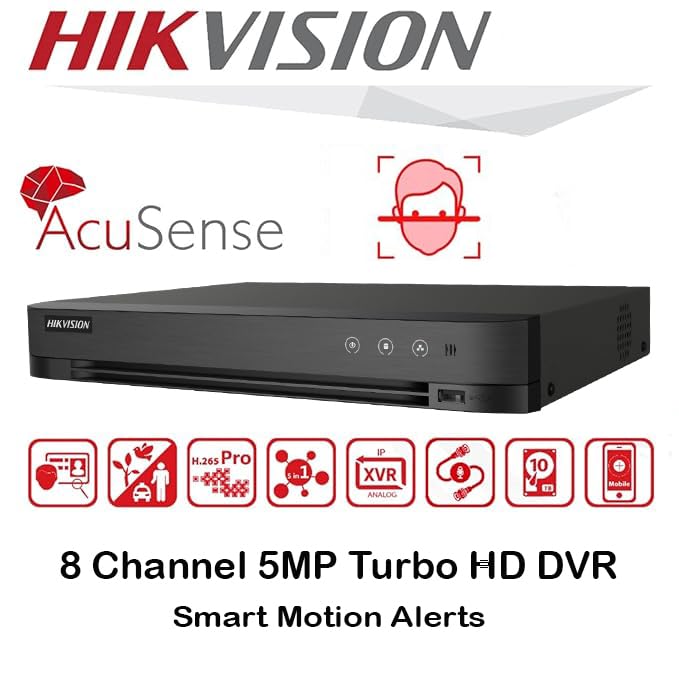
تصوير: مٿانview of key features including AcuSense, H.265+ compression, and 5MP resolution support.
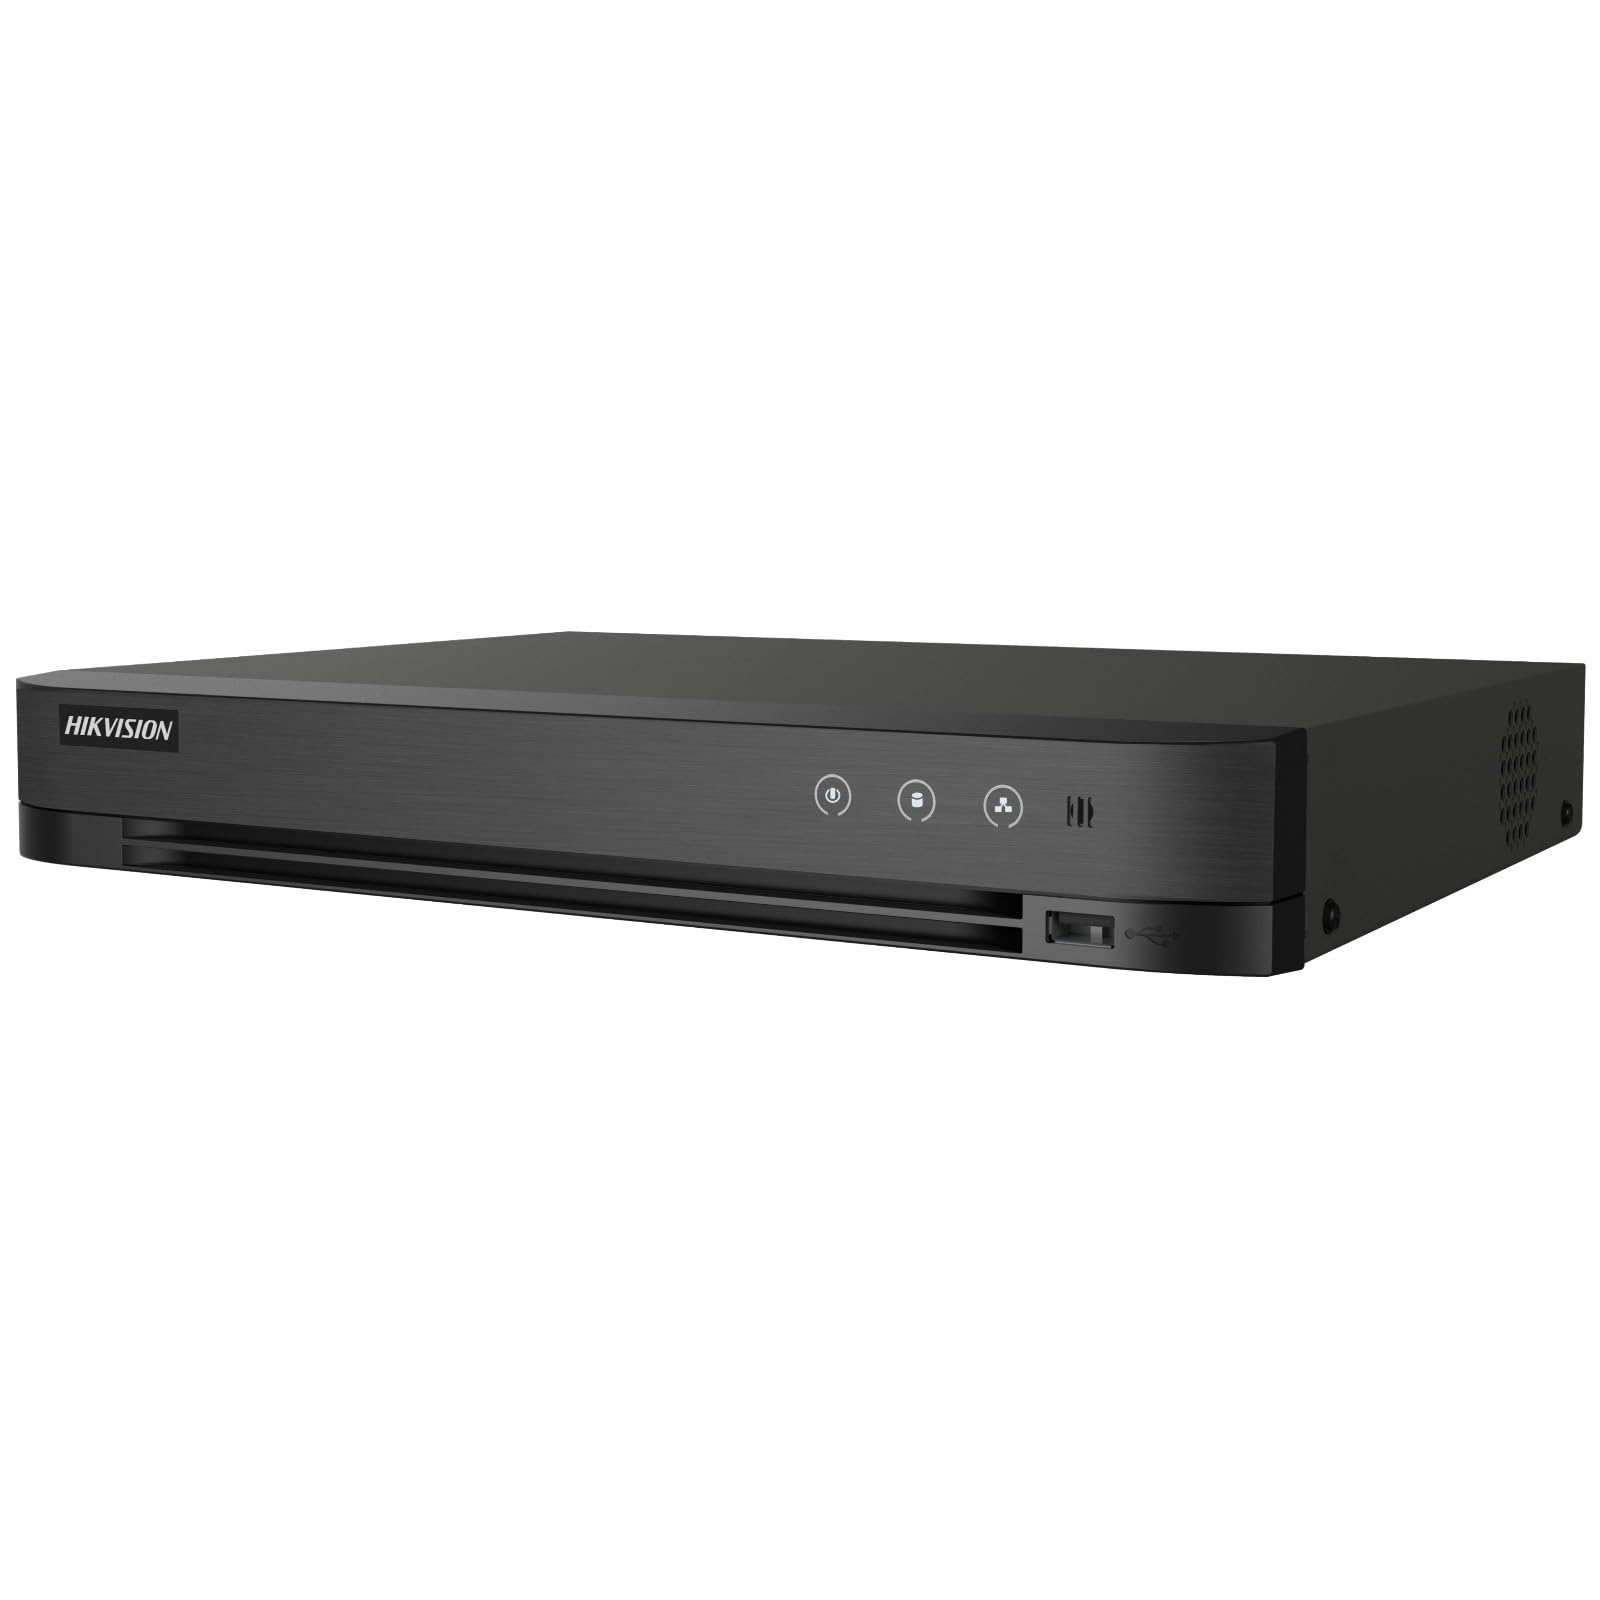
Image: The Hikvision Turbo HD DVR highlighting its support for two-way audio cameras, enabling interactive communication.
4. جسماني انٽرفيس
Familiarize yourself with the ports and indicators on the DVR unit. The following diagram illustrates the rear panel of the Hikvision IDS-7208HQHI-M1/XT DVR:

Image: Rear panel connections of the DVR, showing video inputs, audio ports, network, and power.
- Video In (BNC): Connect analog HD cameras (Turbo HD, AHD, CVI, CVBS).
- Video Out (BNC): Connect to a monitor for local display.
- Audio In (RCA): Connect external audio input devices.
- HDMI ٻاھر Connect to an HDMI-compatible monitor or TV for high-definition video output.
- VGA ٻاھر: Connect to a VGA-compatible monitor.
- آڊيو آئوٽ (RCA): Connect to external audio output devices.
- USB بندرگاهن: Connect a USB mouse, USB flash drive for backup, or external storage.
- LAN پورٽ (RJ45): Connect to your network for remote access and IP camera integration.
- آر ايس 485: For PTZ camera control (if supported).
- 12V DC پاور ان پٽ: شامل ٿيل پاور اڊاپٽر کي ڳنڍيو.
- زميني ٽرمينل For grounding the device.
5. سيٽ اپ
Follow these steps for initial setup of your DVR system:
5.1 هارڊ ڊرائيو انسٽاليشن (جيڪڏهن اڳ ۾ نصب ٿيل نه هجي)
- DVR جي مٿئين ڍڪ کي کوليو ۽ هٽايو.
- SATA ڊيٽا ڪيبل ۽ پاور ڪيبل کي هارڊ ڊرائيو سان ڳنڍيو.
- مهيا ڪيل اسڪرو استعمال ڪندي هارڊ ڊرائيو کي DVR چيسس سان محفوظ ڪريو.
- مٿيون ڍڪ تبديل ڪريو ۽ ان کي اسڪرو سان محفوظ ڪريو.
5.2 پردي کي ڳنڍڻ
- Connect your cameras to the وڊيو اندر (BNC) ports.
- مانيٽر کي ڳنڍيو HDMI or VGA آئوٽ پُٽ پورٽ.
- Connect the USB mouse to a USB پورٽ.
- Connect the DVR to your network router using an Ethernet cable plugged into the لين پورٽ.
- بجلي اڊاپٽر سان ڳنيو 12V DC پاور ان پٽ and then plug it into a power outlet.
5.3 شروعاتي ترتيب
- پهرين بوٽ تي، DVR توهان کي سيٽ اپ وزرڊ ذريعي رهنمائي ڪندو.
- Set a strong password for the administrator account.
- نيٽ ورڪ سيٽنگون ترتيب ڏيو (DHCP عام طور تي گھڻن گھرن جي نيٽ ورڪن لاءِ ڪافي هوندو آهي).
- Initialize the hard drive if prompted. This will format the drive for recording.
- Adjust date, time, and other system preferences as needed.
6. آپريٽنگ
Once the DVR is set up, you can begin monitoring and recording.
6.1 زنده View
لاگ ان ٿيڻ کان پوءِ، DVR لائيو ڏيکاريندو view مانيٽر تي ڳنڍيل ڪيمرائن مان. توهان سنگل ڪئميرا جي وچ ۾ سوئچ ڪري سگهو ٿا view ۽ ملٽي ڪئميرا گرڊ view اسڪرين تي ڪنٽرول يا مائوس استعمال ڪندي.
6.2 رڪارڊنگ
The DVR is typically configured to record continuously or based on motion detection. You can adjust recording schedules and settings through the DVR's menu system (Configuration > Record > Schedule).
6.3 پلے بیک
Toيهر ڪرڻview رڪارڊ ٿيل footagاي، ڏانهن وڃو پلئه بیک menu. Select the date, time, and camera channel to view recordings. Use the playback controls (play, pause, fast forward, rewind) to navigate through the footage.
6.4 Remote Access (Hik-Connect App)
The Hik-Connect app allows you to access your DVR remotely from a smartphone or tablet.
- پنهنجي ڊوائيس جي ايپ اسٽور تان Hik-Connect ايپ ڊائون لوڊ ڪريو.
- Create a Hik-Connect account and log in.
- Add your DVR by scanning the QR code on the DVR's label or by manually entering its serial number.
- Follow the in-app instructions to complete the device addition.
- هڪ ڀيرو شامل ڪيو ويو، توهان ڪري سگهو ٿا view live feeds, play back recordings, and receive push notifications for events.

Image: Illustration of the Hik-Connect mobile application interface, demonstrating remote access to live video and recordings.
7. سار سنڀال
باقاعده سار سنڀال توهان جي DVR سسٽم جي بهترين ڪارڪردگي ۽ ڊگهي عمر کي يقيني بڻائي ٿي.
- Clean the DVR: Periodically clean the exterior of the DVR with a soft, dry cloth. Ensure ventilation openings are free from dust to prevent overheating.
- فرم ويئر اپڊيٽس: سرڪاري Hikvision چيڪ ڪريو webفرم ويئر اپڊيٽس لاءِ سائيٽ. فرم ويئر کي اپڊيٽ ڪرڻ سان ڪارڪردگي بهتر ٿي سگهي ٿي، خاصيتون شامل ڪري سگهجن ٿيون، ۽ بگ درست ڪري سگهجن ٿيون. اپڊيٽ جي هدايتن تي احتياط سان عمل ڪريو.
- هارڊ ڊرائيو جي صحت: Monitor the health of your hard drive through the DVR's system menu (HDD انتظام). Replace the hard drive if it shows signs of failure.
- اهم فو جو بيڪ اپ وٺوtage: Regularly back up critical video footage هڪ خارجي USB ڊرائيو يا نيٽ ورڪ اسٽوريج ڏانهن.
- پاسورڊ سيڪيورٽي: Change your DVR and Hik-Connect passwords periodically to maintain security.
8. مسئلا حل ڪرڻ
هي حصو عام مسئلن کي حل ڪري ٿو جيڪي توهان کي منهن ڏئي سگهن ٿا.
8.1 مانيٽر تي ڪو به وڊيو آئوٽ پُٽ ناهي
- Check if the monitor is powered on and correctly connected to the DVR's HDMI or VGA port.
- پڪ ڪريو ته توهان جي مانيٽر تي صحيح ان پٽ سورس چونڊيو ويو آهي.
- Try connecting to a different monitor or using a different cable.
8.2 ڪيمرا نه ڏيکاري رهيا آهن
- Verify that cameras are powered on and properly connected to the DVR's BNC inputs.
- Check camera power supplies.
- Ensure the camera type (TVI, AHD, CVI, CVBS) is compatible with the DVR and configured correctly in the DVR settings.
8.3 ريموٽ رسائي ڪم نه ڪري رهي آهي
- Ensure the DVR is connected to the internet via the LAN port.
- Check network settings on the DVR (Configuration > Network).
- Verify that the Hik-Connect service is enabled on the DVR.
- پڪ ڪريو ته توهان جي اسمارٽ فون ۾ هڪ فعال انٽرنيٽ ڪنيڪشن آهي.
- Re-add the device to the Hik-Connect app if necessary.
8.4 ڪابه رڪارڊنگ ناهي
- Check if a hard drive is installed and properly initialized (Configuration > HDD).
- Verify recording schedules are set correctly (Configuration > Record > Schedule).
- Ensure there is sufficient free space on the hard drive.
9. وضاحتون
Detailed technical specifications for the Hikvision IDS-7208HQHI-M1/XT DVR:
| خاصيت | تفصيل |
|---|---|
| ماڊل نمبر | IDS-7208HQHI-M1/XT |
| وڊيو ان پٽ | 8-Channel (Turbo HD/AHD/CVI/CVBS/IP) |
| وڊيو ڪمپريشن | H.265 + / H.265 / H.264 + / H.264 |
| رڪارڊنگ جي قرارداد | 5MP تائين |
| وڊيو آئوٽ | HDMI, VGA, BNC |
| آڊيو ان پٽ/آئوٽ پٽ | 2-Way Audio Support |
| نيٽورڪ انٽرنيٽ | 1 RJ45 10M/100M Ethernet Interface |
| USB انٽرفيس | 2 x USB 2.0 |
| HDD سپورٽ | 1 SATA interface (up to 10 TB capacity per HDD) |
| بجلي جي فراهمي | 12V ڊي سي |
| طول و عرض (L x W x H) | 19.7 x 19.2 x 4.1 سينٽي |
| وزن | 1.5 ڪلو |
| ٺاهيندڙ | HIKVISION, Prama Hikvision India Pvt. Ltd. |
10. وارنٽي ۽ سپورٽ
For warranty information and technical support, please refer to the warranty card included with your product or visit the official Hikvision webسائيٽ. وارنٽي دعوائن لاءِ خريداري جي ثبوت طور پنهنجي خريداري جي رسيد رکو.
For further assistance, contact Hikvision customer support or your authorized dealer.