1. تعارف
This manual provides essential instructions for the installation, operation, and maintenance of your Raymarine Element 9 HV Sonar/GPS unit. Please read this manual thoroughly before using the device to ensure proper functionality and to maximize your experience.
The Raymarine Element 9 HV series offers advanced sonar and GPS capabilities, including HyperVision 1.2 megahertz sonar technology for high-resolution DownVision, SideVision, and RealVision 3D imaging. It features a sunlight-viewable display, an integrated GPS/GNSS receiver, and a fast Quad-Core processor for efficient chart redraw and sharp 3D imaging. The LightHouse Sport Operating System is designed for ease of use, with intuitive controls and programmable keys.
2. پيڪيج مواد
پڪ ڪريو ته هيٺ ڏنل سڀئي شيون توهان جي پراڊڪٽ پيڪنگنگ ۾ موجود آهن:
- Raymarine Element 9 HV Display Unit
- HV-100 Transducer (if included with your specific model)
- Trunnion bracket with mounting hardware
- Power/NMEA2000 cable
- Documentation pack (including this manual)
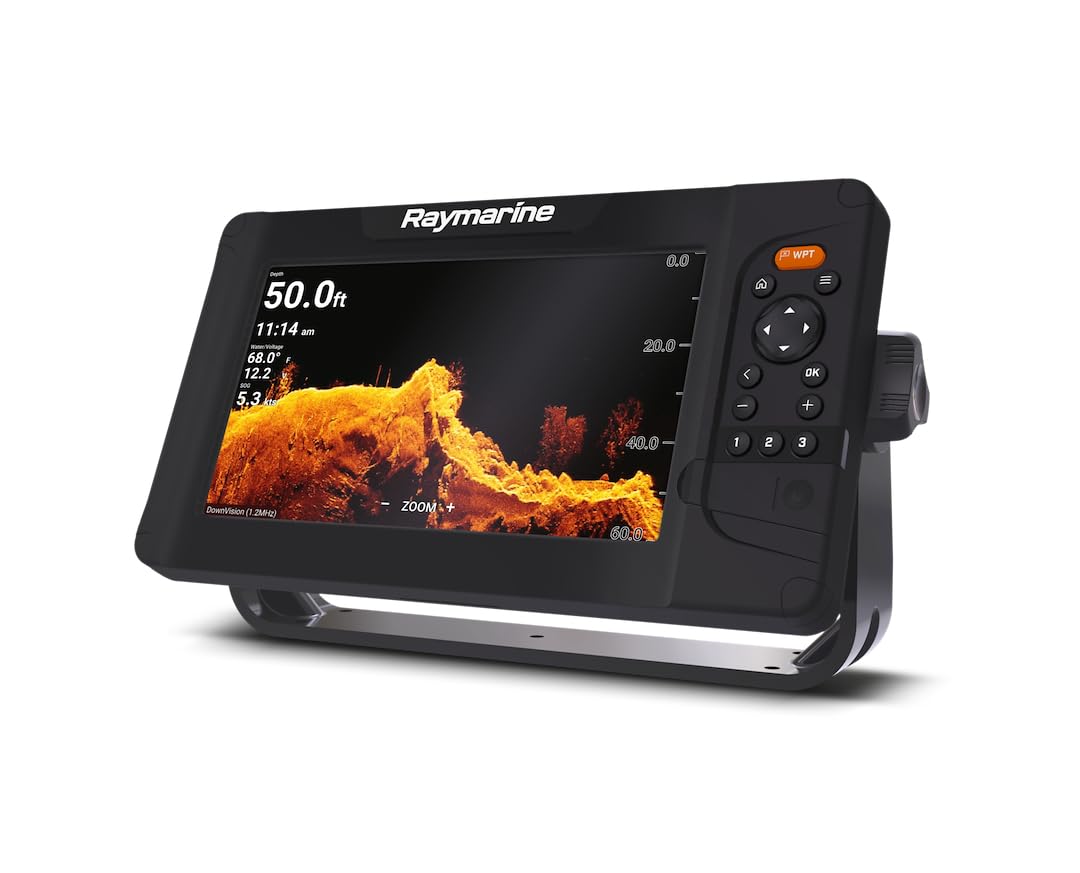
Figure 1: Raymarine Element 9 HV Display Unit. This image shows the main display unit with a sonar view of the underwater environment, highlighting its user interface and physical design.
3. سيٽ اپ ۽ تنصيب
Proper installation is crucial for the optimal performance of your Element 9 HV unit. It is recommended that installation be performed by a qualified marine electronics technician.
3.1 ڊسپلي يونٽ لڳائڻ
The Element 9 HV display unit can be mounted using the included trunnion bracket. Choose a location that provides clear visibility, is protected from excessive moisture, and allows for easy access to controls.
- Position the trunnion bracket on the desired mounting surface.
- Mark the drill holes using the bracket as a template.
- Drill pilot holes appropriate for the mounting hardware.
- Secure the trunnion bracket using the provided screws.
- Attach the Element 9 HV display unit to the trunnion bracket and secure it with the side knobs.
3.2 Transducer Installation (HV-100)
The HV-100 transducer is designed for transom mounting. Ensure the transducer is mounted in a location free from turbulence and obstructions for best sonar performance.
- Select a mounting location on the transom that is clear of propellers, strakes, and other hull features that could create air bubbles.
- Ensure the transducer face is submerged and parallel to the waterline when the vessel is at speed.
- Follow the specific instructions provided with the HV-100 transducer for drilling and sealing mounting holes.
- Route the transducer cable away from engine noise and other electrical interference.
3.3 Power and Network Connections
Connect the Element 9 HV to a 12V DC power source and, if applicable, to a NMEA2000 network.
- Connect the red wire from the power cable to the positive (+) terminal of your vessel's 12V DC power supply.
- Connect the black wire from the power cable to the negative (-) terminal of your vessel's 12V DC power supply.
- پڪ ڪريو ته سڀئي ڪنيڪشن محفوظ آهن ۽ صحيح طور تي موصل آهن.
- For NMEA2000 connectivity, connect the NMEA2000 cable to the appropriate port on the Element 9 HV and to your vessel's NMEA2000 backbone.
4. آپريٽنگ هدايتون
The Element 9 HV features the LightHouse Sport Operating System, designed for intuitive control.
4.1 پاور آن/آف
- To power on: Press and hold the Power button (usually located on the side or front panel) until the Raymarine logo appears.
- To power off: Press and hold the Power button until the shutdown menu appears, then select "Power Off".
4.2 Basic Navigation and Menus
The Element 9 HV uses a combination of physical buttons and an intuitive menu system.
- هدايتي پيڊ: Use to navigate through menus and pan charts.
- OKيڪ بٽڻ: چونڊ جي تصديق ڪري ٿي.
- مينيو بٽڻ: Accesses the main menu or context-sensitive menus.
- WPT (Waypoint) Button: Quickly marks your current location as a waypoint.
- Zoom In/Out (+/-) Buttons: Adjusts zoom levels on charts and sonar views.
4.3 Sonar Operation (HyperVision, DownVision, SideVision, RealVision 3D)
The Element 9 HV provides various sonar views for detailed underwater imaging.
- From the home screen, select the desired sonar application (e.g., "Sonar", "DownVision", "SideVision", "3D").
- Adjust gain, range, and other settings via the menu to optimize the sonar image for current conditions.
- Utilize HyperVision mode for extremely high-resolution imaging of structures and fish.
4.4 Chartplotter and GPS Functions
The integrated GPS/GNSS receiver allows for precise navigation and chart plotting.
- چارٽ View: Displays your vessel's position on electronic charts (LightHouse NC2, Navionics, C-MAP supported).
- رستا پوائنٽ: Mark and save specific locations. Use the WPT button for quick marking.
- رستا: گھڻن رستن جي وچ ۾ رستا ٺاھيو ۽ انھن جي پيروي ڪريو.
- ٽريڪز: Record your vessel's path for later review.
- RealBathy / SonarCharts Live: Create custom bathymetric maps in real-time using your sonar data.
5. سار سنڀال
Regular maintenance ensures the longevity and performance of your Element 9 HV unit.
5.1 ڊسپلي کي صاف ڪرڻ
- نرم، صاف، ڊي استعمال ڪريوamp cloth to wipe the screen.
- For stubborn marks, use a mild glass cleaner applied to the cloth (not directly to the screen).
- Avoid abrasive cleaners or solvents, as these can damage the screen coating.
5.2 Transducer Care
- Periodically inspect the transducer for marine growth or damage.
- Clean the transducer face with a soft brush and mild soap and water. Do not use harsh chemicals or abrasive tools.
- Ensure the transducer cable is free from kinks or damage.
5.3 سافٽ ويئر اپڊيٽ
Raymarine regularly releases software updates to improve performance and add new features. Visit the official Raymarine website for the latest software and update instructions.
6. مسئلا حل ڪرڻ
This section addresses common issues you might encounter with your Element 9 HV unit.
| مسئلو | ممڪن سبب | حل |
|---|---|---|
| يونٽ پاور نه آهي | No power, faulty connection, blown fuse | Check power cable connections, inspect fuse in power circuit, verify battery voltage. |
| No sonar image | Transducer not connected, faulty transducer, air bubbles under transducer | Ensure transducer is securely connected. Check transducer for damage. Verify transducer mounting location is free from turbulence. |
| Inaccurate GPS position | Poor satellite reception, GPS antenna obstruction | پڪ ڪريو ته يونٽ صاف آهي view of the sky. Check for any obstructions blocking the GPS antenna. |
| اسڪرين منجمد ٿيڻ يا غير جوابده | Software glitch, overheating | Perform a soft reset (refer to the full manual for instructions). Ensure adequate ventilation around the unit. |
If the problem persists after attempting these solutions, please contact Raymarine customer support.
7. وضاحتون
| خاصيت | تفصيل |
|---|---|
| ماڊل نالو | Element 9 HV |
| ماڊل نمبر | E70534-05-NAG |
| برانڊ | ريمارين |
| اسڪرين جي ماپ | 9 انچ |
| ڊسپلي جو قسم | ايل سي ڊي |
| طاقت جو ذريعو | DC Power Supply (12V) |
| Sonar Technology | HyperVision 1.2 MHz, DownVision, SideVision, RealVision 3D, CHIRP Sonar |
| جي پي ايس ايس / جي ايم ايس ايس | انٽيگريٽيڊ رسيور |
| Cartography Support | Raymarine LightHouse NC2, Navionics, C-MAP |
| چڙهڻ جو قسم | Surface Mount (Trunnion Bracket) |
| پيداوار جي ماپ | 12.05"ليٽر x 12.05"ڊبليو x 15.63"ايڇ |
| شيءِ جو وزن | 9.55 پائونڊ |
| يو پي سي | 723193831649 |
8. وارنٽي ۽ سپورٽ
Raymarine products are backed by a manufacturer's warranty. For specific warranty terms and conditions, please refer to the warranty card included with your product or visit the official Raymarine webسائيٽ.
For technical support, service, or to register your product, please visit the Raymarine support portal or contact their customer service department. Keep your model number (E70534-05-NAG) and serial number ready when contacting support.
آن لائين وسيلا: www.raymarine.com/support


