1. تعارف
This manual provides detailed instructions for the setup, operation, and maintenance of your visiPower H885 8MP Trail Camera. Please read this manual thoroughly before using the camera to ensure optimal performance and longevity.
The visiPower H885 is a high-performance trail camera designed for capturing wildlife images and videos. It features an 8-megapixel sensor, 2.4-inch TFT LCD, infrared flash for night vision, and three PIR sensors for motion detection. Its waterproof design ensures reliable operation in various outdoor conditions.
2. پيڪيج مواد
پڪ ڪريو ته سڀئي شيون توهان جي پيڪيج ۾ موجود آهن:
- visiPower H885 Trail Camera
- USB ڪيبل
- اي ڪي ڪيبل
- چڙهڻ واري پٽي
- Wall Mount Bracket and Screws
- استعمال ڪندڙ جو دستياب (ھي دستاويز)

Image: Contents of the visiPower H885 Trail Camera package.
3. ڪئميرا ختمview

تصوير: سامهون view of the visiPower H885 Trail Camera.

تصوير: پاسي view of the visiPower H885 Trail Camera.
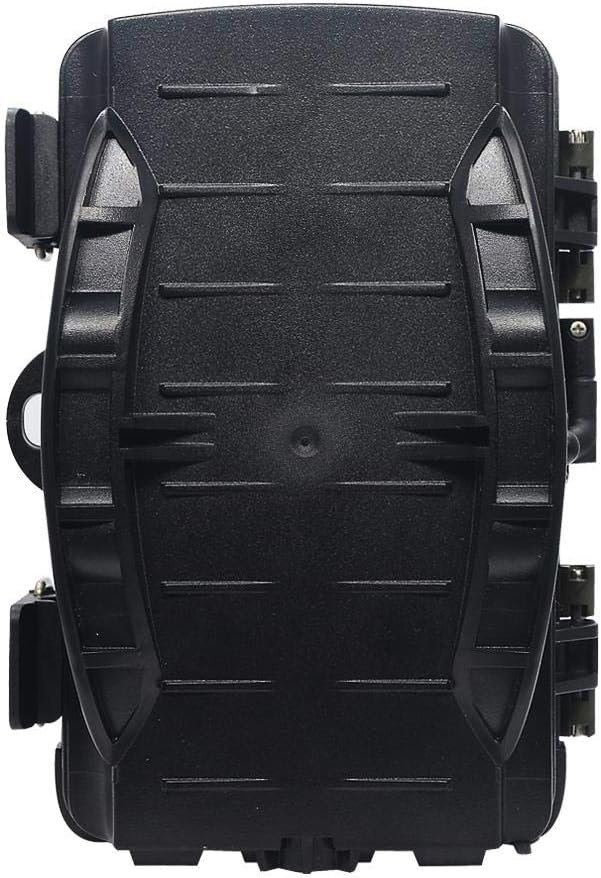
تصوير: پوئتي view of the visiPower H885 Trail Camera.
4. سيٽ اپ
4.1. بيٽري لڳائڻ
- ڪئميرا جي هائوسنگ کي ريل ذريعي کوليوasing the side latches.
- بيٽري جي ڪمري کي ڳولھيو.
- 8 AA بيٽريون داخل ڪريو، صحيح پولارٽي کي يقيني بڻائي (+/-).
- بيٽري جي ڪمري کي محفوظ طور تي بند ڪريو.
نوٽ: The camera also supports an external 6V/1.5A power source and is compatible with solar batteries (sold separately).
4.2. ايس ڊي ڪارڊ لڳائڻ
- ڪئميرا بند ٿيڻ سان، SD ڪارڊ سلاٽ ڳوليو.
- Insert a TF (Micro SD) card (up to 32GB) into the slot until it clicks into place.
- To remove, press the card gently until it springs out.
اهم: Format the SD card using the camera's menu settings before first use to ensure compatibility.
4.3. ڪئميرا لڳائڻ
The camera can be mounted using the included strap or wall mount bracket.
- Strap Mounting: Thread the mounting strap through the slots on the back of the camera and secure it around a tree or pole.
- ڀت جبل: Use the provided screws and wall anchors to attach the bracket to a flat surface. Then, attach the camera to the bracket.
Position the camera to cover the desired area, ensuring no obstructions block the PIR sensors or lens.
5. ڪئميرا کي هلائڻ
5.1. پاور آن/آف
Locate the power switch inside the camera housing. Switch it to the "ON" position to power on the camera. Switch to "OFF" to power off.
5.2. آپريٽنگ موڊس
The camera typically operates in three modes:
- بند ڪريو ڪئميرا بند آهي.
- سيٽ اپ ڪريو: Allows access to the menu for configuring settings, viewing images/videos, and manually taking photos/videos.
- ON (Active): The camera is armed and will capture images or videos based on motion detection and configured settings. The LCD screen will turn off after a few seconds to conserve power.
5.3. مينيو سيٽنگون
In SETUP mode, use the navigation buttons to access and adjust settings on the 2.4-inch TFT LCD. Common settings include:
- موڊ: Photo, Video, or Photo + Video.
- فوٽو حل: 16MP, 12MP, 8MP, 5MP.
- وڊيو قرارداد: 1080p (25fps), 720p (30fps).
- پير حساسيت: اعليٰ، وچولو، گهٽ.
- ٽرگر وقفو: Time delay between detections.
- وقت گذرڻ: For capturing images at set intervals.
- تاريخ/وقت: موجوده تاريخ ۽ وقت مقرر ڪريو.
- ايس ڊي ڪارڊ فارميٽ ڪريو. ايس ڊي ڪارڊ تي سڀ ڊيٽا ختم ڪريو.
- لامحدود گرفتاري: On/Off (Loop recording).

Image: Camera displaying captured content on its LCD screen.
5.4. تصويرون ۽ وڊيوز ڪيپچر ڪرڻ
Once settings are configured, switch the camera to the "ON" position. The camera will enter active mode and begin monitoring for motion. When motion is detected by the PIR sensors, the camera will trigger and capture photos or videos according to your settings.

Image: Illustration of the camera's 20-meter detection range.
6. سار سنڀال
- صفائي: Use a soft, dry cloth to clean the camera lens and PIR sensors. Avoid abrasive materials or harsh chemicals.
- بيٽري مٽائڻ: Replace all batteries when the low battery indicator appears or when performance degrades.
- ايس ڊي ڪارڊ انتظام: Regularly check the SD card capacity and transfer important files to a computer. Format the card periodically.
- اسٽوريج: جڏهن گهڻي وقت تائين استعمال ۾ نه هجي، ته بيٽريون ڪڍي ڇڏيو ۽ ڪئميرا کي ٿڌي، سڪل جاءِ تي ذخيرو ڪريو.
7. مسئلا حل ڪرڻ
- ڪئميرا تي طاقت نه آهي:
- پڪ ڪريو ته بيٽريون صحيح پولارٽي سان صحيح طرح سان داخل ڪيون ويون آهن.
- Check if batteries are fully charged or replace them.
- Verify the power switch is in the "ON" or "SETUP" position.
- Camera not capturing images/videos:
- Check if the SD card is inserted correctly and has sufficient free space.
- ايس ڊي ڪارڊ ٺاهيو.
- Adjust PIR sensitivity settings.
- Ensure the camera is in "ON" mode, not "SETUP".
- خراب تصوير/وڊيو معيار:
- ڪئميرا لينس کي صاف ڪريو.
- Check resolution settings in the menu.
- Ensure adequate lighting for daytime shots; for night shots, ensure objects are within IR flash range.
- False triggers:
- Reduce PIR sensitivity.
- Avoid placing the camera near heat sources or moving branches that could trigger the sensor.
8. وضاحتون
| خاصيت | تفصيل |
|---|---|
| اڃا تائين تصويري قرارداد | 8MP (Effective), 16MP/12MP/5MP selectable |
| وڊيو قرارداد | 1080p @ 25fps, 720p @ 30fps |
| ڏيکاريو | 2.4 انچ TFT LCD |
| PIR سينسر | 3 PIR sensors (Main PIR 60°, Side PIRs for 120° total sensing angle) |
| IR فليش فاصلو | 20 ميٽر (65 فوٽ) تائين |
| ٽرگر جي رفتار | 0.6 seconds (Pre-boot 0.2 seconds) |
| پاڻي جي مزاحمت | IP56 پنروڪ |
| ياداشت | Supports TF (Micro SD) card up to 32GB |
| طاقت جو ذريعو | 8x AA batteries; External 6V/1.5A DC; Supports solar battery (optional) |
| اسٽينڊ بائي ٽائيم | 12 مهينن تائين |
| آڊيو | بلٽ ان مائڪروفون ۽ اسپيڪر |
| لينس زاويه | 108 درجا |
| وڊيو ڪيپچر فارميٽ | MPEG-4 |
| يو پي سي | 614024391237 |
9. وارنٽي ۽ سپورٽ
For warranty information and technical support, please refer to the documentation provided at the time of purchase or contact visiPower customer service. Keep your purchase receipt as proof of purchase.
For further assistance, visit the official visiPower webسائيٽ تي وڃو يا انهن جي سپورٽ ٽيم سان سڌو رابطو ڪريو.

