1. تعارف
This manual provides comprehensive instructions for the installation, operation, and maintenance of your CALEX Smart Mini Indoor IP Camera. Please read this manual thoroughly before using the product to ensure proper functionality and safety.
The CALEX Smart Mini Indoor IP Camera is a Wi-Fi surveillance camera offering 1080P Full HD resolution, night vision capabilities, two-way audio communication, and flexible storage options via MicroSD card or cloud.
2. پيڪيج مواد
پڪ ڪريو ته سڀئي شيون پيڪيج ۾ موجود آهن:
- 1 x CALEX Smart Mini Indoor IP Camera
- 1 x Power Adapter (AC 220-240 V, 50/60 Hz input; DC 5 V output)
- 1 x USB ڪيبل
- 1 x استعمال ڪندڙ دستياب (هي دستاويز)
- Mounting accessories (if applicable, not explicitly listed but common for cameras)

Figure 2.1: CALEX Smart Mini Indoor IP Camera and its retail packaging. The packaging highlights 1080P Full HD, Wi-Fi 2.4 GHz, and compatibility with the Calex Smart app.
3. پراڊڪٽ ختمview
Familiarize yourself with the components of your CALEX Smart Mini Indoor IP Camera.
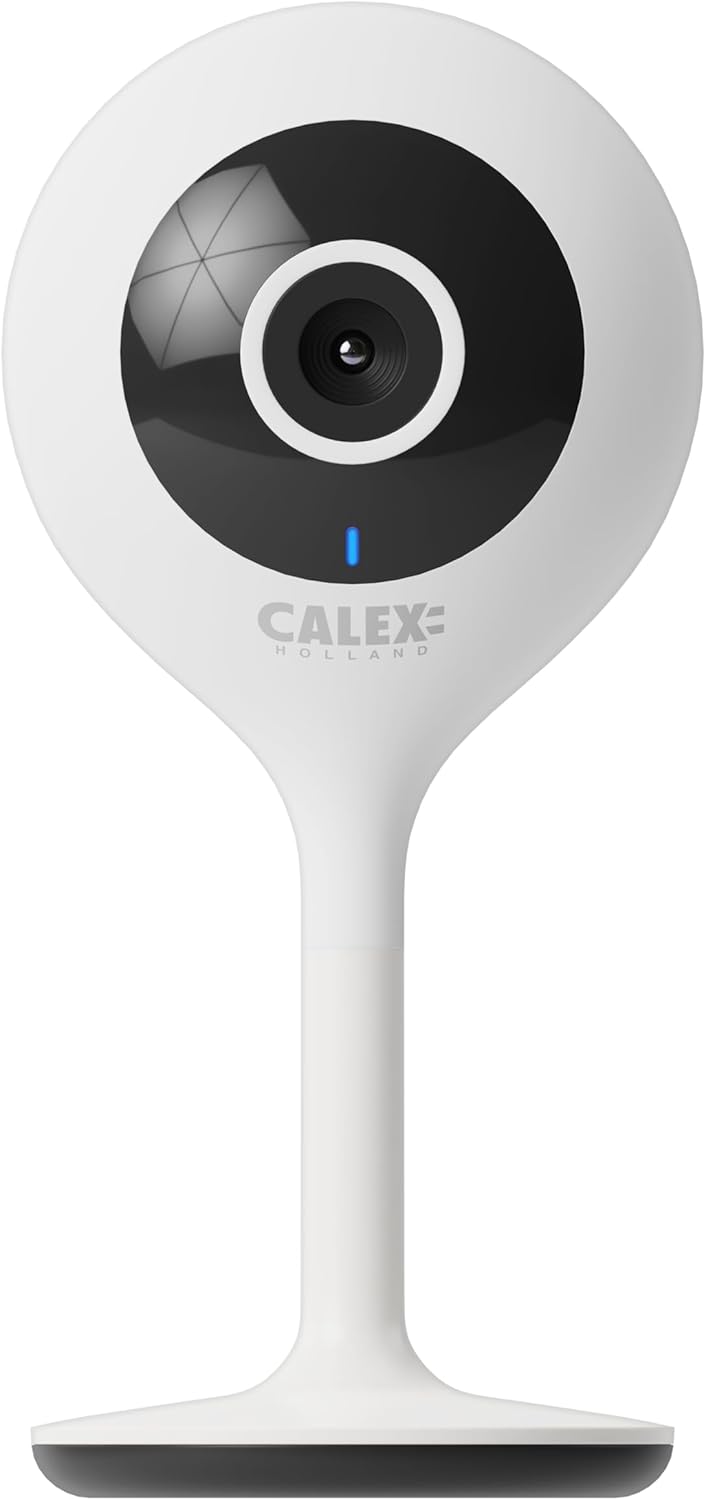
شڪل 3.1: سامهون view of the CALEX Smart Mini Indoor IP Camera. It features a central lens, an indicator light, and the CALEX HOLLAND logo.

شڪل 3.2: پوئتي view of the CALEX Smart Mini Indoor IP Camera. This view shows the speaker grille, a reset button, and the MicroSD card slot. The USB power input is located at the base.
اهم خاصيتون:
- مڪمل HD 1080P قرارداد: واضح ۽ تفصيلي وڊيو foo مهيا ڪريtage.
- رات جو خواب: Equipped with infrared LEDs for clear monitoring in low-light or dark conditions.
- ٻه طرفي آڊيو: رابطي لاءِ بلٽ ان مائڪروفون ۽ اسپيڪر.
- وائي فائي ڪنيڪشن: Connects to your home Wi-Fi network (2.4 GHz only).
- مقامي اسٽوريج: Supports MicroSD card for continuous recording or event-triggered recording.
- Cloud Storage: Optional cloud storage service for secure off-site recording.
- حرڪت جي چڪاس: Alerts and records upon detecting movement.
- موبائل ايپ ڪنٽرول: انتظام ڪريو ۽ view live feed via the Calex Smart app.
- وائس اسسٽنٽ مطابقت: Works with Amazon Alexa and Google Home.
4. سيٽ اپ ۽ تنصيب
4.1 توهان کان اڳ شروع ڪريو
- پڪ ڪريو ته توهان جو وائي فائي نيٽ ورڪ 2.4 GHz آهي. ڪئميرا 5 GHz وائي فائي کي سپورٽ نٿو ڪري.
- Have your Wi-Fi network name (SSID) and password ready.
- Download the "Calex Smart" app from your mobile device's app store.
- Place the camera within range of your Wi-Fi router.

Figure 4.1: QR codes for downloading the Calex Smart app. Scan the appropriate QR code for your device (iOS or Android) to download the application.
Download the Calex Smart app here: iOS ايپ اسٽور | Google Play Store
4.2 شروعاتي سيٽ اپ مرحلا
- پاور آن: Connect the camera to a power outlet using the provided USB cable and power adapter. The camera's indicator light will begin to flash, indicating it is ready for pairing.
- Open Calex Smart App: Launch the Calex Smart app on your smartphone. If you are a new user, register an account. If you already have an account, log in.
- ڊوائيس شامل ڪريو: Tap the "+" icon in the top right corner of the app to add a new device. Select "Security & Video Surveillance" and then "Smart Camera".
- اشاري جي حيثيت جي تصديق ڪريو: Follow the in-app instructions. Confirm that the indicator light on your camera is flashing rapidly.
- وائي فائي تفصيل داخل ڪريو: Enter your 2.4 GHz Wi-Fi network name and password when prompted.
- QR ڪوڊ اسڪين ڪريو: The app will generate a QR code. Hold your phone with the QR code approximately 15-20 cm (6-8 inches) in front of the camera lens. The camera will emit a sound when it successfully scans the QR code.
- ڪنيڪشن: Tap "I heard a prompt" in the app. The camera will then attempt to connect to your Wi-Fi network. Once connected, the indicator light will turn solid blue.
- ڊوائيس جو نالو: Once connected, you can name your camera (e.g., "Living Room Camera", "Nursery Camera").


شڪل 4.2: مثالamples of the Calex Smart app interface. The left image shows a live camera feed with options for screenshot, speaking, and recording. The right image shows a settings screen within the app.
5. پنهنجي ڪئميرا کي هلائڻ
5.1 زنده View
Open the Calex Smart app and select your camera from the device list to access the live video feed. You can view the feed in portrait or landscape mode.

شڪل 5.1: هڪ استعمال ڪندڙ viewing the live feed from the CALEX Smart Mini Indoor IP Camera on their smartphone.
5.2 ٻه طرفي آڊيو
رهڻ دوران view, tap the microphone icon to speak through the camera's speaker. Tap the speaker icon to listen to audio from the camera's microphone.
5.3 رڪارڊنگ ۽ پلے بیک
- دستي رڪارڊنگ: Tap the "Record" button in the live view interface to start or stop manual recording. Recordings are saved to your phone's gallery.
- اسڪرين شاٽ: Tap the "Screenshot" button to capture a still image from the live feed.
- مائڪرو ايس ڊي ڪارڊ رڪارڊنگ: Insert a MicroSD card (up to 128GB, not included) into the camera's slot for continuous or event-triggered recording. Ensure the card is formatted within the app settings.
- Cloud Storage: Subscribe to the cloud storage service via the app for secure, off-site storage of event recordings.
- پلے بیک: رسائي رڪارڊ ٿيل footage from the "Playback" section within the camera's settings in the app.

Figure 5.2: The Calex Smart app interface displaying options for cloud storage and video playback. This allows users to review رڪارڊ ٿيل واقعا.
5.4 حرڪت جي ڳولا ۽ خبرداريون
Configure motion detection sensitivity and alert settings in the app. You will receive push notifications on your smartphone when motion is detected.
5.5 وائيس ڪنٽرول (Alexa/Google Home)
To integrate your camera with Amazon Alexa or Google Home, follow the instructions in the respective voice assistant app to enable the "Calex Smart" skill/action. You can then use voice commands to view the camera feed on compatible smart displays.

Figure 5.3: A couple using voice commands with an Amazon Echo device, demonstrating the camera's compatibility with smart home ecosystems like Alexa and Google Home.
6. سار سنڀال
- صفائي: ڪئميرا لينس ۽ باڊي صاف ڪرڻ لاءِ نرم، سڪل ڪپڙو استعمال ڪريو. مائع صاف ڪندڙ يا ايروسول استعمال نه ڪريو.
- فرم ويئر اپڊيٽس: Periodically check the Calex Smart app for available firmware updates for your camera. Keeping the firmware updated ensures optimal performance and security.
- ڪئميرا ري سيٽ ڪرڻ: If you experience connectivity issues or need to reconfigure the camera, locate the reset button on the back of the device (refer to Figure 3.2). Use a pin or a straightened paperclip to press and hold the reset button for approximately 5-10 seconds until the indicator light flashes rapidly. This will restore the camera to factory settings.
7. مسئلا حل ڪرڻ
| مسئلو | ممڪن سبب | حل |
|---|---|---|
| ڪئميرا وائي فائي سان ڳنڍڻ ۾ ناڪام ٿيو. | Incorrect Wi-Fi password; 5 GHz Wi-Fi network; camera too far from router; Wi-Fi signal interference. |
|
| No live video feed. | Camera offline; poor internet connection; app issue. |
|
| مائڪرو ايس ڊي ڪارڊ جي سڃاڻپ نه ٿي. | Card not inserted correctly; card corrupted; unsupported card size/format. |
|
| ٻه طرفي آڊيو ڪم نه ڪري رهيو آهي. | Microphone/speaker muted in app; low volume; app permissions. |
|
8. وضاحتون
| خاصيت | تفصيل |
|---|---|
| ماڊل نالو | سمارٽ سيڪيورٽي |
| ماڊل نمبر | 5501000300 |
| قرارداد | 1080p مڪمل ايڇ ڊي |
| رابطي | وائي فائي (صرف 2.4 GHz) |
| پاور ان پٽ | AC 220-240 Volts, 50/60 Hz |
| پاور آئوٽ پٽ (اڊاپٽر) | ڊي سي 5 وولٽ |
| بجلي جو استعمال | 5 واٽ |
| طول و عرض (L x W x H) | 3.2 x 5.3 x 11 سينٽي (1.26 x 2.09 x 4.33 انچ) |
| وزن | 167 گرام (0.37 پائونڊ) |
| مواد | پلاسٽڪ |
| رنگ | اڇو |
| اسٽوريج جا اختيار | مائڪرو ايس ڊي (128GB تائين)، ڪلائوڊ اسٽوريج |
| خاص خاصيتون | Night Vision, Two-Way Audio, Motion Detection, Compatible with Alexa/Google Home |
| ماحول جو استعمال | اندريون |
9. وارنٽي ۽ سپورٽ
CALEX products are designed and manufactured to the highest quality standards. For warranty information and technical support, please refer to the official CALEX webسائيٽ تي وڃو يا سڌو سنئون انهن جي ڪسٽمر سروس سان رابطو ڪريو.
ٺاهيندڙ: ڪيلڪس
وڌيڪ مدد لاء، دورو ڪريو جي CALEX Official Webسائيٽ.
10. حفاظت جي ڄاڻ
- Do not expose the camera to water or moisture. This product is designed for indoor use only.
- Do not attempt to disassemble or repair the camera yourself. Refer all servicing to qualified personnel.
- Use only the provided power adapter and cable to prevent damage or fire.
- Keep the camera away from direct sunlight, heat sources, and strong magnetic fields.
- Ensure the camera is placed on a stable surface to prevent it from falling.


