تعارف
This manual provides detailed instructions for the installation, operation, and maintenance of your AXAGON ADSA-ST USB 3.0 Docking Station. This device is designed to connect 2.5" and 3.5" SATA SSDs and HDDs to your computer via a USB 3.0 interface, offering fast data transfer speeds.
Please read this manual thoroughly before using the product to ensure proper functionality and to prevent damage.
پيڪيج مواد
پڪ ڪريو ته سڀئي جزا پيڪيج ۾ موجود آهن:
- AXAGON ADSA-ST Docking Station
- USB 3.0 Type-A to Micro-B cable
- پاور اڊاپٽر
- استعمال ڪندڙ جو دستياب (ھي دستاويز)

Image: The AXAGON ADSA-ST Docking Station shown alongside its retail packaging, illustrating the product and its box.
اهم خاصيتون
- Supports 2.5" and 3.5" SATA I/II/III SSDs and HDDs.
- USB 3.0 (USB 3.2 Gen 1) interface with up to 5 Gbps transfer speed.
- SATA 6G (SATA III) support.
- UASP (USB Attached SCSI Protocol) support for enhanced performance.
- TRIM support for SSDs.
- HDD Auto Spindown function.
- LED indication for power and activity.
- Compact design with aluminum body.

تصوير: الف view of the AXAGON ADSA-ST Docking Station highlighting its 5 Gbps USB 3.2 Gen 1 speed and compact size.
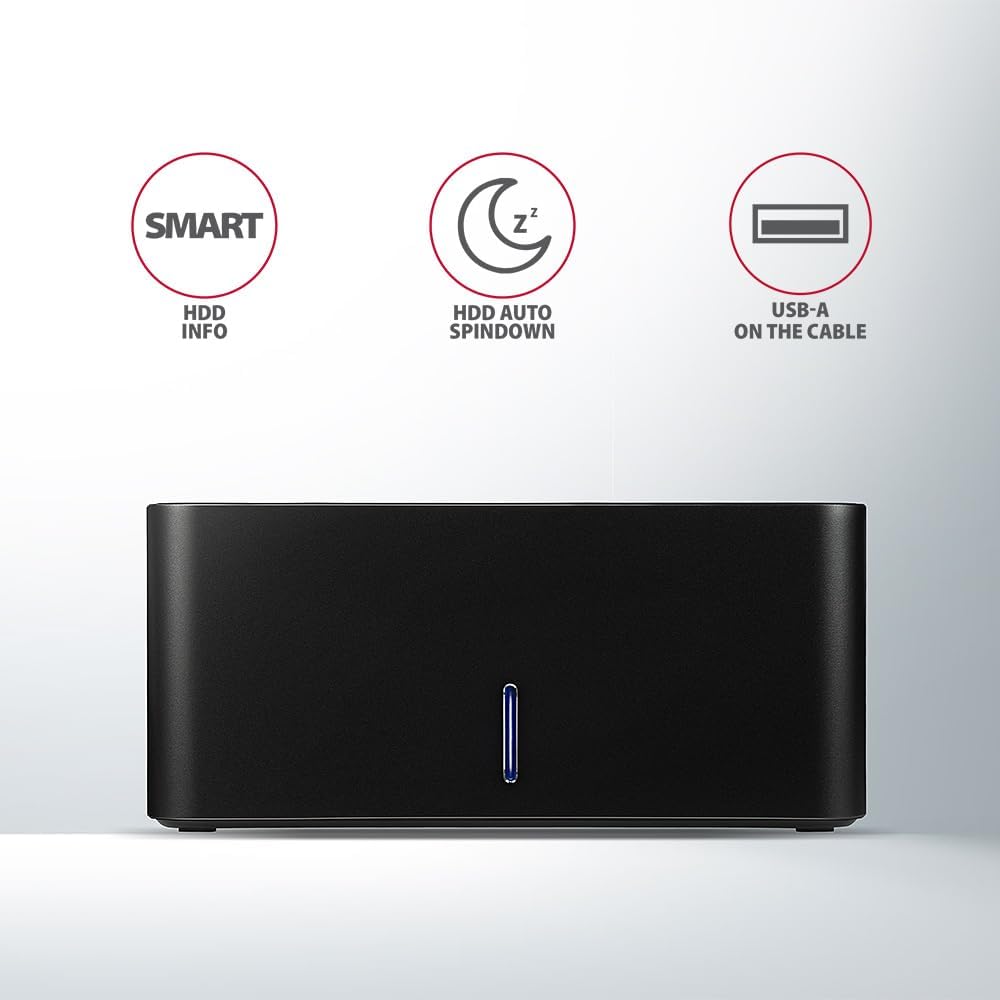
Image: The docking station from the front, indicating features like SMART HDD info, automatic HDD spindown, and USB-A connectivity.
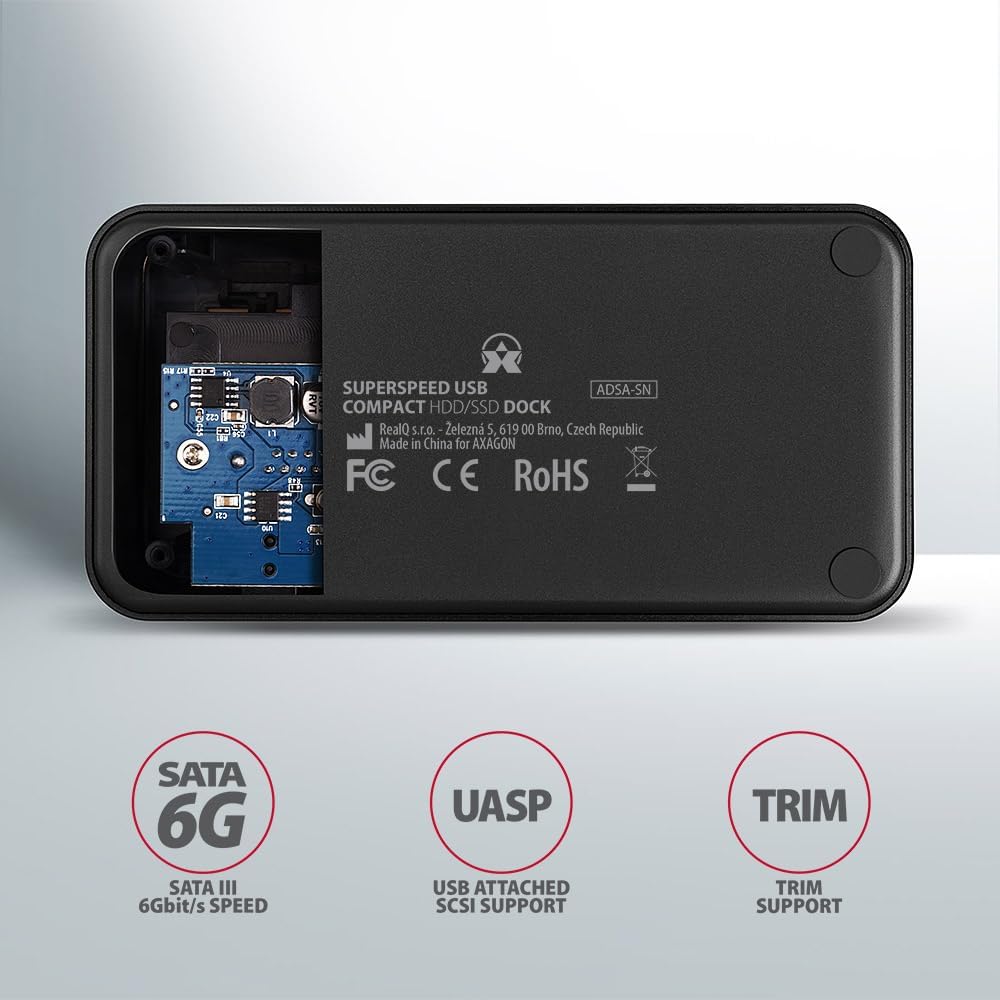
Image: The underside of the docking station, showing internal components and highlighting SATA 6G, UASP, and TRIM support.
سيٽ اپ جون هدايتون
- پاور اڊاپٽر ڳنڍيو: Plug the included power adapter into the DC IN port on the back of the docking station and then into a power outlet.
- ڪمپيوٽر سان ڳنڍيو: Connect the USB 3.0 cable from the docking station's Micro-B port to an available USB 3.0 (or higher) port on your computer.
- HDD/SSD داخل ڪريو:
- For 2.5" SSD/HDD: Gently slide the 2.5" drive into the slot until it connects firmly with the SATA connector.
- For 3.5" HDD: Gently slide the 3.5" drive into the slot until it connects firmly with the SATA connector.
Ensure the drive is inserted correctly with the SATA connector facing the correct direction. Do not force the drive.

Image: A 2.5-inch SSD being inserted into the docking station, demonstrating compatibility with smaller drives.
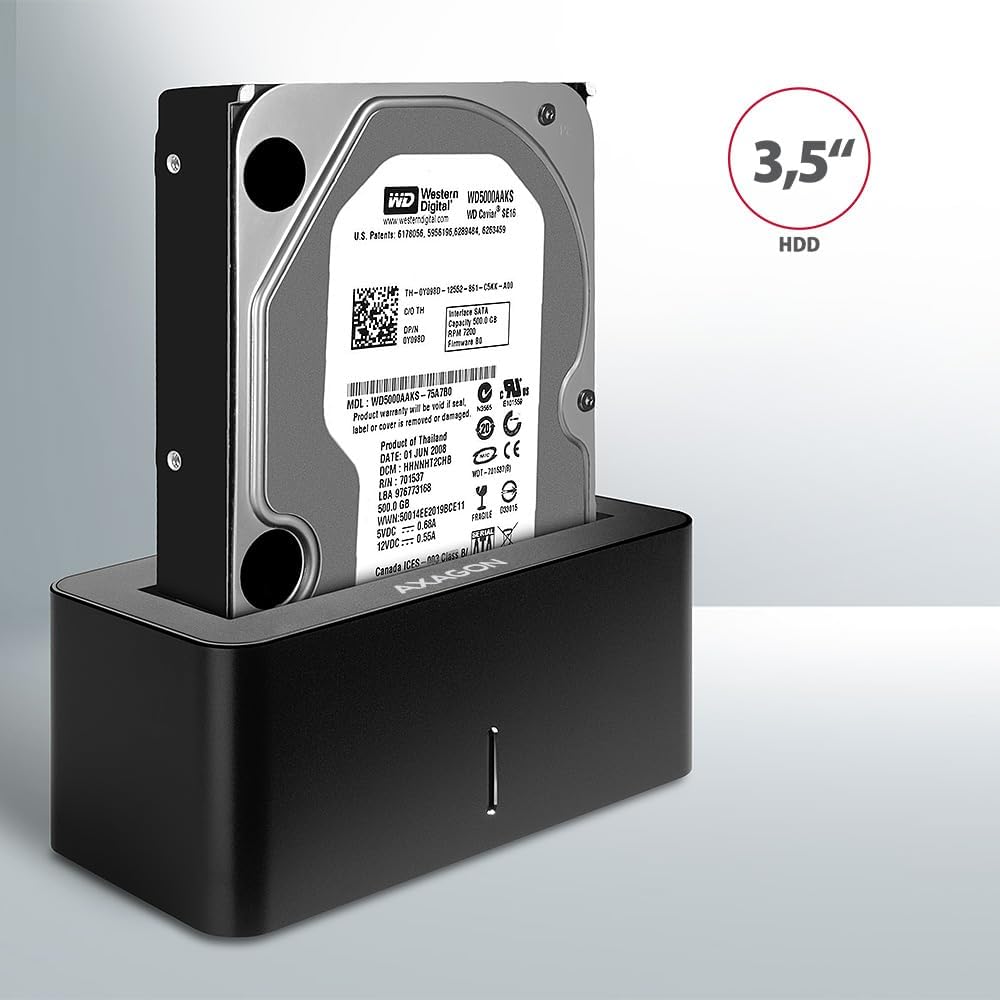
Image: A 3.5-inch HDD being inserted into the docking station, demonstrating compatibility with larger drives.
- پاور آن: Press the power button located on the back of the docking station. The LED indicator on the front will illuminate.
Image: The rear panel of the docking station, showing the power button, USB Micro-B port, and power input for connection.
آپريٽنگ هدايتون
Drive Recognition
Once powered on and connected, your operating system should automatically detect the inserted drive. If it's a new drive, you may need to initialize and format it through Disk Management (Windows) or Disk Utility (macOS) before it appears in File ڳولا ڪندڙ/ڳوليندڙ.
LED اشارو
The LED indicator on the front of the docking station provides status information:
- جامد نيرو: Power on, drive idle.
- چمڪندڙ نيرو: Drive activity (reading or writing data).
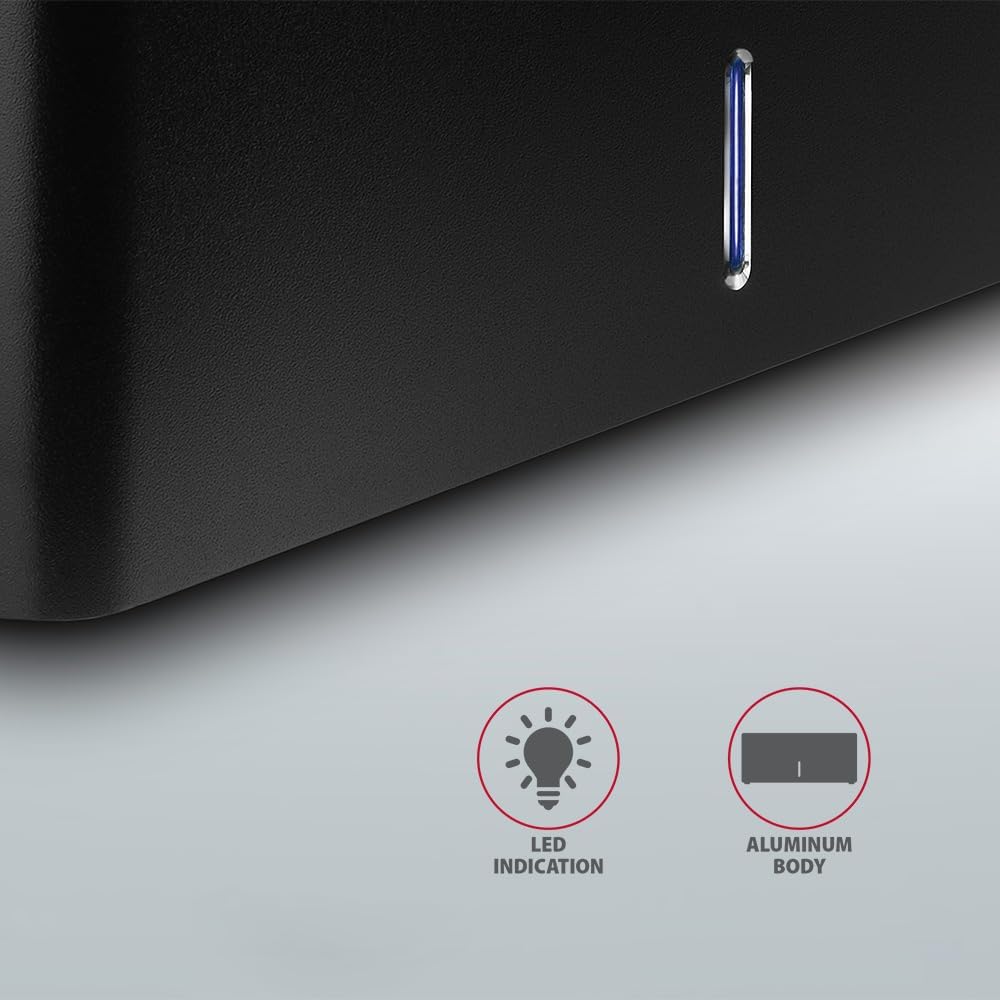
تصوير: هڪ ويجهو تصوير view of the docking station's front panel, highlighting the LED indicator light.
Removing a Drive
Before removing a drive, always safely eject it from your operating system to prevent data corruption. After ejection, gently pull the drive straight out of the docking station slot.
HDD Auto Spindown
The docking station supports automatic spindown of the HDD when it is idle for a certain period, conserving power and extending drive lifespan. This feature is managed by the operating system or the drive itself.
سار سنڀال
- ڊاکنگ اسٽيشن کي صاف ۽ مٽيءَ کان پاڪ رکو. صفائي لاءِ نرم، سڪل ڪپڙو استعمال ڪريو.
- ڊوائيس کي انتهائي گرمي پد، نمي، يا سڌي سج جي روشني کي ظاهر ڪرڻ کان بچاء.
- پاڻ ڊوائيس کي ڌار ڪرڻ يا مرمت ڪرڻ جي ڪوشش نه ڪريو. قابل سروس اهلڪارن سان رجوع ڪريو.
- Ensure proper ventilation around the docking station during operation.
مشڪلاتون
- ڊرائيو نه ملي:
- پڪ ڪريو ته پاور اڊاپٽر محفوظ طور تي ڳنڍيل آهي ۽ ڊاکنگ اسٽيشن آن آهي.
- Verify the USB cable is properly connected to both the docking station and the computer.
- توهان جي ڪمپيوٽر تي هڪ مختلف USB پورٽ جي ڪوشش ڪريو.
- Ensure the HDD/SSD is fully seated in the docking station's slot.
- ڊسڪ مئنيجمينٽ (ونڊوز) يا ڊسڪ يوٽيلٽي (macOS) چيڪ ڪريو ته ڇا ڊرائيو سڃاتي وئي آهي پر شروع نه ڪئي وئي آهي/غير فارميٽ ٿيل آهي.
- Test with a different HDD/SSD to rule out a drive issue.
- سست منتقلي جي رفتار:
- Ensure the docking station is connected to a USB 3.0 (or higher) port on your computer. USB 2.0 ports will limit speeds.
- پڪ ڪريو ته توهان جو آپريٽنگ سسٽم ۽ ڊرائيور اپڊيٽ آهن.
- The actual speed depends on the drive's performance and your computer's USB controller.
- Drive disconnects randomly:
- سڀ ڪيبل ڪنيڪشن چيڪ ڪريو.
- پڪ ڪريو ته پاور اڊاپٽر مستحڪم بجلي فراهم ڪري رهيو آهي.
- Disable USB power saving features in your computer's operating system settings.
ٽيڪنيڪل وضاحتون
| خاصيت | تفصيل |
|---|---|
| برانڊ | AXAGON |
| ماڊل نمبر | ADSA-SN |
| هارڊويئر پليٽ فارم | PC |
| مطابقت رکندڙ ڊوائيسز | ليپ ٽاپ، ڊيسڪ ٽاپ پي سي |
| ڊرائيو مطابقت | 2.5" / 3.5" SATA I/II/III SSD/HDD |
| انٽرفيس | USB 3.0 (USB 3.2 Gen 1) |
| ڊيٽا جي منتقلي جي شرح | Up to 5 Gbps (USB 3.0), 6 Gbps (SATA III) |
| ڪل USB بندرگاهن | 1 (Micro-B) |
| ڊرائيو بيز جو تعداد | 1 |
| رنگ | ڪارو |
| شيءِ جو وزن | 2.2 پائونڊ (تقريبن 1 ڪلوگرام) |
| پيڪيج جي ماپ | 3.94 x 0.79 x 0.39 انچ (تقريبن 10 x 2 x 1 سينٽي ميٽر) |
| تاريخ پهرين دستياب | مارچ 30، 2021 |
وارنٽي ۽ سپورٽ
For warranty information and technical support, please refer to the official AXAGON webسائيٽ تي وڃو يا پنهنجي مقامي ورهائيندڙ سان رابطو ڪريو. وارنٽي دعوائن لاءِ خريداري جو ثبوت رکو.


