1. تعارف
This manual provides detailed instructions for the setup, operation, maintenance, and troubleshooting of your Ducky One 3 Mini Pro Nazca 8K 60% Hotswap RGB PBT Mechanical Keyboard. Please read this manual thoroughly to ensure proper usage and to maximize your keyboard's performance.
2. سيٽ اپ
2.1 پيڪيج مواد
- Ducky One 3 Mini Pro Nazca Mechanical Keyboard
- USB-C to USB-A Braided Cable
- ڪيپ ڪيپيندڙ
- مٽائڻ وارو
- Additional Keycaps (design specific)
2.2 ڪي بورڊ کي ڳنڍڻ
- Locate the USB-C port on the back of your Ducky One 3 Mini Pro keyboard.
- Connect the USB-C end of the provided braided cable to the keyboard.
- ڪيبل جي USB-A ڇيڙي کي پنهنجي ڪمپيوٽر تي موجود USB پورٽ سان ڳنڍيو.
- The keyboard will automatically be detected and installed by your operating system.

Image: The Ducky One 3 Mini Pro keyboard connected via its braided USB cable, highlighting the cable's quality and the keyboard's compact design.
2.3 ڪي بورڊ جي زاويه کي ترتيب ڏيڻ
The keyboard features adjustable feet on the underside to change the typing angle for ergonomic comfort. Gently flip out the stands to your preferred height.

Image: The underside of the Ducky One 3 Mini Pro keyboard, illustrating the adjustable feet that allow users to customize the typing angle for improved ergonomics.
3. آپريٽنگ هدايتون
3.1 اهم خاصيتون
- 60٪ لي آئوٽ: Compact design, ideal for maximizing desk space and portability.
- Cherry MX2A Brown Switches: Tactile switches with a 55g actuation force, offering a balance of typing feedback and quiet operation.
- 8K پولنگ ريٽ: Ensures ultra-responsive input with minimal lag for high-performance gaming.
- Triple-Shot PBT Keycaps: Highly durable keycaps with legends that will not fade, providing a premium typing experience.
- ڏکڻ طرف منهن ڪندڙ آر جي بي لائيٽنگ: Customizable RGB backlighting for enhanced visibility and aesthetic appeal, compatible with most keycaps.
- گرم مٽائي سگھڻ وارا سوئچ: سولڊرنگ کان سواءِ سوئچز کي آسانيءَ سان تبديل ڪرڻ جي اجازت ڏئي ٿو.
- Poron Film: Integrated for enhanced typing comfort, reduced noise, and increased durability.

تصوير: هڪ صاف مٿي کان هيٺ تائين view of the Ducky One 3 Mini Pro keyboard, showcasing its compact 60% layout and keycap design.

Image: The Ducky One 3 Mini Pro keyboard with its customizable RGB backlighting illuminated, demonstrating its aesthetic capabilities.
3.2 Function Layer
Due to its 60% layout, many functions are accessed via a secondary layer using the Fn key in combination with other keys. Refer to the keyboard's included quick guide or Ducky's official website for a full list of function layer commands, including media controls, lighting adjustments, and macro programming.
4. سار سنڀال
4.1 ڪي بورڊ صاف ڪرڻ
- صفائي ڪرڻ کان اڳ ڪيبورڊ کي ڪمپيوٽر کان ڌار ڪريو.
- نرم، لِنٽ کان خالي ڪپڙو استعمال ڪريو ڊيampened with a small amount of water or a mild cleaning solution to wipe down the keycaps and casing.
- وڌيڪ گهري صفائي لاءِ، مهيا ڪيل ڪي ڪيپ پلر استعمال ڪندي ڪي ڪيپس کي هٽايو ۽ هيٺان دٻيل هوا يا ننڍڙي برش سان صاف ڪريو.
4.2 ڪي ڪيپس ۽ سوئچز کي تبديل ڪرڻ
Your Ducky One 3 Mini Pro keyboard features hot-swappable switches, allowing for easy customization.
- ڪي ڪيپ هٽائڻ: Use the keycap puller to gently grasp the keycap and pull straight up.
- مٽائڻ مٽايو Once the keycap is removed, use the switch puller to carefully grip the switch from its top and bottom clips, then pull straight up.
- انسٽاليشن مٽايو نئين سوئچ جي پنن کي پي سي بي تي سوراخن سان ترتيب ڏيو. مضبوطيءَ سان دٻايو جيستائين سوئچ پنهنجي جاءِ تي ڪلڪ نه ڪري. پڪ ڪريو ته پن مڙيل نه آهن.
- ڪي ڪيپ لڳائڻ: گهربل ڪي ڪيپ کي سوئچ اسٽيم تي رکو ۽ نرميءَ سان دٻايو جيستائين اهو محفوظ نه ٿئي.

Image: A hand demonstrating the use of a switch puller to remove a mechanical switch from the Ducky One 3 Mini Pro keyboard, highlighting its hot-swappable feature.
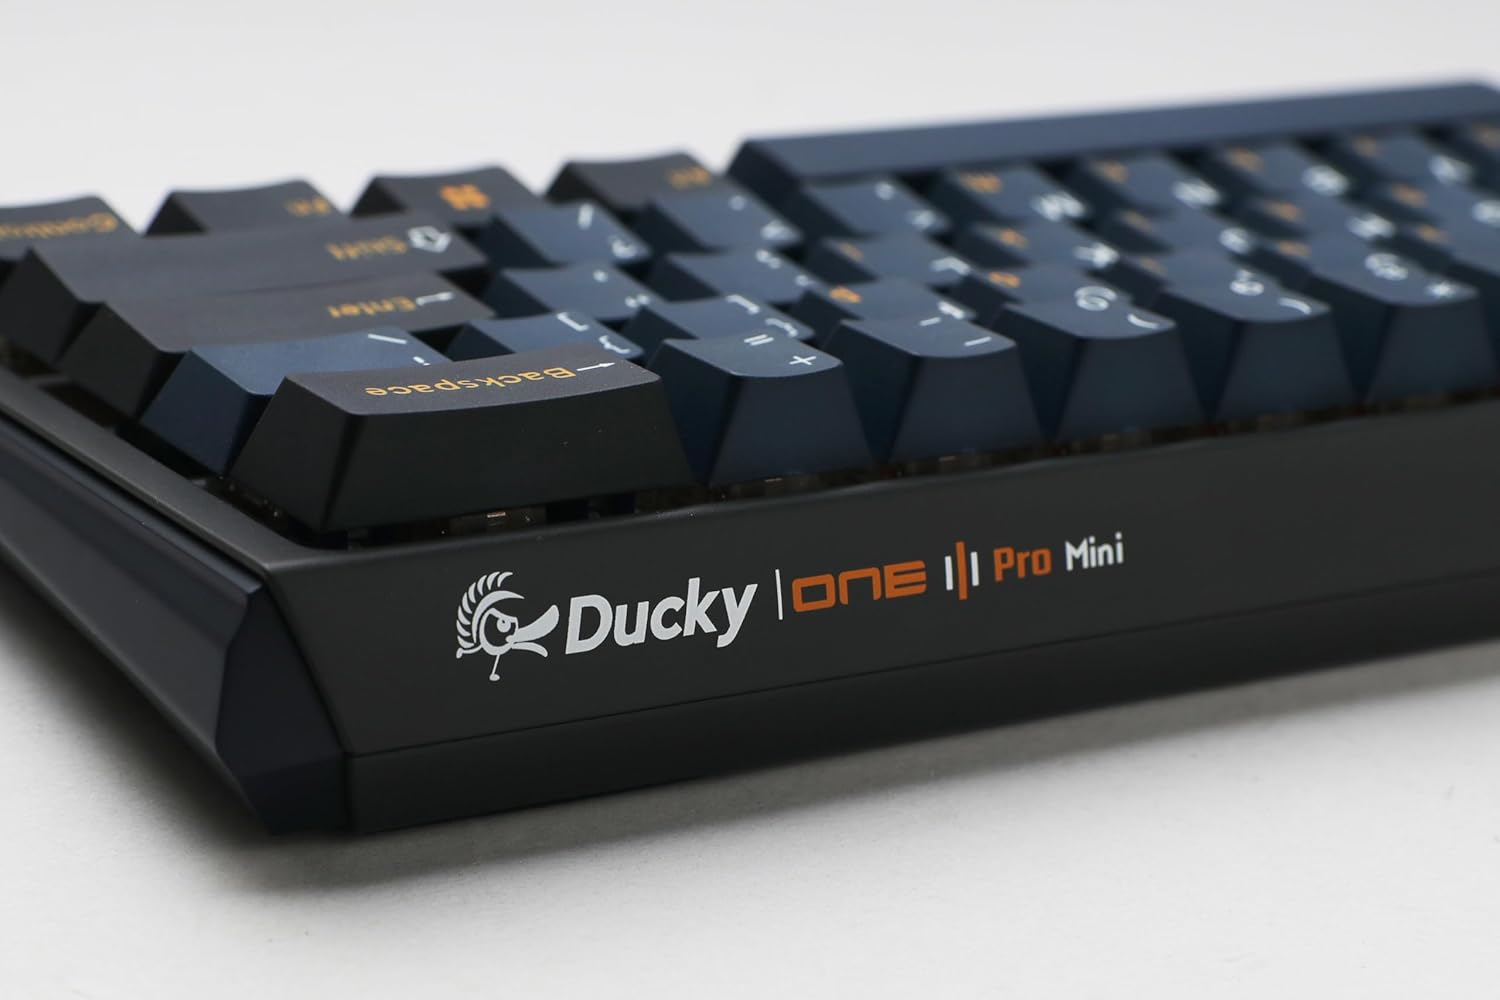
Image: Two mechanical switches and their corresponding keycaps are shown removed from the Ducky One 3 Mini Pro keyboard, illustrating the ease of customization.
5. مسئلا حل ڪرڻ
5.1 ڪي بورڊ جواب نه ڏئي رهيو آهي
- پڪ ڪريو ته USB ڪيبل ڪيبورڊ ۽ ڪمپيوٽر ٻنهي سان محفوظ طور تي ڳنڍيل آهي.
- ڪيبورڊ کي پنهنجي ڪمپيوٽر تي ڪنهن ٻئي USB پورٽ سان ڳنڍڻ جي ڪوشش ڪريو.
- ٻئي ڪمپيوٽر تي ڪيبورڊ ٽيسٽ ڪريو ته اهو طئي ڪيو وڃي ته مسئلو ڪيبورڊ سان آهي يا ڪمپيوٽر سان.
- پنهنجي ڪمپيوٽر کي ٻيهر شروع ڪريو.
5.2 آر جي بي لائيٽنگ جا مسئلا
- Check the keyboard's function layer commands for RGB lighting control (e.g., brightness, mode changes).
- جيڪڏهن توهان ٽئين پارٽي لائيٽنگ ڪنٽرول ايپليڪيشن استعمال ڪري رهيا آهيو ته پڪ ڪريو ته ڪو به سافٽ ويئر تڪرار موجود نه آهي.
- Perform a factory reset if necessary (refer to Ducky's official support for specific instructions for your model).
5.3 Key Chatter or Unresponsive Keys
- Due to the hot-swappable design, a switch might not be fully seated. Remove the keycap and gently press down on the switch to ensure it is properly installed.
- If a specific switch is faulty, use the switch puller to replace it with a new one.
- Clean any debris that might be under the keycap or around the switch.
6. وضاحتون
| خاصيت | تفصيل |
|---|---|
| ماڊل نمبر | DKON2361ST-CBUSPTCHNAZ001 |
| ترتيب | 60% |
| سوئچ جو قسم | Cherry MX2A Brown (Tactile) |
| پولنگ جي شرح | 8,000 هز |
| ڪي ڪيپ مواد | Triple-Shot PBT (Polybutylene Terephthalate) |
| روشني | South-Facing RGB Backlight |
| رابطي | وائرڊ USB-C |
| طول و عرض (L x W x H) | 12.2 x 4.33 x 1.57 انچ |
| شيءِ جو وزن | 1.43 پائونڊ |
| خاص خاصيتون | Hot-Swap, N-Key Rollover, Poron Film |
7. وارنٽي ۽ سپورٽ
For detailed warranty information and technical support, please visit the official Ducky webسائيٽ تي وڃو يا انهن جي ڪسٽمر سروس سان رابطو ڪريو. وارنٽي دعوائن لاءِ خريداري جو ثبوت رکو.
ڊڪي سرڪاري Webسائيٽ: www.duckychannel.com.tw


