1. تعارف
This manual provides essential information for the proper installation, operation, and maintenance of your LC-Power FHD 32 inch 165Hz Curved Gaming Monitor (Model: LC-M32-FHD-165-C-A). Please read this manual thoroughly before using the product to ensure optimal performance and safety.

شڪل 1.1: سامهون view of the LC-Power 32-inch curved gaming monitor.
2. حفاظت جي ڄاڻ
مانيٽر کي نقصان کان بچائڻ ۽ استعمال ڪندڙ جي حفاظت کي يقيني بڻائڻ لاءِ هيٺ ڏنل حفاظتي احتياطن تي عمل ڪريو:
- مانيٽر کي مينهن، نمي، يا انتهائي گرمي پد جي سامهون نه رکو.
- مانيٽر جي چوڌاري مناسب وينٽيليشن کي يقيني بڻايو. وينٽيليشن جي سوراخن کي بند نه ڪريو.
- صرف مانيٽر سان فراهم ڪيل پاور اڊاپٽر استعمال ڪريو.
- بجلي جي تار تي ڳري شيون رکڻ کان پاسو ڪريو.
- Disconnect the power cable from the outlet during lightning storms or when unused for extended periods.
- مانيٽر کي پاڻ مرمت ڪرڻ جي ڪوشش نه ڪريو. سڀني سروسنگ کي قابل اهلڪارن جي حوالي ڪريو.
3. پيڪيج مواد
پڪ ڪريو ته سڀئي شيون پيڪيج ۾ موجود آهن:
- LC-Power 32 inch Curved Gaming Monitor
- مانيٽر اسٽينڊ (بنياد ۽ گردن)
- پاور اڊاپٽر ۽ پاور ڪيبل
- HDMI ڪيبل
- استعمال ڪندڙ دستي
- اسٽينڊ اسيمبلي لاءِ اسڪرو
4. سيٽ اپ
4.1 اسٽينڊ کي گڏ ڪرڻ
- مانيٽر کي احتياط سان ان جي پيڪنگنگ مان هٽايو، ان کي نرم مٿاڇري تي محفوظ رکو.
- Attach the stand neck to the monitor panel using the provided screws.
- Connect the stand base to the stand neck and secure it with the remaining screws.
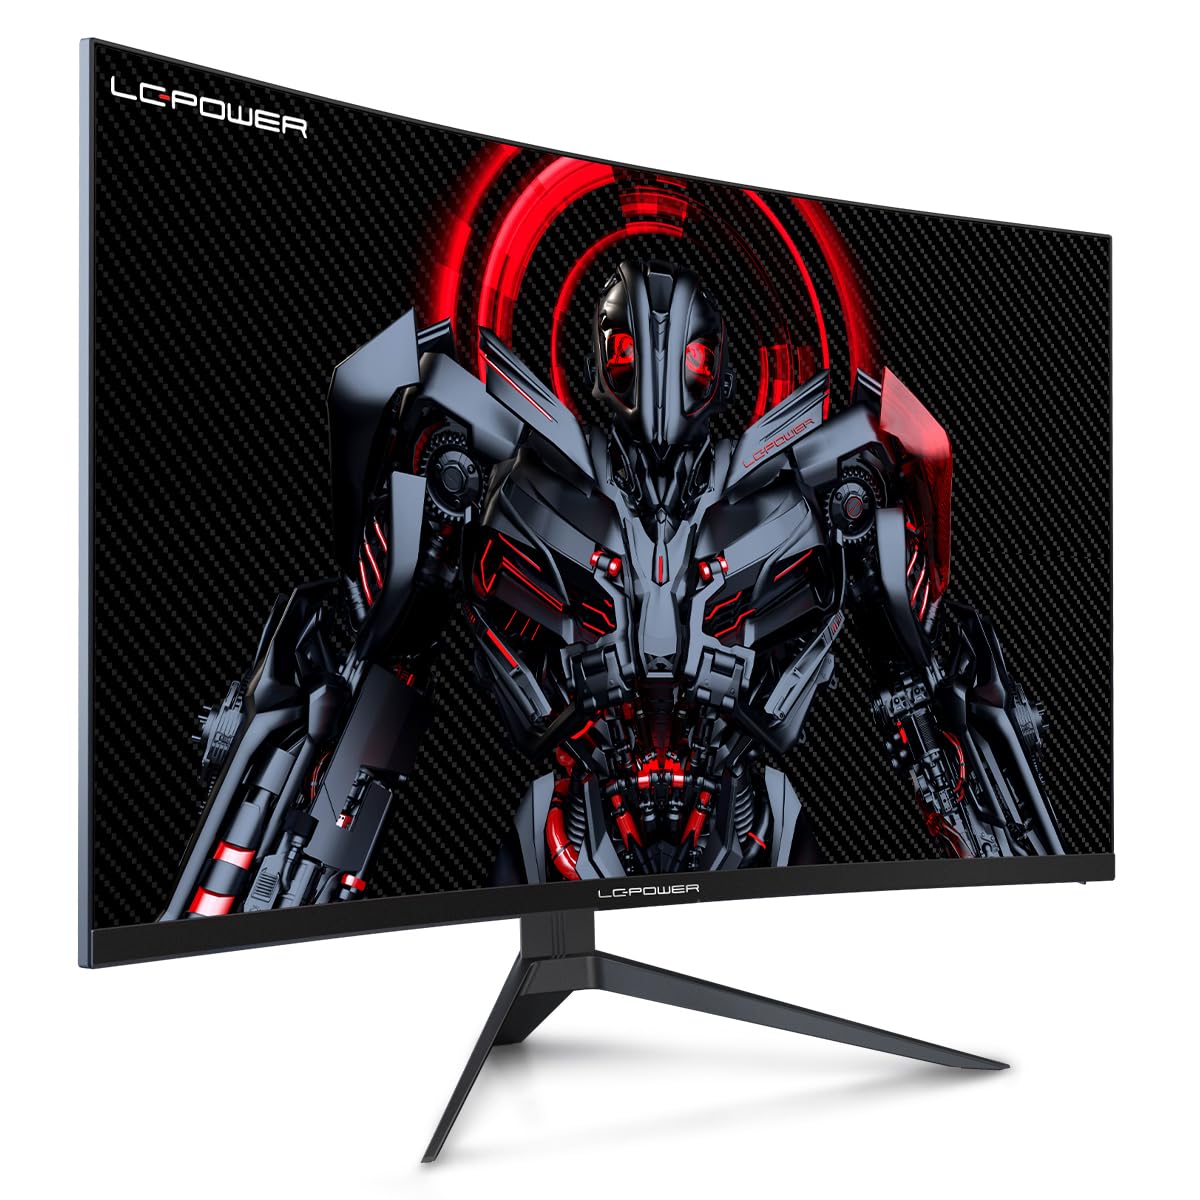
Figure 4.1: LC-Power monitor with stand assembled.
4.2 ڳنڍيندڙ ڪيبل
ضروري ڪيبلز کي مانيٽر جي پوئين بندرگاهن سان ڳنڍيو:
- طاقت: پاور اڊاپٽر کي مانيٽر جي ڊي سي ان پٽ سان ڳنڍيو ۽ پوءِ پاور آئوٽليٽ سان.
- ويڊيو جو انٽرويو Connect an HDMI or DisplayPort cable from your computer's graphics card to the corresponding port on the monitor.

شڪل 4.2: پوئتي view ان پٽ پورٽن سان مانيٽر جو.
4.3 ويسا ماؤنٽنگ (اختياري)
The monitor supports VESA 100x100mm mounting. To use a VESA mount, remove the stand and attach the monitor to a compatible VESA bracket using appropriate screws (not included).
5. آپريٽنگ هدايتون
5.1 پاور آن/آف
مانيٽر کي آن يا آف ڪرڻ لاءِ، پاور بٽڻ کي دٻايو، جيڪو عام طور تي مانيٽر جي پوئين يا هيٺئين پاسي هوندو آهي. جڏهن مانيٽر آن هوندو ته پاور انڊيڪيٽر لائيٽ روشن ٿيندي.
5.2 آن اسڪرين ڊسپلي (OSD) مينيو
The OSD menu allows you to adjust various monitor settings. Use the control buttons (joystick or individual buttons) on the monitor to navigate the menu.
عام او ايس ڊي سيٽنگون:
- تصويري سيٽنگون: چمڪ، برعڪس، تيزيءَ، ۽ رنگ جي گرمي پد کي ترتيب ڏيو.
- ان پٽ چونڊيو: دستي طور تي HDMI ۽ DisplayPort ان پٽ جي وچ ۾ سوئچ ڪريو.
- آڊيو: Adjust volume if external speakers are connected via the monitor's audio output.
- راند جوڙ: Access features like Overdrive, GamePlus (crosshair overlays), FPS/RTS modes, and Adaptive Sync.
- ڊسپلي سيٽنگون: Adjust aspect ratio, resolution, and refresh rate. Ensure your graphics card is configured to output 1920x1080 resolution at 165Hz for optimal performance.
- Low Blue Light & Flicker-Free: These features are designed to reduce eye strain during prolonged use. They can be enabled or disabled in the OSD menu.
6. سار سنڀال
6.1 مانيٽر جي صفائي
- هميشه صاف ڪرڻ کان اڳ مانيٽر کي انپلگ ڪريو.
- نرم، لِنٽ کان خالي ڪپڙو استعمال ڪريو ٿورڙو ڊيampپاڻي يا نرم، غير رگڙيندڙ اسڪرين ڪلينر سان صاف ڪيو وڃي.
- صاف ڪندڙ کي سڌو سنئون اسڪرين تي نه اسپري ڪريو.
- Avoid using benzene, thinner, or ammonia-based cleaners.
6.2 اسٽوريج
If storing the monitor for an extended period, disconnect all cables, pack it in its original packaging, and store it in a cool, dry place away from direct sunlight.
7. مسئلا حل ڪرڻ
عام مسئلن ۽ انهن جي حل لاءِ هيٺ ڏنل جدول جو حوالو ڏيو:
| مسئلو | ممڪن سبب | حل |
|---|---|---|
| اسڪرين تي ڪوبه تصوير نه آهي | Power cable disconnected; Video cable disconnected; Incorrect input selected | Check power and video cable connections; Select correct input via OSD menu |
| Image flickering | Faulty video cable; Graphics card driver issue; Refresh rate mismatch | Replace video cable; Update graphics drivers; Set refresh rate to 165Hz in OS display settings |
| رنگ غلط نظر اچن ٿا | او ايس ڊي ۾ رنگ سيٽنگون؛ گرافڪس ڪارڊ سيٽنگون | Adjust color settings in OSD; Calibrate colors via graphics card control panel |
| مانيٽر آن نٿو ٿئي | Power cable not connected; Power adapter faulty | Ensure power cable is securely connected; Test power outlet; Contact support if adapter is suspected faulty |
8. وضاحتون
Detailed technical specifications for the LC-Power LC-M32-FHD-165-C-A monitor:
| خاصيت | تفصيل |
|---|---|
| برانڊ | ايل سي پاور |
| ماڊل | LC-M32-FHD-165-CA |
| اسڪرين جي ماپ | 32 انچ |
| اسڪرين جي قرارداد | 1920 x 1080 (ايف ايڇ ڊي 1080 پي) |
| ريفريش جي شرح | 165 هز |
| جوابي وقت | 1 ملي سيڪنڊ |
| گھمڻ | 1500 آر |
| اسپيڪٽ ريشو | 16:9 |
| ڊسپلي ٽيڪنالاجي | ايل سي ڊي |
| Viewزاويه | 178 درجا |
| ھارڊويئر انٽرفيس | HDMI، ڊسپلي پورٽ |
| خاص خاصيتون | Curved, Flicker-Free, Low Blue Light, GamePlus, Overdrive, FPS/RTS |
| VESA مطابقت | 100x100mm |
| پيداوار جي ماپ | 14.3 x 53.8 x 40.6 سينٽي (L x W x H) |
| شيءِ جو وزن | 8.24 ڪلو |
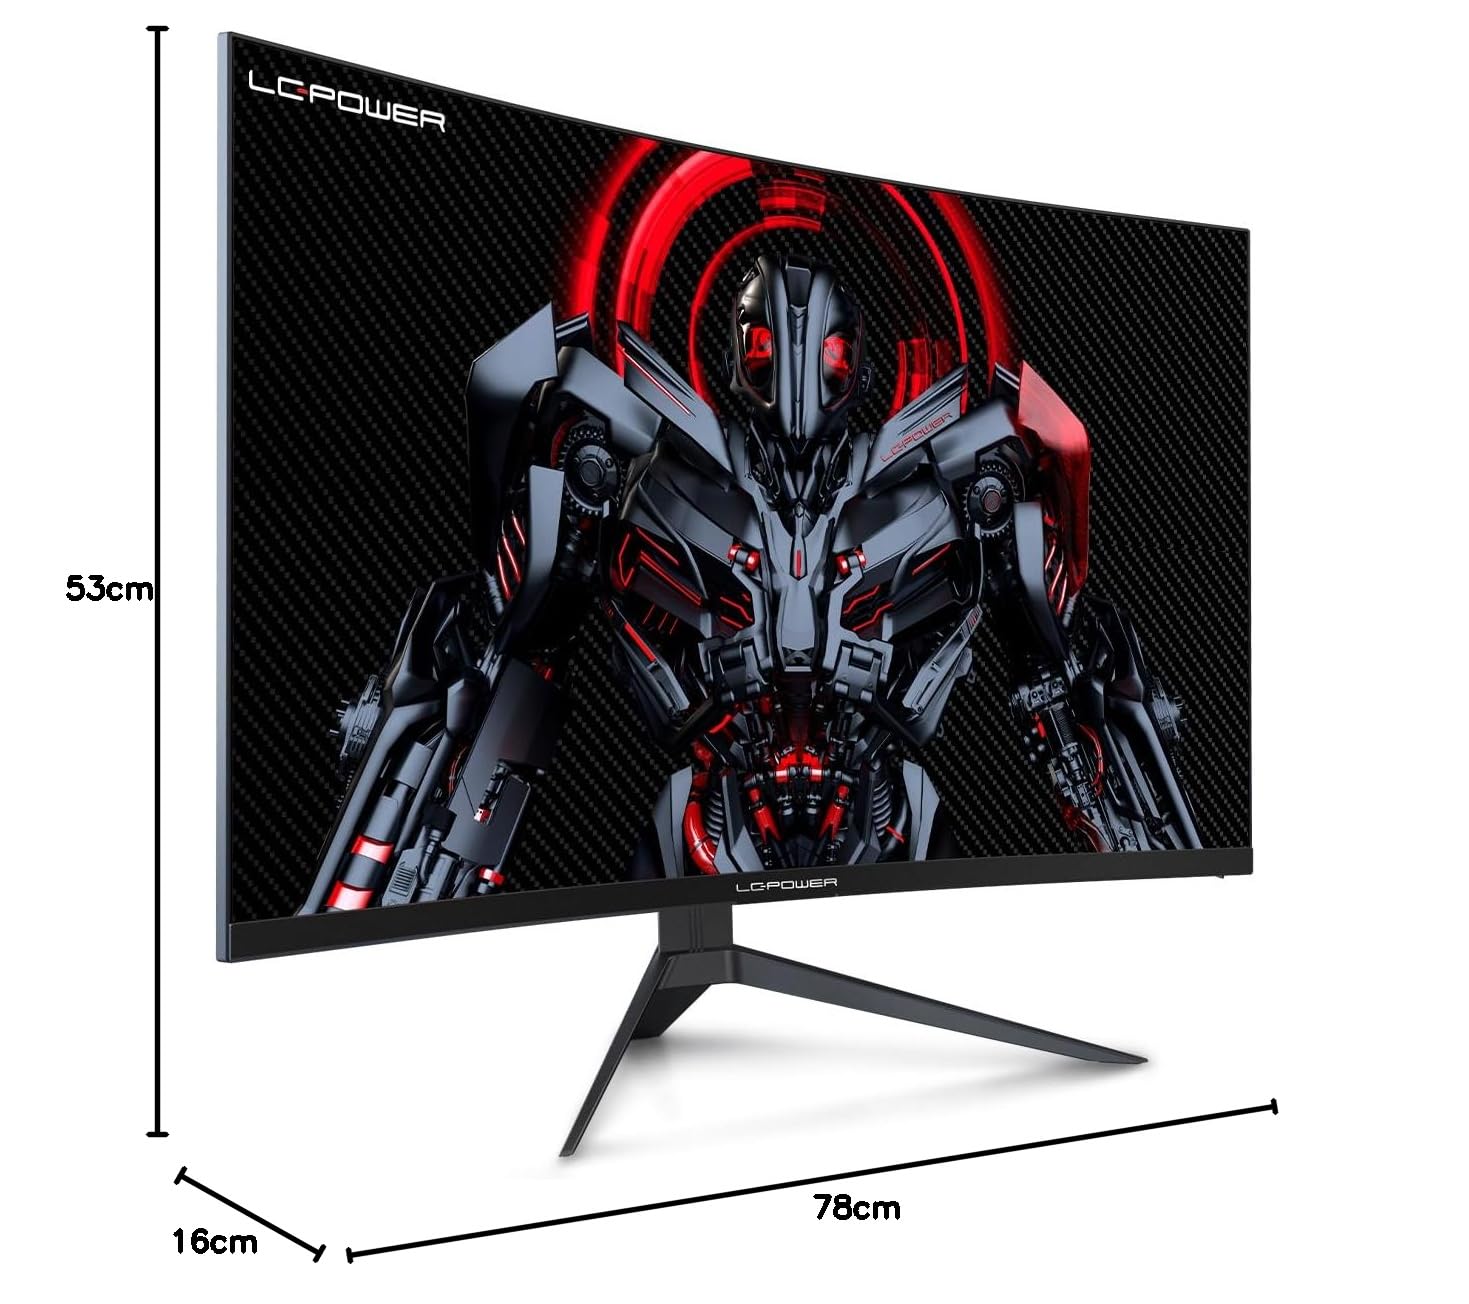
Figure 8.1: Monitor dimensions for planning installation space.
9. وارنٽي ۽ سپورٽ
LC-Power provides a three-year warranty for this product. Additionally, a twelve-month replacement service is available. For technical assistance or inquiries regarding damage, defects, or missing parts, please contact LC-Power customer support. Telephone technical support is also available.


