1. تعارف ۽ اوورview
The Dell Pro 27 Plus QHD USB-C Hub Monitor P2725DE is a 27-inch LED monitor designed for productivity and visual clarity. It features a QHD (2560 x 1440) resolution at 100Hz, an IPS panel for wide viewing angles, and a built-in USB-C hub for streamlined connectivity. This manual provides essential information to help you set up, operate, and maintain your monitor effectively.
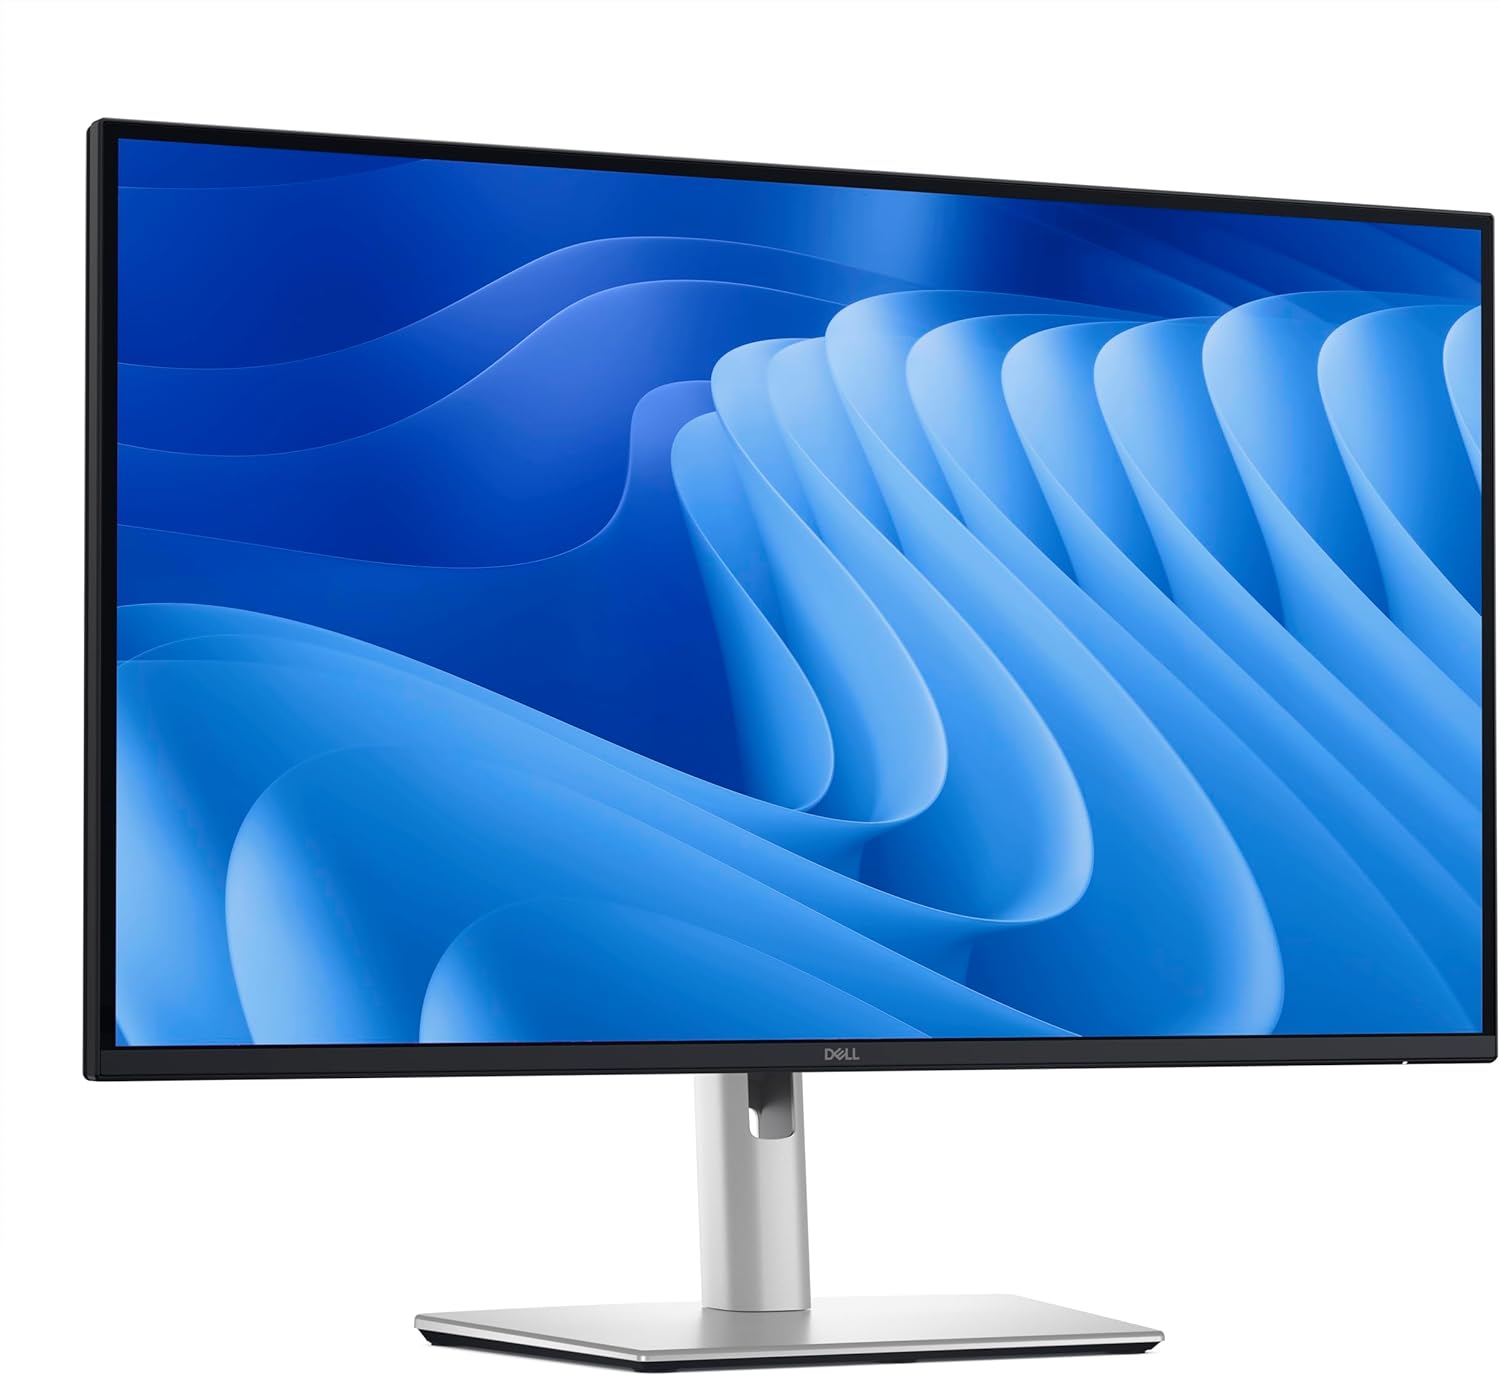
شڪل 1.1: سامهون view of the Dell Pro 27 Plus QHD USB-C Hub Monitor P2725DE.
2. سيٽ اپ
2.1 مانيٽر کي کولڻ
Carefully remove all components from the packaging. Ensure that all parts listed in the packing slip are present. Retain the packaging materials for future transport or service needs.
2.2 اسٽينڊ کي گڏ ڪرڻ
- ڇڪڻ کان بچڻ لاءِ مانيٽر پينل جو مُنهن نرم، صاف ڪپڙي تي هيٺ رکو.
- Attach the stand riser to the monitor panel until it clicks into place.
- Attach the stand base to the stand riser and tighten the captive screw at the bottom of the base.
2.3 ڳنڍيندڙ ڪيبل
Connect the necessary cables to the monitor and your computer. The monitor supports HDMI, DisplayPort, and USB-C video inputs.
- پاور ڪيبل: Connect the power cable to the monitor's power port and then to a wall outlet.
- وڊيو ڪيبل: Connect one end of the HDMI, DisplayPort, or USB-C cable to the corresponding port on your monitor and the other end to your computer's video output port. For USB-C functionality, use a USB-C to USB-C cable.
- USB-C Upstream Cable (for Hub functionality): If using USB-C for video, this single cable also enables the integrated USB hub. If using HDMI or DisplayPort for video, connect a USB-A to USB-C cable from your computer to the monitor's USB-C upstream port to enable the USB hub.

شڪل 2.1: پوئتي view of the monitor showing various input and output ports.
2.4 شروعاتي پاور آن
Press the power button located on the bottom right side of the monitor. The power indicator will illuminate, and the display will turn on. Your computer should automatically detect the monitor. If not, adjust display settings in your operating system.
3. مانيٽر کي هلائڻ
3.1 پاور آن/آف
Press the power button to turn the monitor on or off. The power LED indicates the monitor's status: solid white for on, amber for standby.
3.2 آن اسڪرين ڊسپلي (OSD) مينيو
The OSD menu allows you to adjust various monitor settings. Use the control buttons located on the bottom right of the monitor to navigate the menu.
- Press any control button to activate the OSD menu.
- مينيو آپشنز مان گذرڻ لاءِ نيويگيشن بٽڻ استعمال ڪريو.
- چونڊ جي تصديق ڪرڻ لاءِ منتخب بٽڻ کي دٻايو يا ذيلي مينيو داخل ڪريو.
- Press the back button to return to the previous menu or exit the OSD.
3.3 ان پٽ سورس جي چونڊ
To switch between video inputs (HDMI, DisplayPort, USB-C), access the OSD menu and navigate to the 'Input Source' section. Select your desired input.
3.4 ڊسپلي سيٽنگز کي ترتيب ڏيڻ
OSD مينيو اندر، توهان سيٽنگون ترتيب ڏئي سگهو ٿا جهڙوڪ:
- چمڪ/ برعڪس: روشني ۽ اونداهي علائقن جي وچ ۾ مجموعي روشني ۽ فرق کي ترتيب ڏيو.
- رنگ سيٽنگون: رنگ جي گرمي پد، گاما، ۽ انفرادي آر بي جي سطحن کي تبديل ڪريو.
- Picture-in-Picture (PIP)/Picture-by-Picture (PBP): If supported, configure multiple input sources to display simultaneously.
- جواب ڏيڻ جو وقت: Adjust for faster pixel transitions.
3.5 ايرگونومڪ ترتيبون
مانيٽر اسٽينڊ توهان جي کي بهتر بڻائڻ لاءِ مختلف ترتيبن جي اجازت ڏئي ٿو viewآرام ڪرڻ:
- اونچائي جي ترتيب: مانيٽر کي اکين جي سطح تائين مٿي يا هيٺ ڪريو.
- جھلڻ: اسڪرين جي زاويه کي اڳتي يا پوئتي ترتيب ڏيو.
- گھمڻ: مانيٽر کي افقي طور تي کاٻي يا ساڄي طرف گھمايو.
- محور: Rotate the monitor vertically (portrait mode).

شڪل 3.1: پاسي view illustrating the monitor's ergonomic stand adjustments.
4. سار سنڀال
4.1 مانيٽر جي صفائي
To clean the monitor screen, gently wipe it with a soft, lint-free cloth lightly dampened with water or a non-ammonia, non-alcohol based screen cleaner. Avoid using abrasive cleaners or spraying liquid directly onto the screen.
مانيٽر لاءِ سيasing, use a soft, dry cloth. Do not use any liquid cleaners on the casing.
4.2 حفاظتي احتياط
- وينٽيليشن جي افتتاح کي نه روڪيو.
- مانيٽر کي مينهن يا نمي جي سامهون نه رکو.
- مانيٽر کي سڌو سورج جي روشني ۾ يا گرمي جي ذريعن جي ويجهو رکڻ کان پاسو ڪريو.
- Only use the power adapter provided with the monitor.
5. مسئلا حل ڪرڻ
هي سيڪشن عام مسئلن کي حل ڪري ٿو جيڪي توهان کي پنهنجي مانيٽر سان منهن ڏيڻو پئجي سگهي ٿو.
5.1 No Display or Black Screen
- پڪ ڪريو ته پاور ڪيبل مانيٽر ۽ پاور آئوٽليٽ ٻنهي سان محفوظ طور تي ڳنڍيل آهي.
- Verify that the video cable (HDMI, DisplayPort, or USB-C) is firmly connected to both the monitor and your computer.
- چيڪ ڪريو ته ڇا صحيح ان پٽ سورس OSD مينيو ۾ چونڊيو ويو آهي.
- پنهنجي ڪمپيوٽر کي ٻيهر شروع ڪريو.
5.2 Flickering or Unstable Image
- وڊيو ڪيبل کي نقصان يا ڍلو ڪنيڪشن لاءِ چيڪ ڪريو. جيڪڏهن موجود هجي ته ٻي ڪيبل آزمايو.
- Ensure your computer's graphics driver is up to date.
- پنهنجي ڪمپيوٽر جي ڊسپلي سيٽنگز ۾ ريفريش ريٽ کي ترتيب ڏيو.
5.3 USB Hub Not Functioning
- If using HDMI or DisplayPort for video, ensure the USB-C upstream cable is connected from your computer to the monitor.
- If using USB-C for video, ensure the USB-C cable supports data transfer.
- Try connecting the USB device to a different port on the monitor.
5.4 پاور ايل اي ڊي بند آهي
- Verify the power cable is connected and the power outlet is functional.
- پاور بٽڻ کي مضبوط طور تي دٻايو.
6. وضاحتون
Below are the technical specifications for the Dell Pro 27 Plus QHD USB-C Hub Monitor P2725DE.
| خاصيت | تفصيل |
|---|---|
| ماڊل نمبر | P2725DE |
| اسڪرين جي ماپ | 27 انچ (68.47 سينٽي ميٽر ويڪرو) |
| پينل جو قسم | آئي پي ايس |
| قرارداد | 2560 x 1440 (QHD) |
| ريفريش جي شرح | 100Hz |
| اسپيڪٽ ريشو | 16:9 |
| روشني | 350 cd/m² |
| مقابلي جي نسبت | 1500:1 |
| جوابي وقت | 5ms (گرين کان گرين) |
| وڊيو انپٽس | HDMI، ڊسپلي پورٽ، USB-C |
| USB بندرگاهن | 5 (USB-C Hub functionality) |
| اسڪرين جي مٿاڇري | مٽي |
| پاور جلدtage | 240 وولٽ (AC) |
| شيءِ جو وزن | 10.12 پائونڊ (4.59 ڪلوگرام) |
| پيداوار جا طول و عرض (پيڪيج) | 32.68 x 17.72 x 5.91 انچ |
7. وارنٽي ۽ سپورٽ
Your Dell monitor is covered by a limited hardware warranty. For specific warranty details, please refer to the documentation included with your product or visit the official Dell support webسائيٽ.
For technical assistance, troubleshooting, or to contact Dell support, please visit www.dell.com/ سپورٽ. Have your monitor's service tag or express service code ready for faster assistance.


