1. تعارف
This manual provides detailed instructions for the setup, operation, and maintenance of your ATTACK SHARK X8 Ultra Wireless Gaming Mouse. Designed for high-performance gaming, the X8 Ultra features a lightweight design, multiple connectivity options, and advanced sensor technology.

تصوير 1.1: مٿي view of the ATTACK SHARK X8 Ultra Wireless Gaming Mouse.
2. پيڪيج مواد
پڪ ڪريو ته سڀئي شيون توهان جي پيڪيج ۾ موجود آهن:
- ATTACK SHARK X8 Ultra Wireless Gaming Mouse
- 8K USB-C Receiver
- USB-A to USB-C Charging Cable (Paracord)
- Replacement Mouse Feet Skates
- گرفت ٽيپ
- استعمال ڪندڙ جو دستياب (ھي دستاويز)
3. Mouse Layout and Features
Familiarize yourself with the key components and features of your X8 Ultra mouse.

تصوير 3.1: مٿيview of the X8 Ultra's internal components and external features.
- کاٻي/ساڄي ڪلڪ بٽڻ: Equipped with Omron micro switches for tactile feedback and durability.
- اسڪرول ويل: Provides smooth scrolling with subtle tactile bumps.
- پاسي جا بٽڻ: Programmable buttons located on the left side for additional functions.
- DPI بٽڻ: Located on the underside of the mouse, allows cycling through preset DPI levels.
- Connectivity Switch: Located on the underside, allows switching between 2.4GHz wireless, Bluetooth, and wired modes.
- PAW3950MAX Sensor: صحيح ٽريڪنگ لاءِ اعليٰ درستگي وارو آپٽيڪل سينسر.
- Nordic 52840 MCU: Advanced microcontroller for efficient performance and low latency.
- Nano-Ice Coating: Surface treatment designed to keep grip cool during extended use.
4. سيٽ اپ گائيڊ
4.1 مائوس کي چارج ڪرڻ
- Connect the USB-C end of the charging cable to the mouse.
- Connect the USB-A end of the charging cable to an available USB port on your computer or a USB wall adapter.
- The mouse LED indicator will show charging status. A full charge provides up to 300 hours of intermittent use.
4.2 مائوس کي ڳنڍڻ
The X8 Ultra supports three connection modes: 2.4GHz Wireless, Bluetooth, and Wired USB.
2.4GHz وائرليس موڊ:
- Locate the 8K USB-C receiver.
- وصول ڪندڙ کي توهان جي ڪمپيوٽر تي موجود USB پورٽ ۾ پلگ ان ڪريو.
- Set the connectivity switch on the underside of the mouse to the "2.4G" position.
- مائوس کي خودڪار طريقي سان ڳنڍڻ گهرجي.

Image 4.1: The 8K USB-C receiver for 2.4GHz wireless connection.
بلوٽوٽ موڊ:
- Set the connectivity switch on the underside of the mouse to the "BT" position.
- پنهنجي ڪمپيوٽر تي، بلوٽوٿ سيٽنگون کوليو ۽ نوان ڊوائيسز ڳوليو.
- Select "ATTACK SHARK X8 Ultra" from the list of available devices to pair.
وائرڊ USB موڊ:
- Connect the USB-C end of the charging cable to the mouse.
- Connect the USB-A end of the charging cable to an available USB port on your computer.
- Set the connectivity switch on the underside of the mouse to the "Wired" position.
- مائوس هڪ وائرڊ ڊيوائس طور ڪم ڪندو ۽ هڪ ئي وقت چارج ٿيندو.
5. آپريٽنگ هدايتون
5.1 ڊي پي آئي ايڊجسٽمينٽ
The X8 Ultra features a PixArt PAW3950MAX sensor with adjustable DPI from 50 to 42,000. To change DPI settings:
- Press the DPI button on the underside of the mouse to cycle through preset DPI levels.
- The LED indicator on the mouse will change color to indicate the current DPI setting.
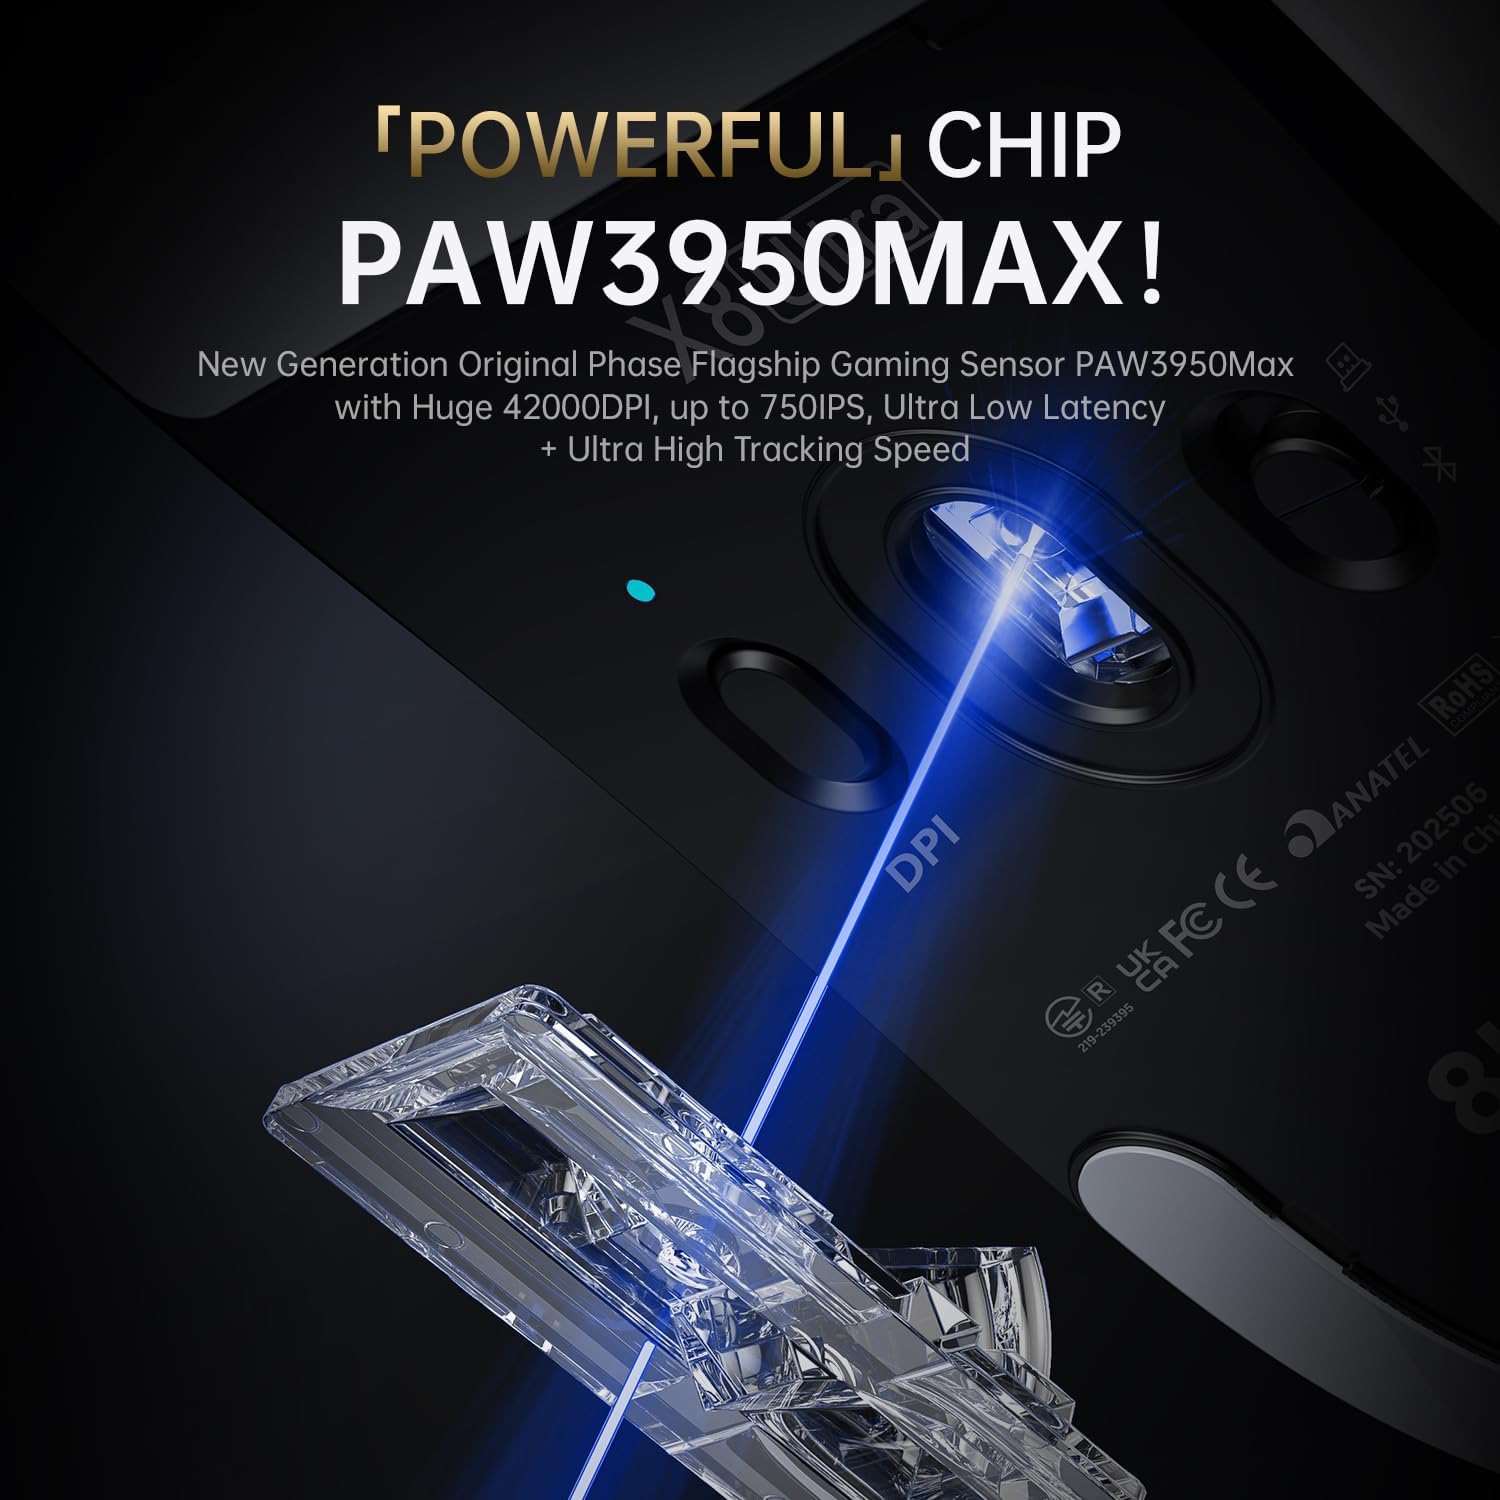
Image 5.1: The PixArt PAW3950MAX sensor for precise tracking.
5.2 Cloud Driver Software
For advanced customization, including DPI adjustment, polling rate, button remapping, macro recording, and competitive mode settings, use the web-based Cloud Driver software.
- Ensure your mouse is connected to your computer (preferably via 2.4GHz wireless or wired mode for full functionality).
- پنهنجو کوليو web browser and navigate to the official ATTACK SHARK webسائيٽ (مثال طور، www.attackshark.pro).
- Locate the Cloud Driver section for the X8 Ultra model.
- Follow the on-screen instructions to customize your mouse settings. Settings are saved directly to the mouse's memory.

Image 5.2: The Cloud Driver interface for advanced mouse configuration.
5.3 پولنگ جي شرح
The X8 Ultra supports an 8KHz wireless polling rate for ultra-low latency and faster response. In wired mode, it operates at 1KHz. The polling rate can be adjusted via the Cloud Driver software.

Image 5.3: Explanation of 8K Polling Rate technology.
6. سار سنڀال
6.1 صفائي
- مائوس جي مٿاڇري کي صاف ڪرڻ لاءِ نرم، سڪل ڪپڙو استعمال ڪريو.
- ضدي مٽيءَ لاءِ، ٿورو ڊيampپاڻي سان ڪپڙو يا نرم صفائي حل.
- Avoid using harsh chemicals or abrasive materials that could damage the mouse's finish or sensor.
- Regularly clean the optical sensor area on the underside of the mouse with a cotton swab to ensure optimal tracking performance.
6.2 بيٽري جي سنڀال
- To prolong battery life, avoid fully discharging the mouse frequently.
- جڏهن گهڻي عرصي تائين استعمال ۾ نه هجي ته مائوس کي ٿڌي، سڪل جاءِ تي رکو.
- If the mouse will not be used for a long time, charge it to about 50% before storage.
6.3 Replacing Mouse Feet Skates
The package includes replacement PTFE mouse feet skates for maintaining smooth glide. When the existing skates show significant wear:
- Carefully peel off the old mouse feet using a thin tool.
- Clean the surface where the skates were attached to remove any adhesive residue.
- Peel the backing from the new skates and carefully apply them to the corresponding areas on the mouse's underside.
- مناسب آسنجن کي يقيني بڻائڻ لاء مضبوطيء سان دٻايو.

Image 6.1: PTFE anti-slip footpads for smooth mouse movement.
7. مسئلا حل ڪرڻ
| مسئلو | ممڪن حل |
|---|---|
| Mouse not responding in wireless mode. |
|
| Lag or intermittent connection. |
|
| Inaccurate tracking. |
|
| Cloud Driver software not detecting mouse. |
|
8. وضاحتون
Key technical specifications for the ATTACK SHARK X8 Ultra Wireless Gaming Mouse:

Image 8.1: Detailed technical specifications for the X8 Ultra and other X8 series models.
| خاصيت | تفصيل |
|---|---|
| ماڊل | X8 الٽرا |
| سينسر | PixArt PAW3950MAX |
| ڊي پي آءِ رينج | 50 - 42,000 ڊي پي آءِ |
| حرڪت جي رفتار | 750 آئي پي ايس |
| تڪڙ | 60 جي |
| بٽڻ جي عمر | 100 ملين ڪلڪون |
| مائڪرو سوئچ | اومرون سوئچ |
| پولنگ جي شرح | Wireless 8000Hz / Wired 1000Hz |
| MCU | نورڊڪ 52840 |
| رابطي | Wired / 2.4GHz Wireless / Bluetooth |
| وزن | 55 جي |
| بيٽري جي گنجائش | 500 mAh |
| طول و عرض | تقريبن 125.5 x 63 x 40 ملي ايم (4.96 x 2.5 x 1.6 انچ) |
9. وارنٽي ۽ سپورٽ
ATTACK SHARK products are designed for reliability and performance. For warranty information, technical support, or service inquiries, please refer to the official ATTACK SHARK webسائيٽ تي وڃو يا سڌو سنئون انهن جي ڪسٽمر سروس سان رابطو ڪريو.
سرڪاري Webسائيٽ: www.attackshark.pro
برانڊ اسٽور: ATTACK SHARK Amazon Store
مھرباني ڪري وارنٽي دعوائن لاءِ خريد ڪرڻ جو پنھنجو ثبوت رکو.


